The second blog post of September, and actually the second of this evening, concerns a recent build of an electronic item I did with my son (#1Son, Ben).
I managed to pick up the Google AIY Hat for the Raspberry Pi with MagPi for a very affordable £5 and Ben and I decided to build it together and to video it for our YouTube channel.
The build was complemented by printing a box from a design on Thingiverse instead of using the cardboard one. Rather than say too much more I have copied the video link* (and you can also play the video below) so you can view it without leaving this page.
If you like the video please give us a thumbs up, and if you have constructive criticism then please feel free to comment.**
As always I wouldn’t be doing this if I didn’t have so much support and encouragement from my LAMM peeps, thanks guys, and especially, as always, to TBSliver who is always there with advice and support. He gets a big shout out and lots of free dinners at my house ;P.
** A part of me says that if you have negative or destructive personal criticism then I should probably know what it is or alternatively you can write it on a piece of paper and place it under a rock on Mars for me to find when I decide to be a Spaceman in some alternate reality :). I really would like to hear any good criticism, positive or negative that helps me in the future.***
*** Obviously, and I shouldn’t need to say this but a small part of me realises this goes to YT and Twitter as well so has to add this caveat, if you have any criticism of Ben then do the decent thing and keep it to yourself, children have far more impressionable egos :P.
For a while now, I have been trying to make a dry box for storing 3D printer filament, having had problems with a reel of ASA filament becoming damp and the prints made from it coming out pitted and fragile. The first idea I tried was to use silica crystal cat litter as a dessicant in a sealed box. I bought a transparent storage box with a rubber seal and a packet of silica cat litter, as well as a cheap digital hygrometer / thermometer. Then I burned some holes in the lid of a plastic fast food tray with a heated skewer, and put the cat litter in the tray. Finally I put the tray, the hygrometer and the filament into the storage box and sealed the lid.
I left the cat litter in the box for a full day, and the humidity reading actually increased slightly from 55% Relative Humidity (RH) to 59% RH. This was at a nearly constant temperature varying from 24 °C to 23.7°C. The increase was within the error range of the meter but not the significant drop I had been hoping for.
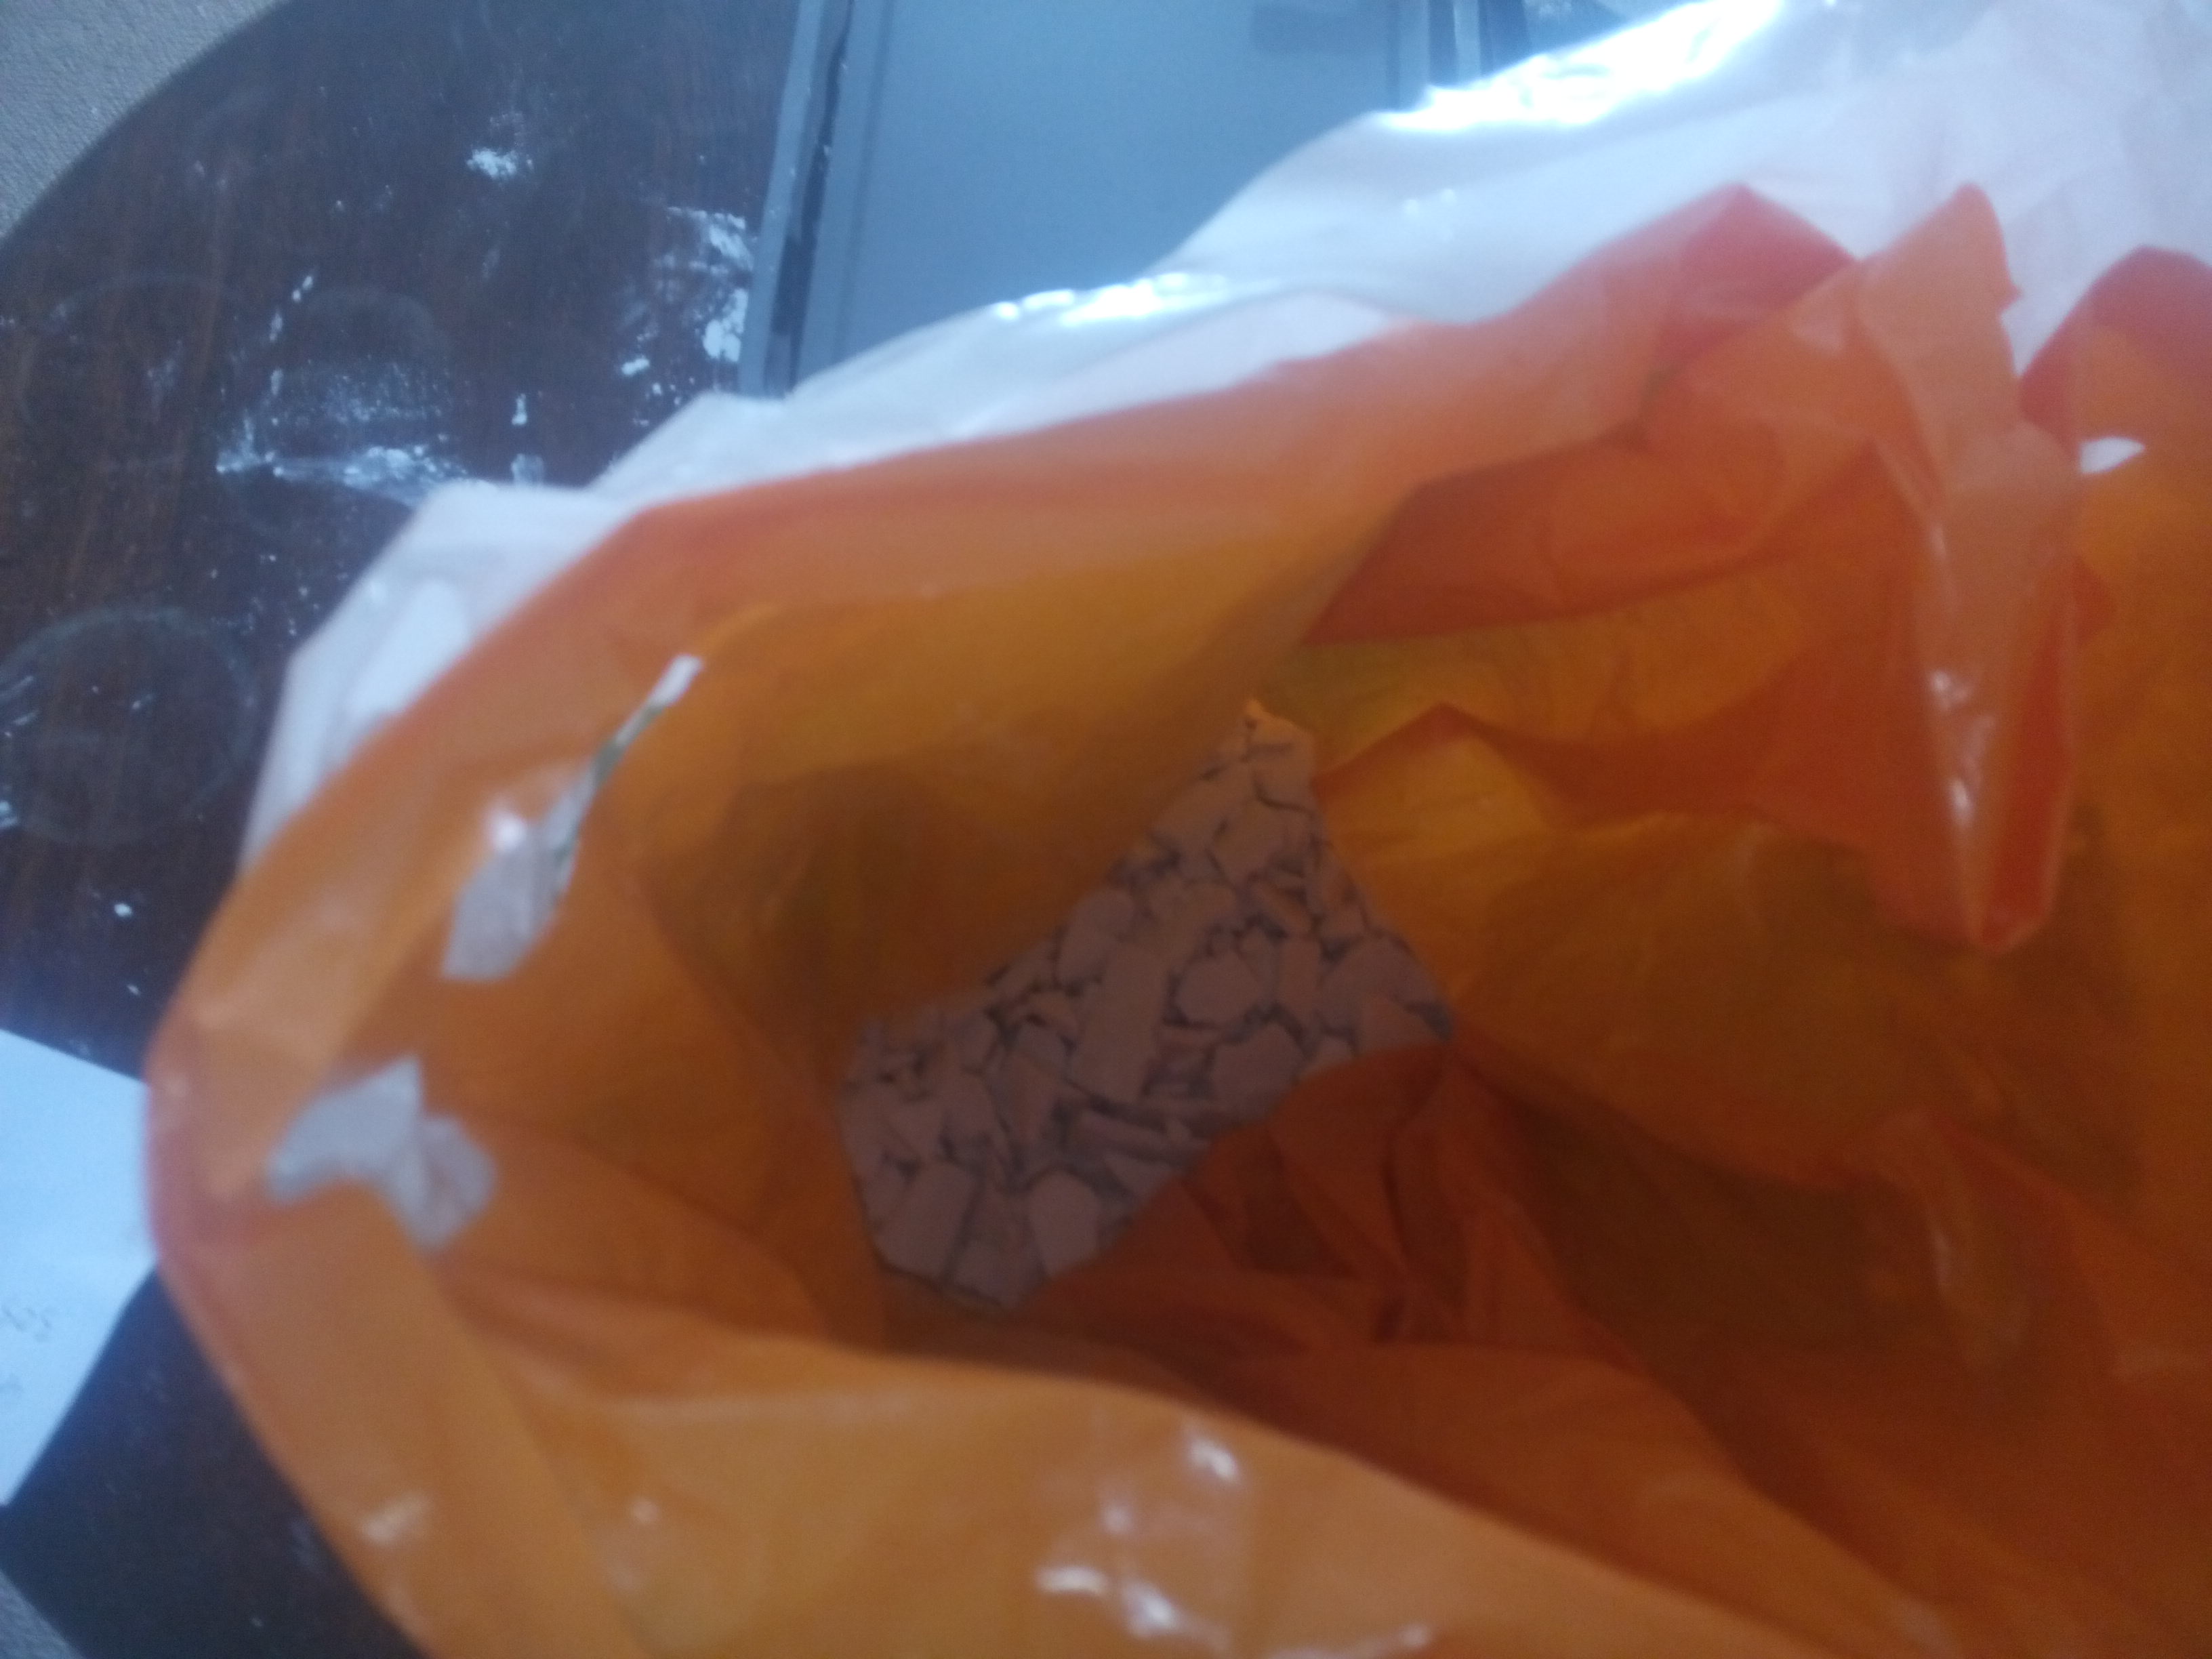
The next thing I tried was to crush the crystals using the somewhat crude method of wrapping them in a strong piece of cloth and bashing them with the end of a brick, to see if this would increase the surface area of the crystals and make them absorb water better. This didn’t work so well as silica crystals are quite hard, and it also didn’t make them any better at drying the air in the box.
I suspect that the reason the cat litter didn’t work is that even though silica does absorb water, the granules you get in the sachets that come with electronic devices are prepared in a way that makes them highly porous and able to absorb atmospheric moisture, whereas the silica that is used as cat litter is designed to absorb liquid water so they make it out of solid crystals.
At this point I did a bit of research online and found this web page about drying mushrooms. It has a pretty good summary of the three main substances used as dessicants, how effective they are, and how to use them. In order of increasing effectiveness, they are silica gel, which will bring the humidity down to about 40% RH, calcium chloride, which is what is found in home dehumidifiers and can bring the humidity down to below 25% RH, and calcium sulphate, which is the strongest of the three and according to that page can lower the humidity to a few percent RH.
As it says on that page, calcium sulphate is the same chemical substance as plaster of Paris. This is a substance which attracts water strongly into its crystal structure, and can come in several forms depending on how much water it has absorbed: hydrated (fully saturated with water), hemi-hydrated (partly saturated), and anhydrated (no water at all). Plaster of Paris is the hemi-hydrated form and can be bought quite cheaply from craft shops.
The simplest way to make powdered plaster of Paris into a dessicant would be just to heat it in an oven to drive the water out of it, let it cool in a sealed heatproof container, and then put it into the dry box. This would probably work okay, but it would have the problem that air wouldn’t be able to percolate through the powder easily so it might take a long time to dry the air in the box.
I decided instead to try to make it into granules, thinking that they might absorb the water vapour better. The rest of this post describes how I did this.
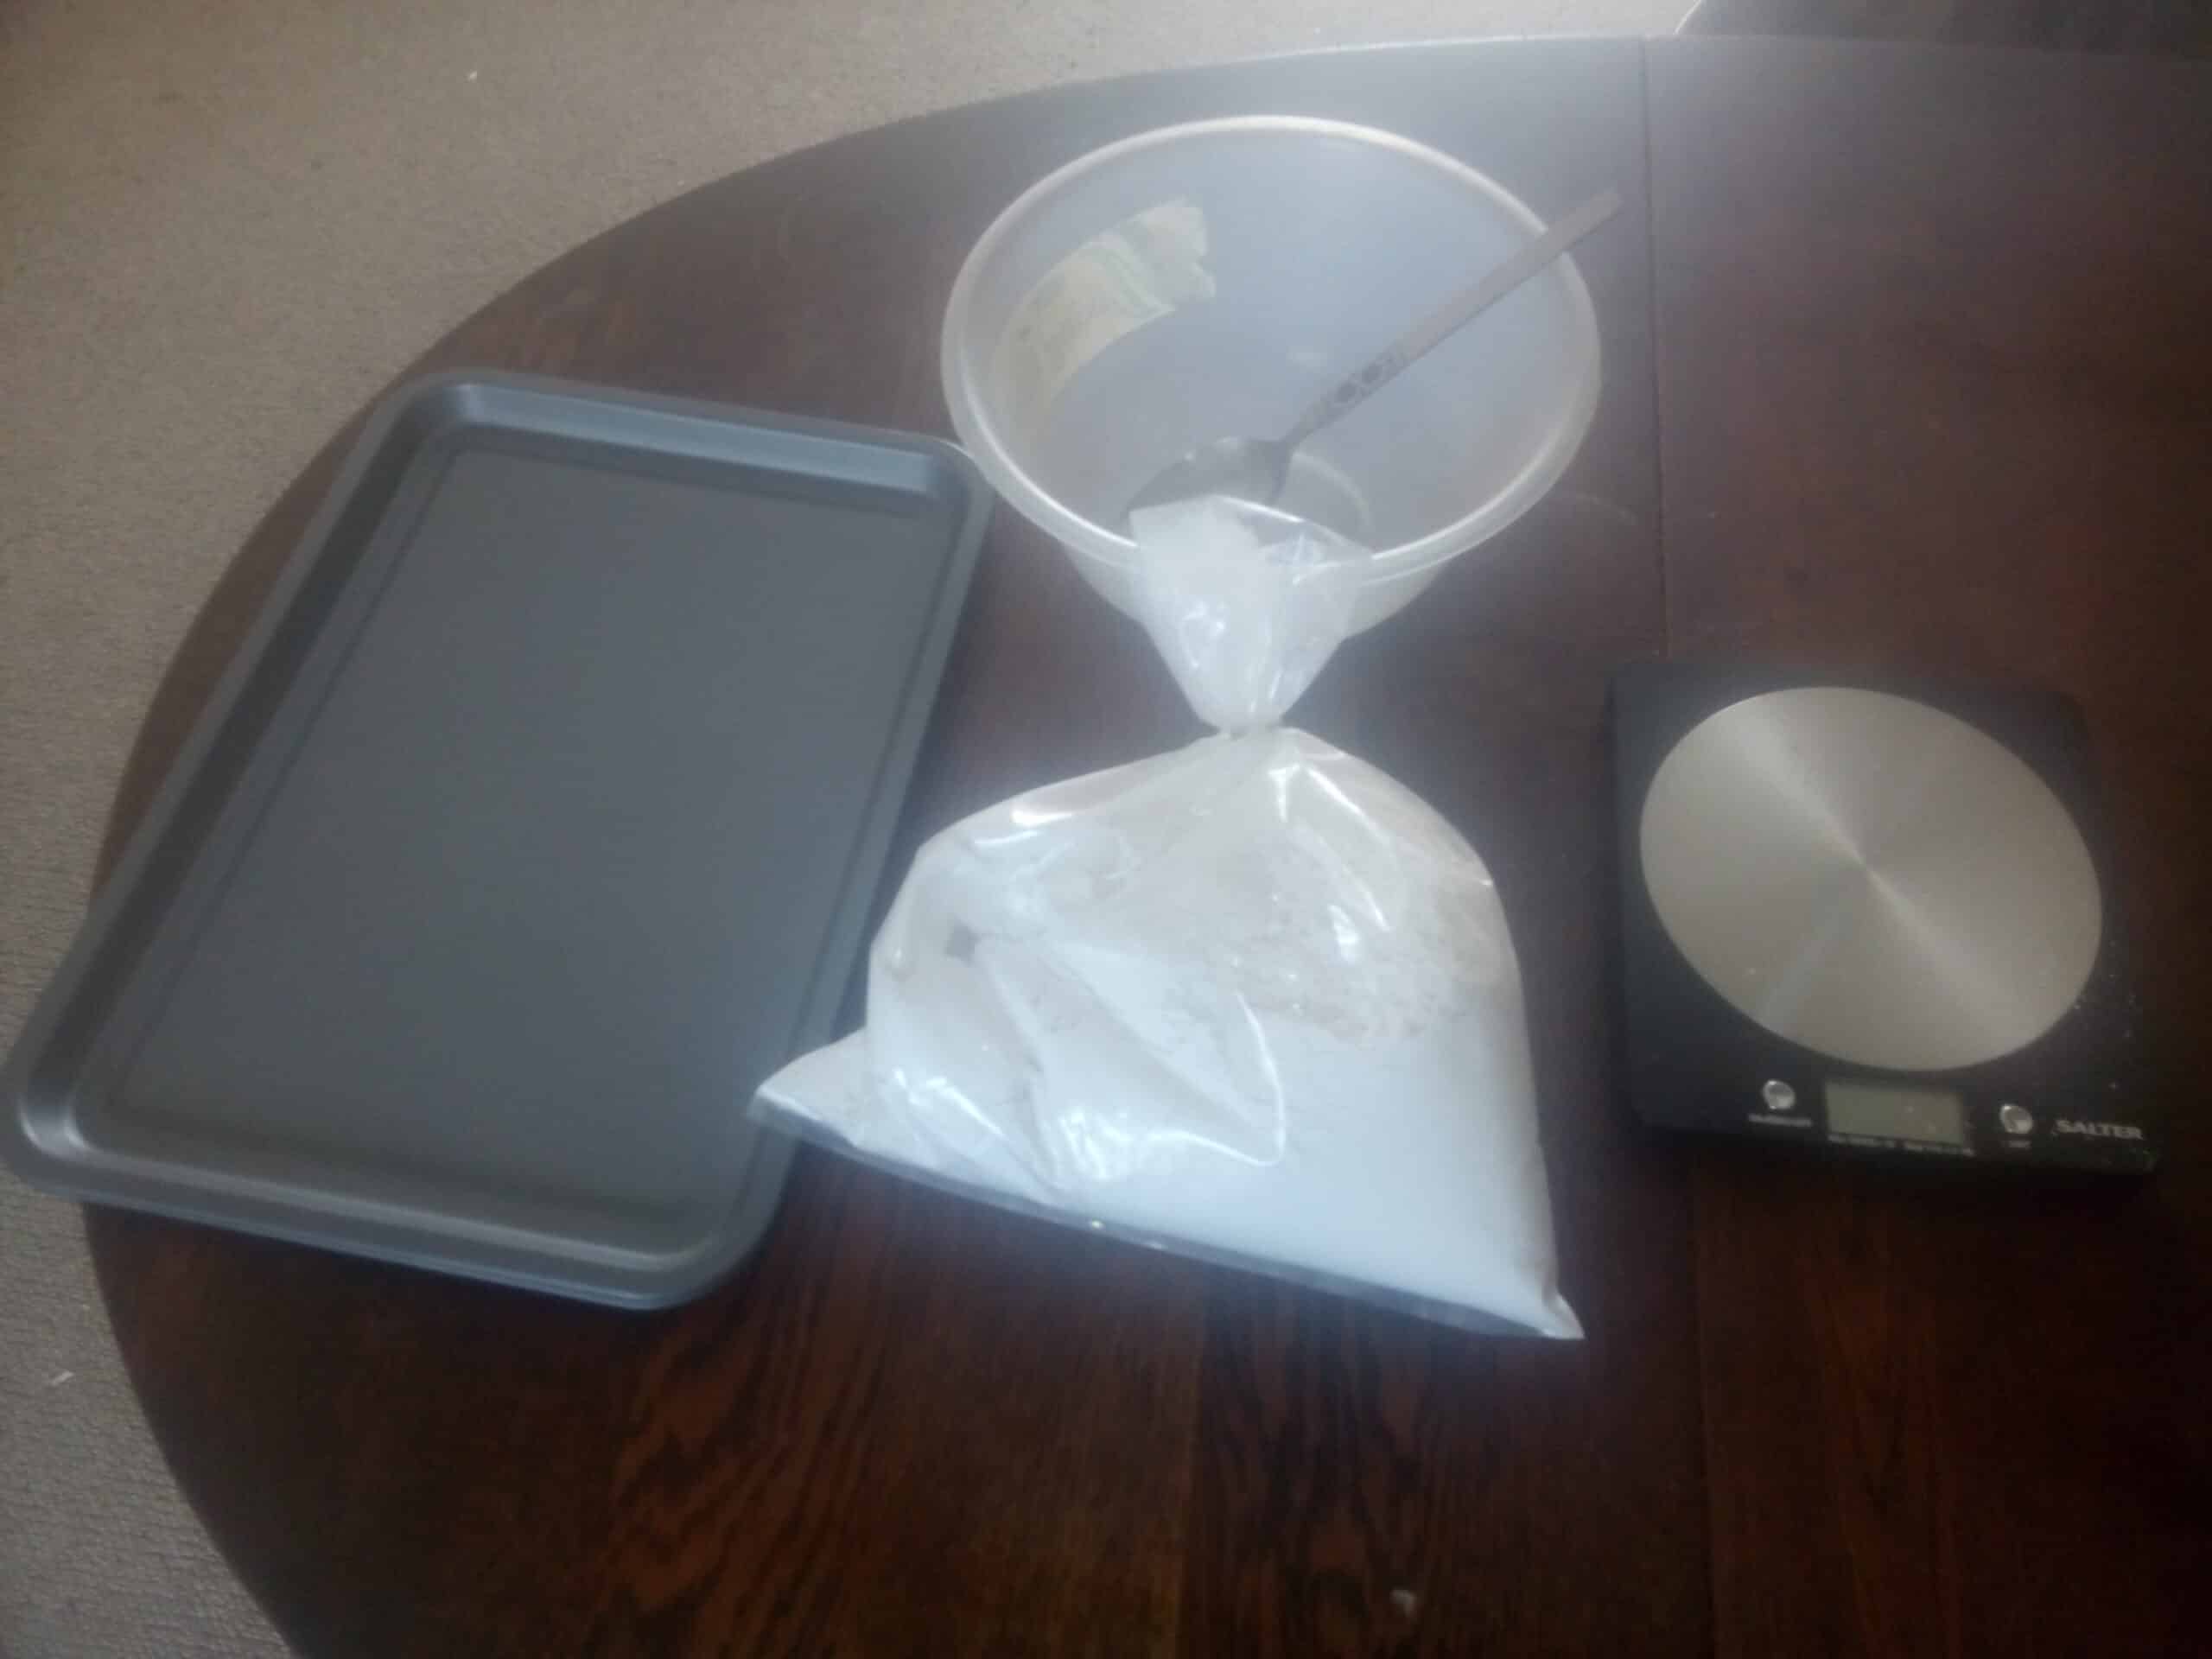
Some of the equipment I used to make the granules.
The photo above shows some of the equipment I used to make the granules – two non stick baking trays, a bag of plaster of Paris, a mixing bowl and metal spoon, and a kitchen weighing scale. I also ended up using a couple of large glass jars, some rubber gloves, two plastic bags, a piece of heavy cloth about 40 cm square, some string, a pint glass of water, and a brick.
The first thing to do was to measure out enough plaster to fill the baking trays in a thin layer. You may want to wear rubber gloves for this as plaster is slightly irritant. I did this by just spreading it out in the trays to what looked like a reasonable depth to be able to break it easily once it had set.
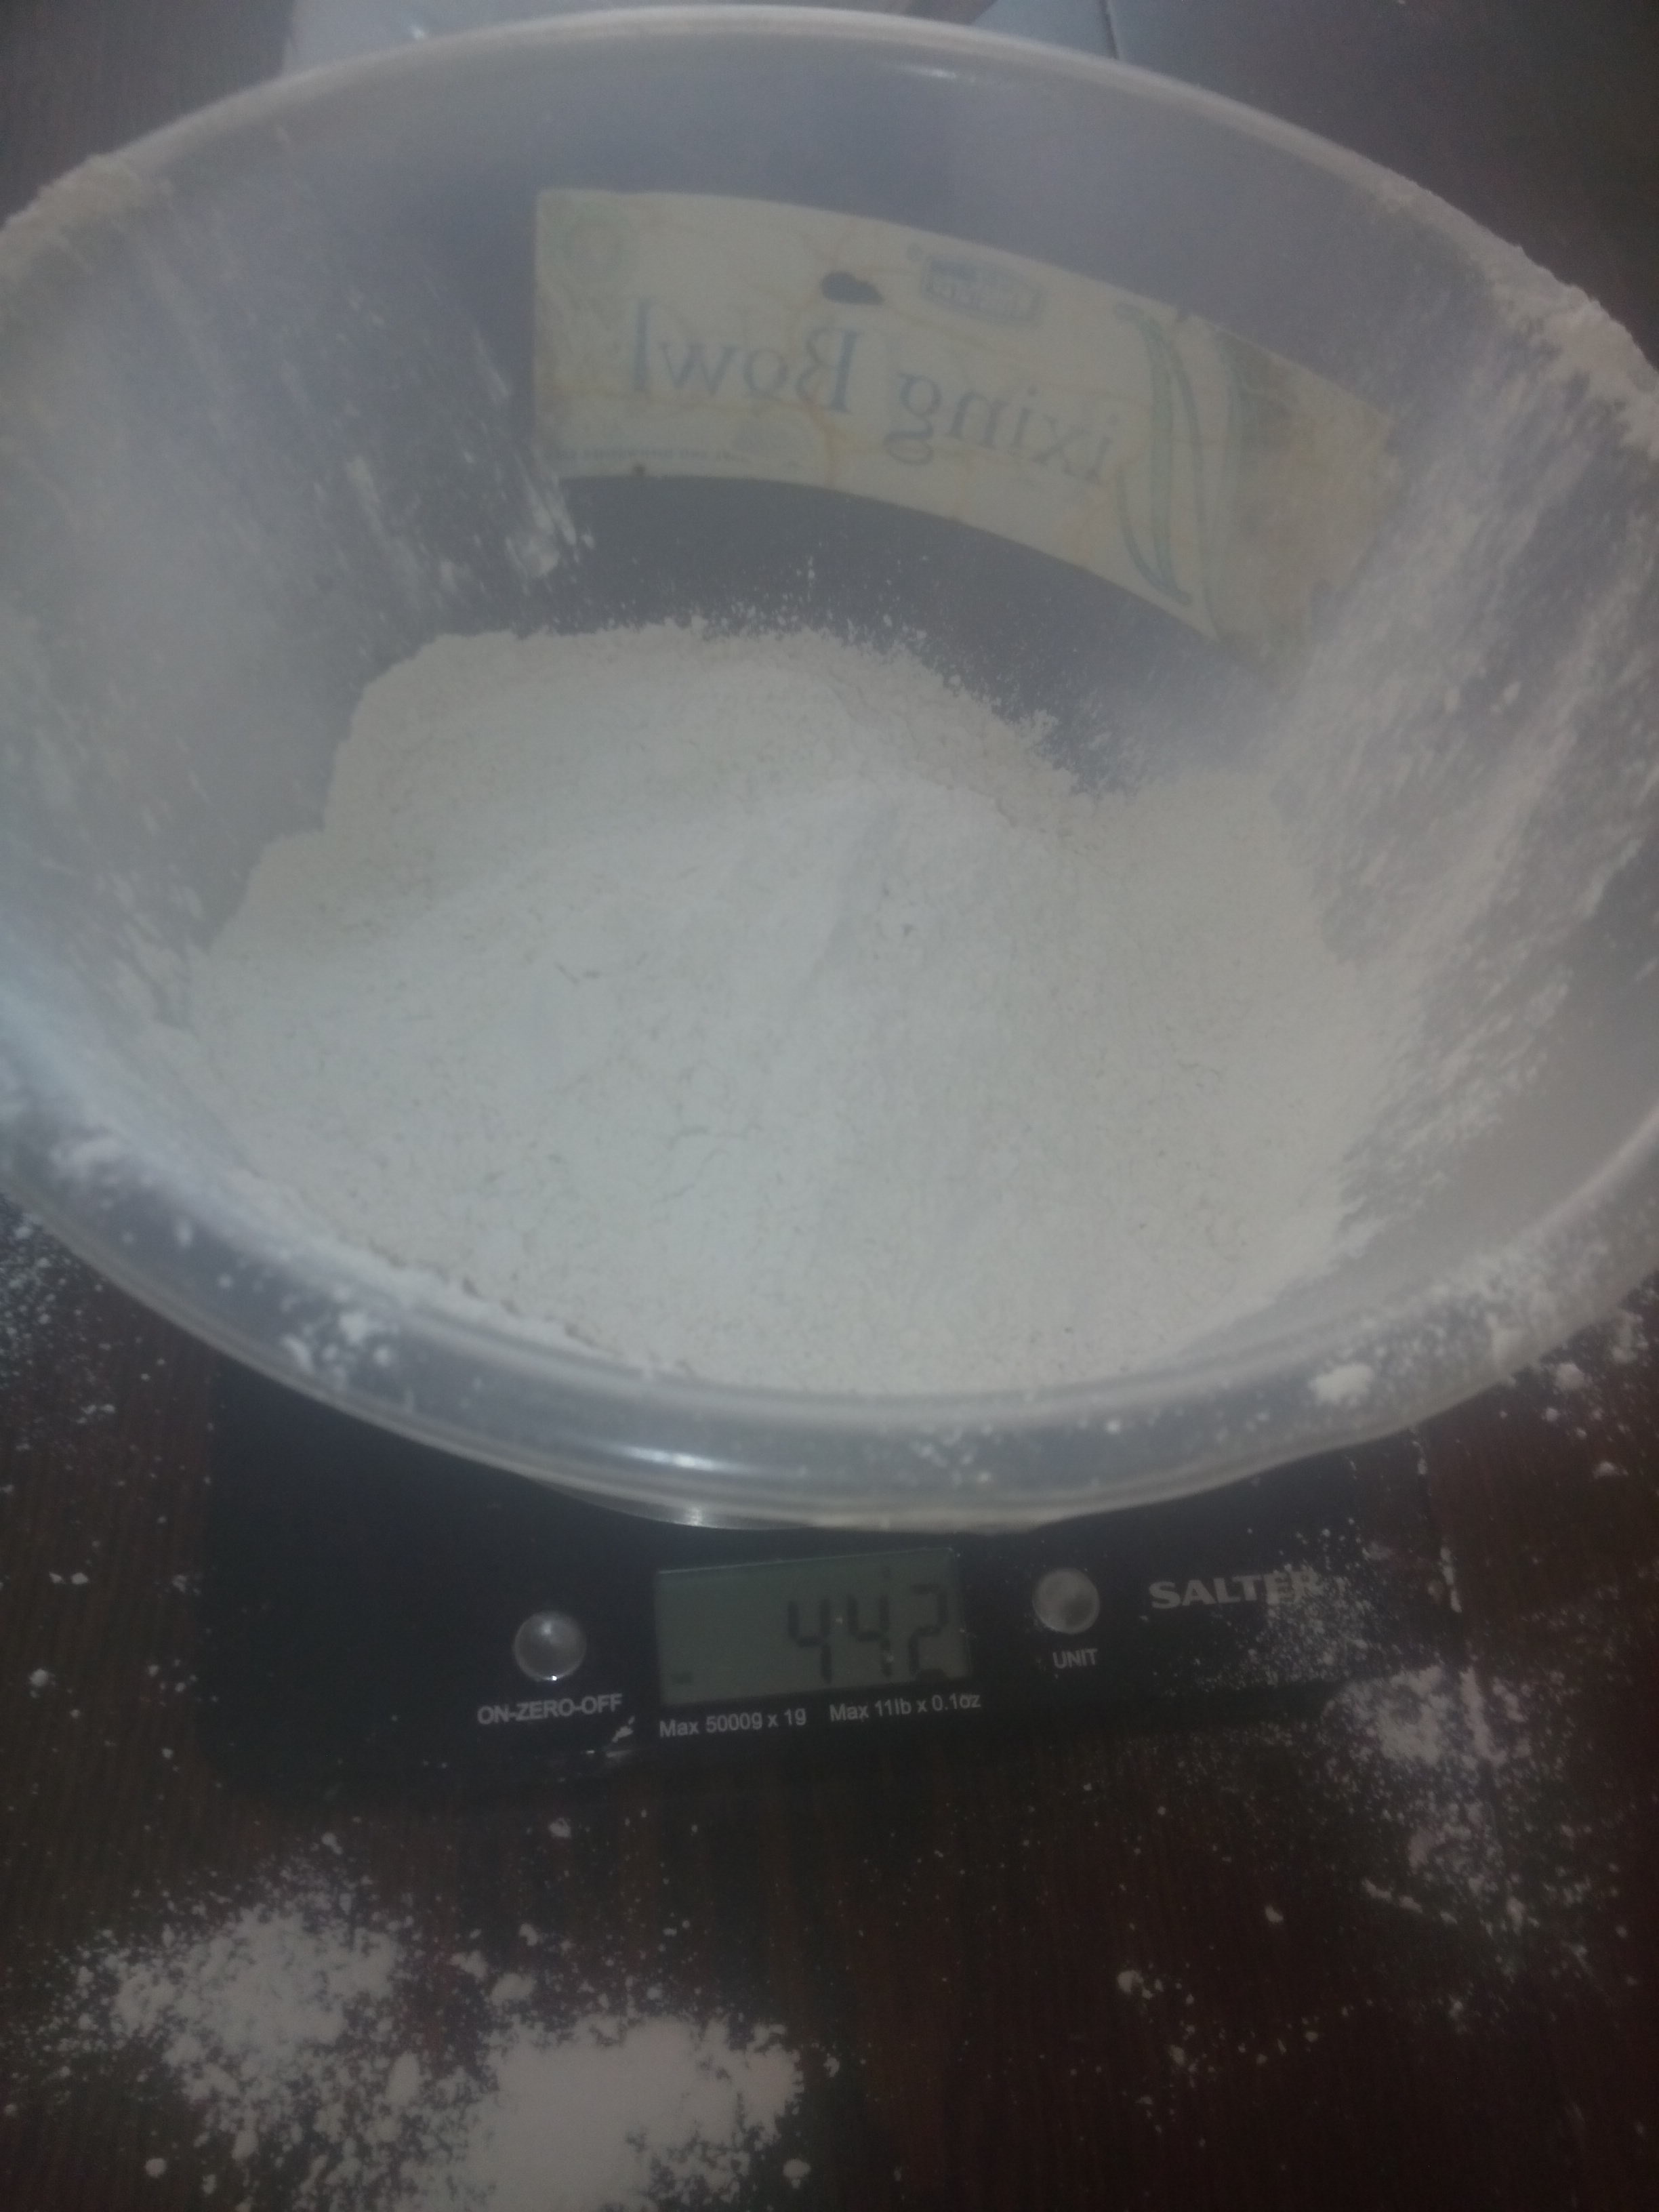
Then I put the mixing bowl on the scales, zeroed them, poured the plaster into the bowl and wrote down the weight – 442 g.
Weighing the plaster of Paris
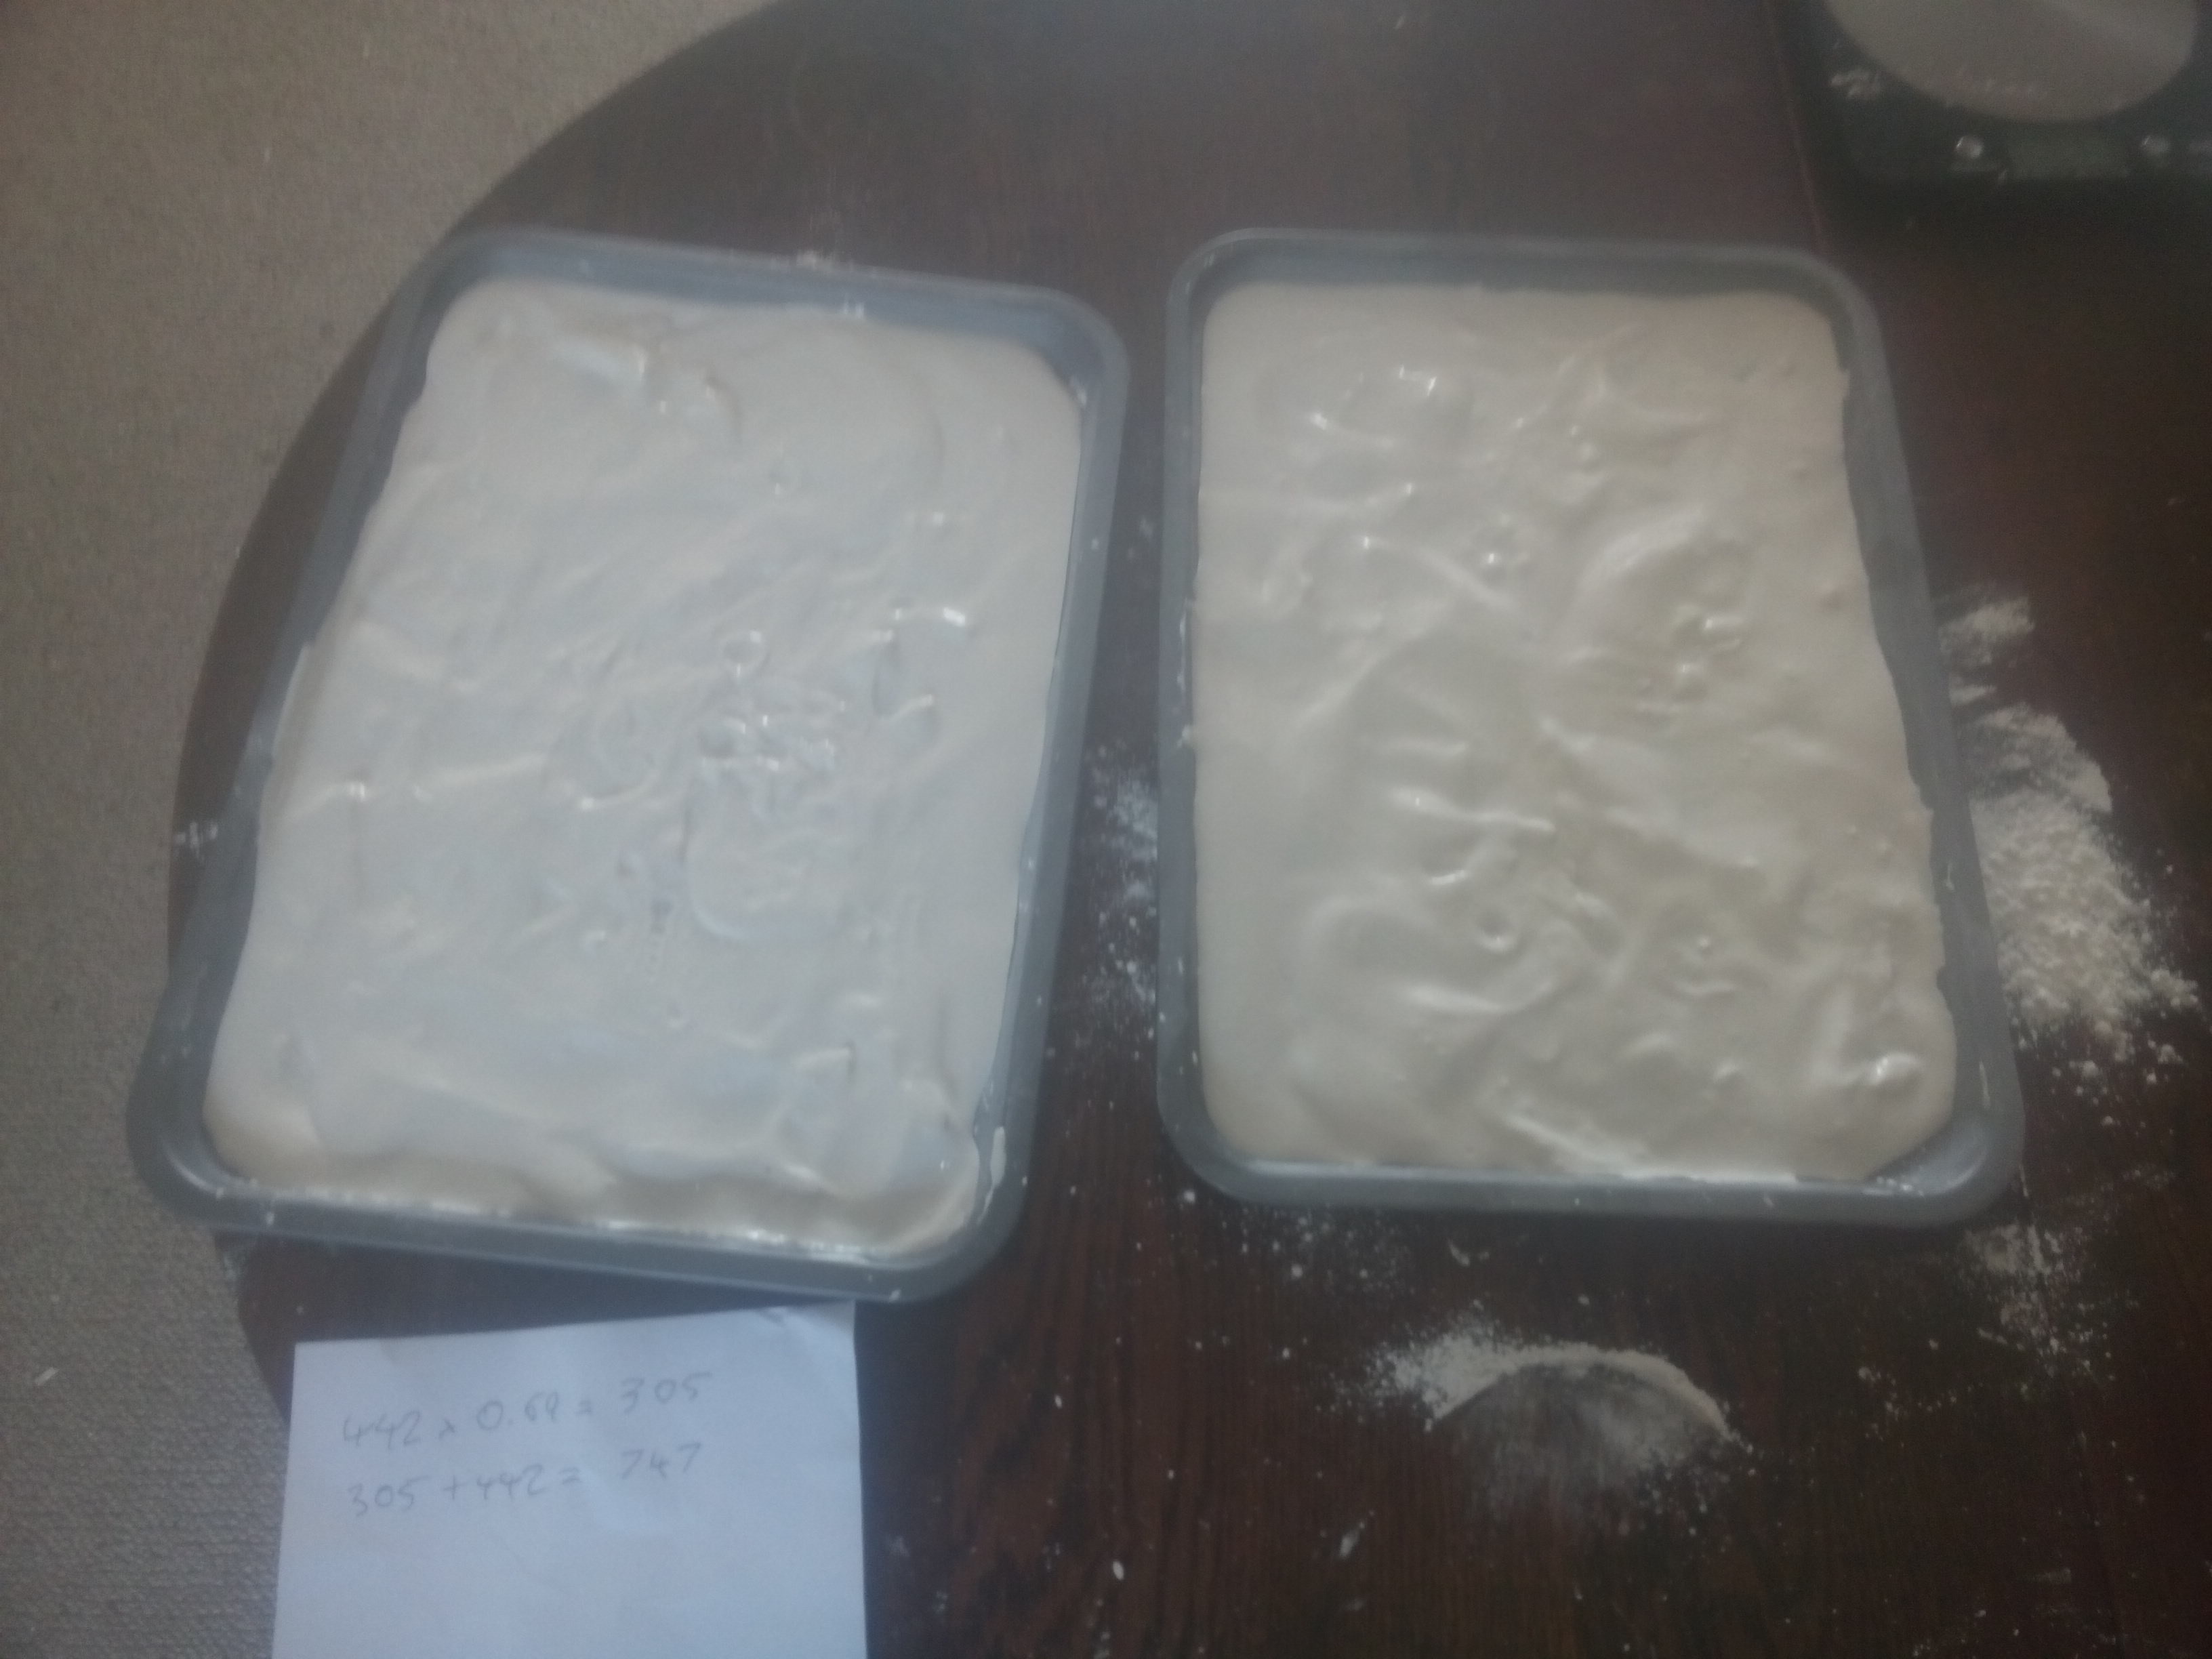
You make up plaster by mixing it with water in a ratio of 100 : 69 by weight. This makes 305 g of water, which makes a total of 747 g in the bowl. I then made a bit of a hole in the middle of the plaster and poured water in until the weight was (about) 747 g. Then I mixed it with the spoon until it was smooth, and poured it into the two trays in roughly equal amounts.
Liquid plaster in baking trays
I then allowed this to dry for a while (the instructions on the plaster say 6 – 10 minutes). The next thing was to take the plaster out of the trays and break it into granules.
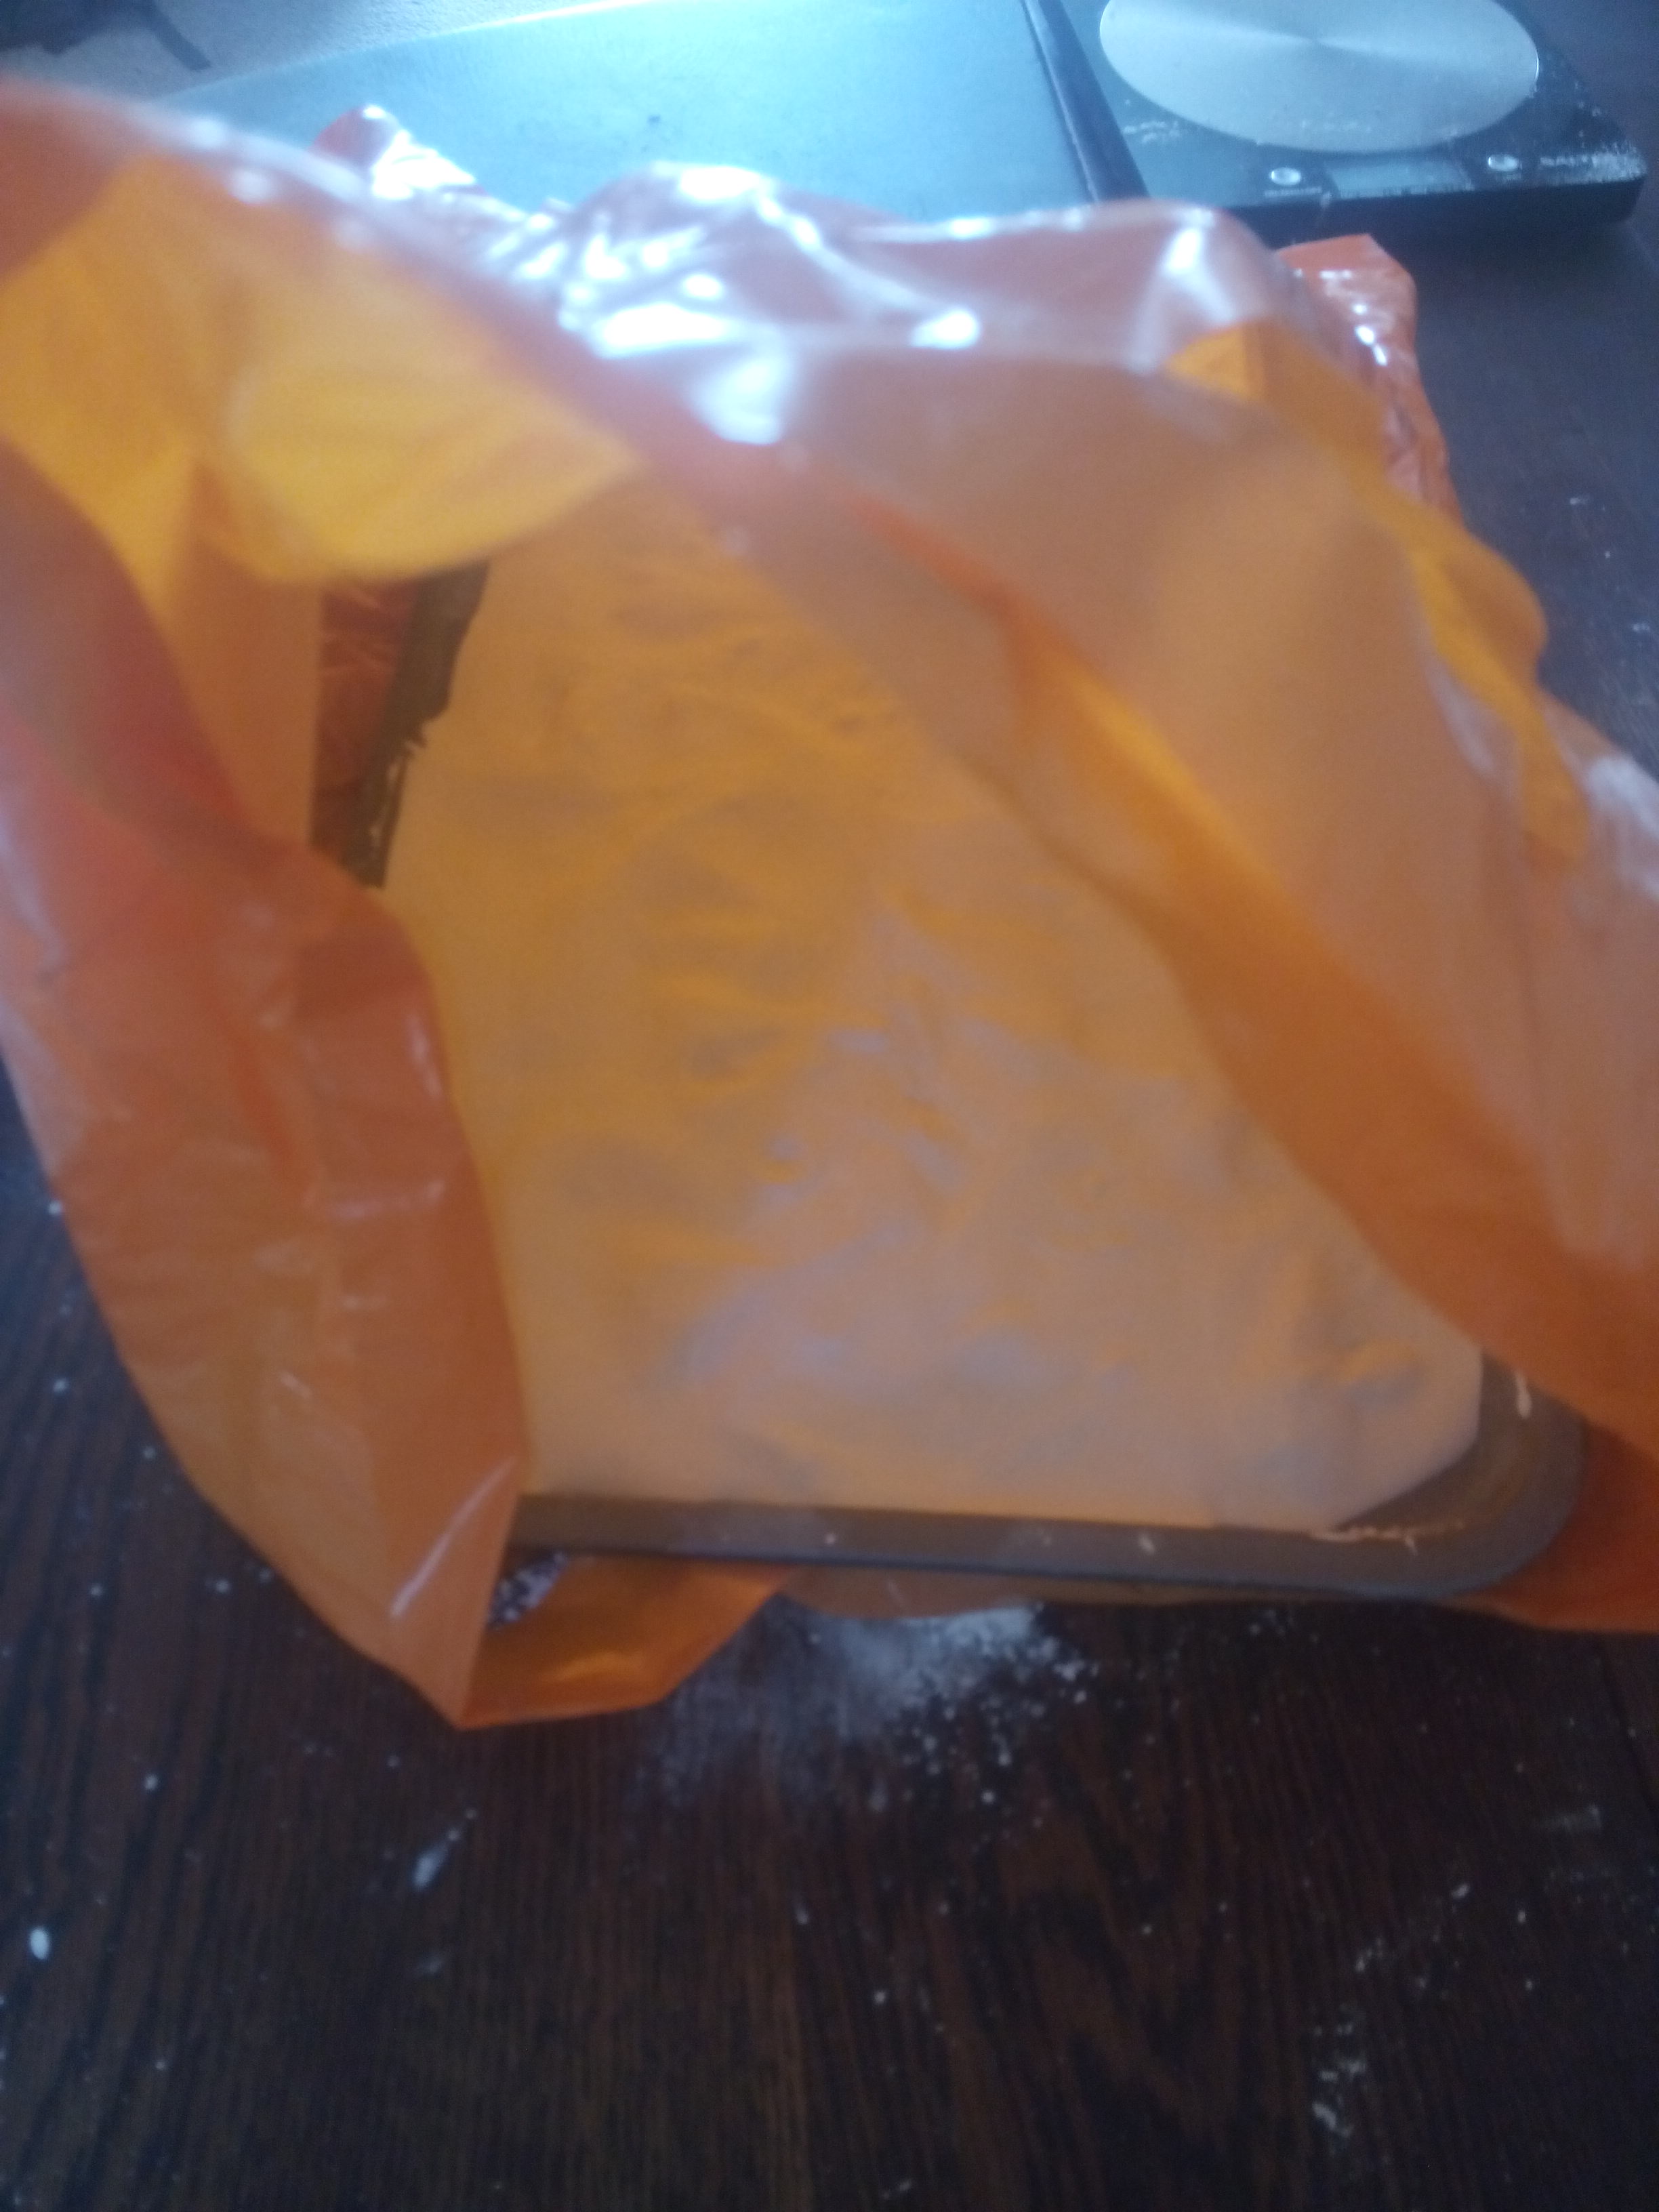
To do this, I first put the trays inside a large plastic bag and turned out the sheets of plaster. These came out quite easily.
Turning the plaster out of the trays
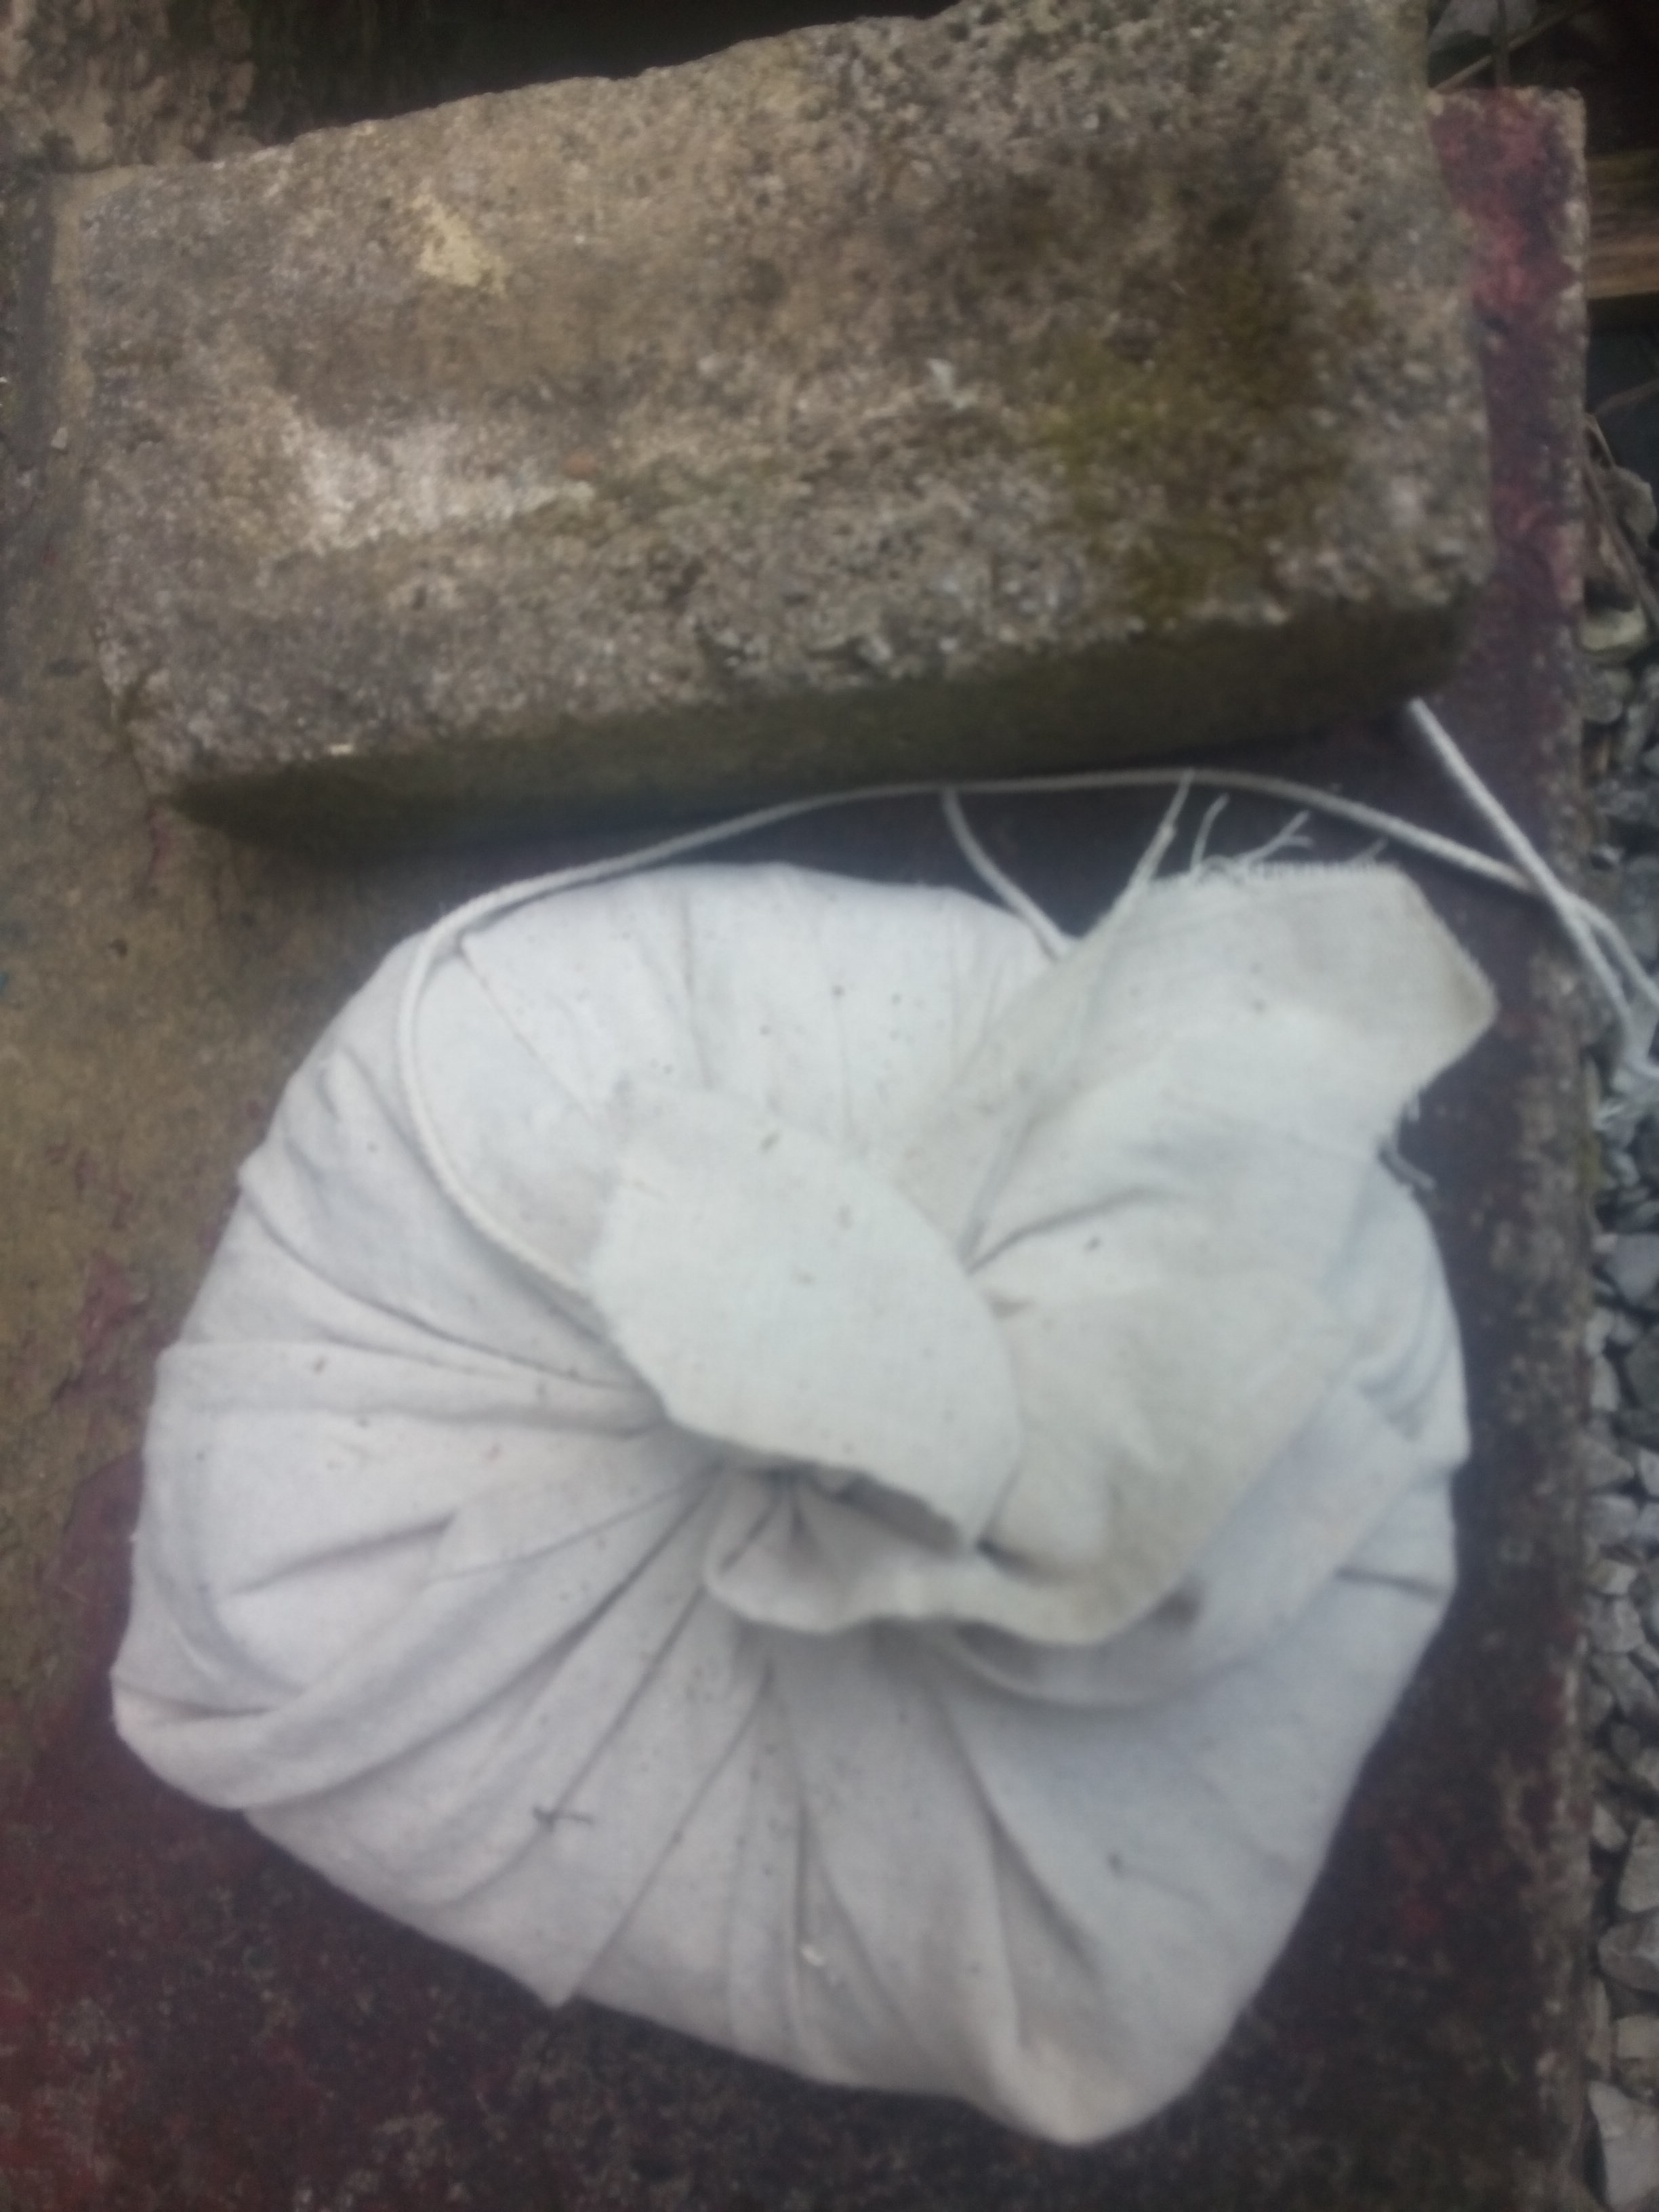
Having done that, I then put the bag inside another bag, broke up the plaster sheets a little bit by hand and then wrapped the bags inside the cloth square with a piece of string.
Plaster fragments inside bags
Plaster and bags wrapped in cloth
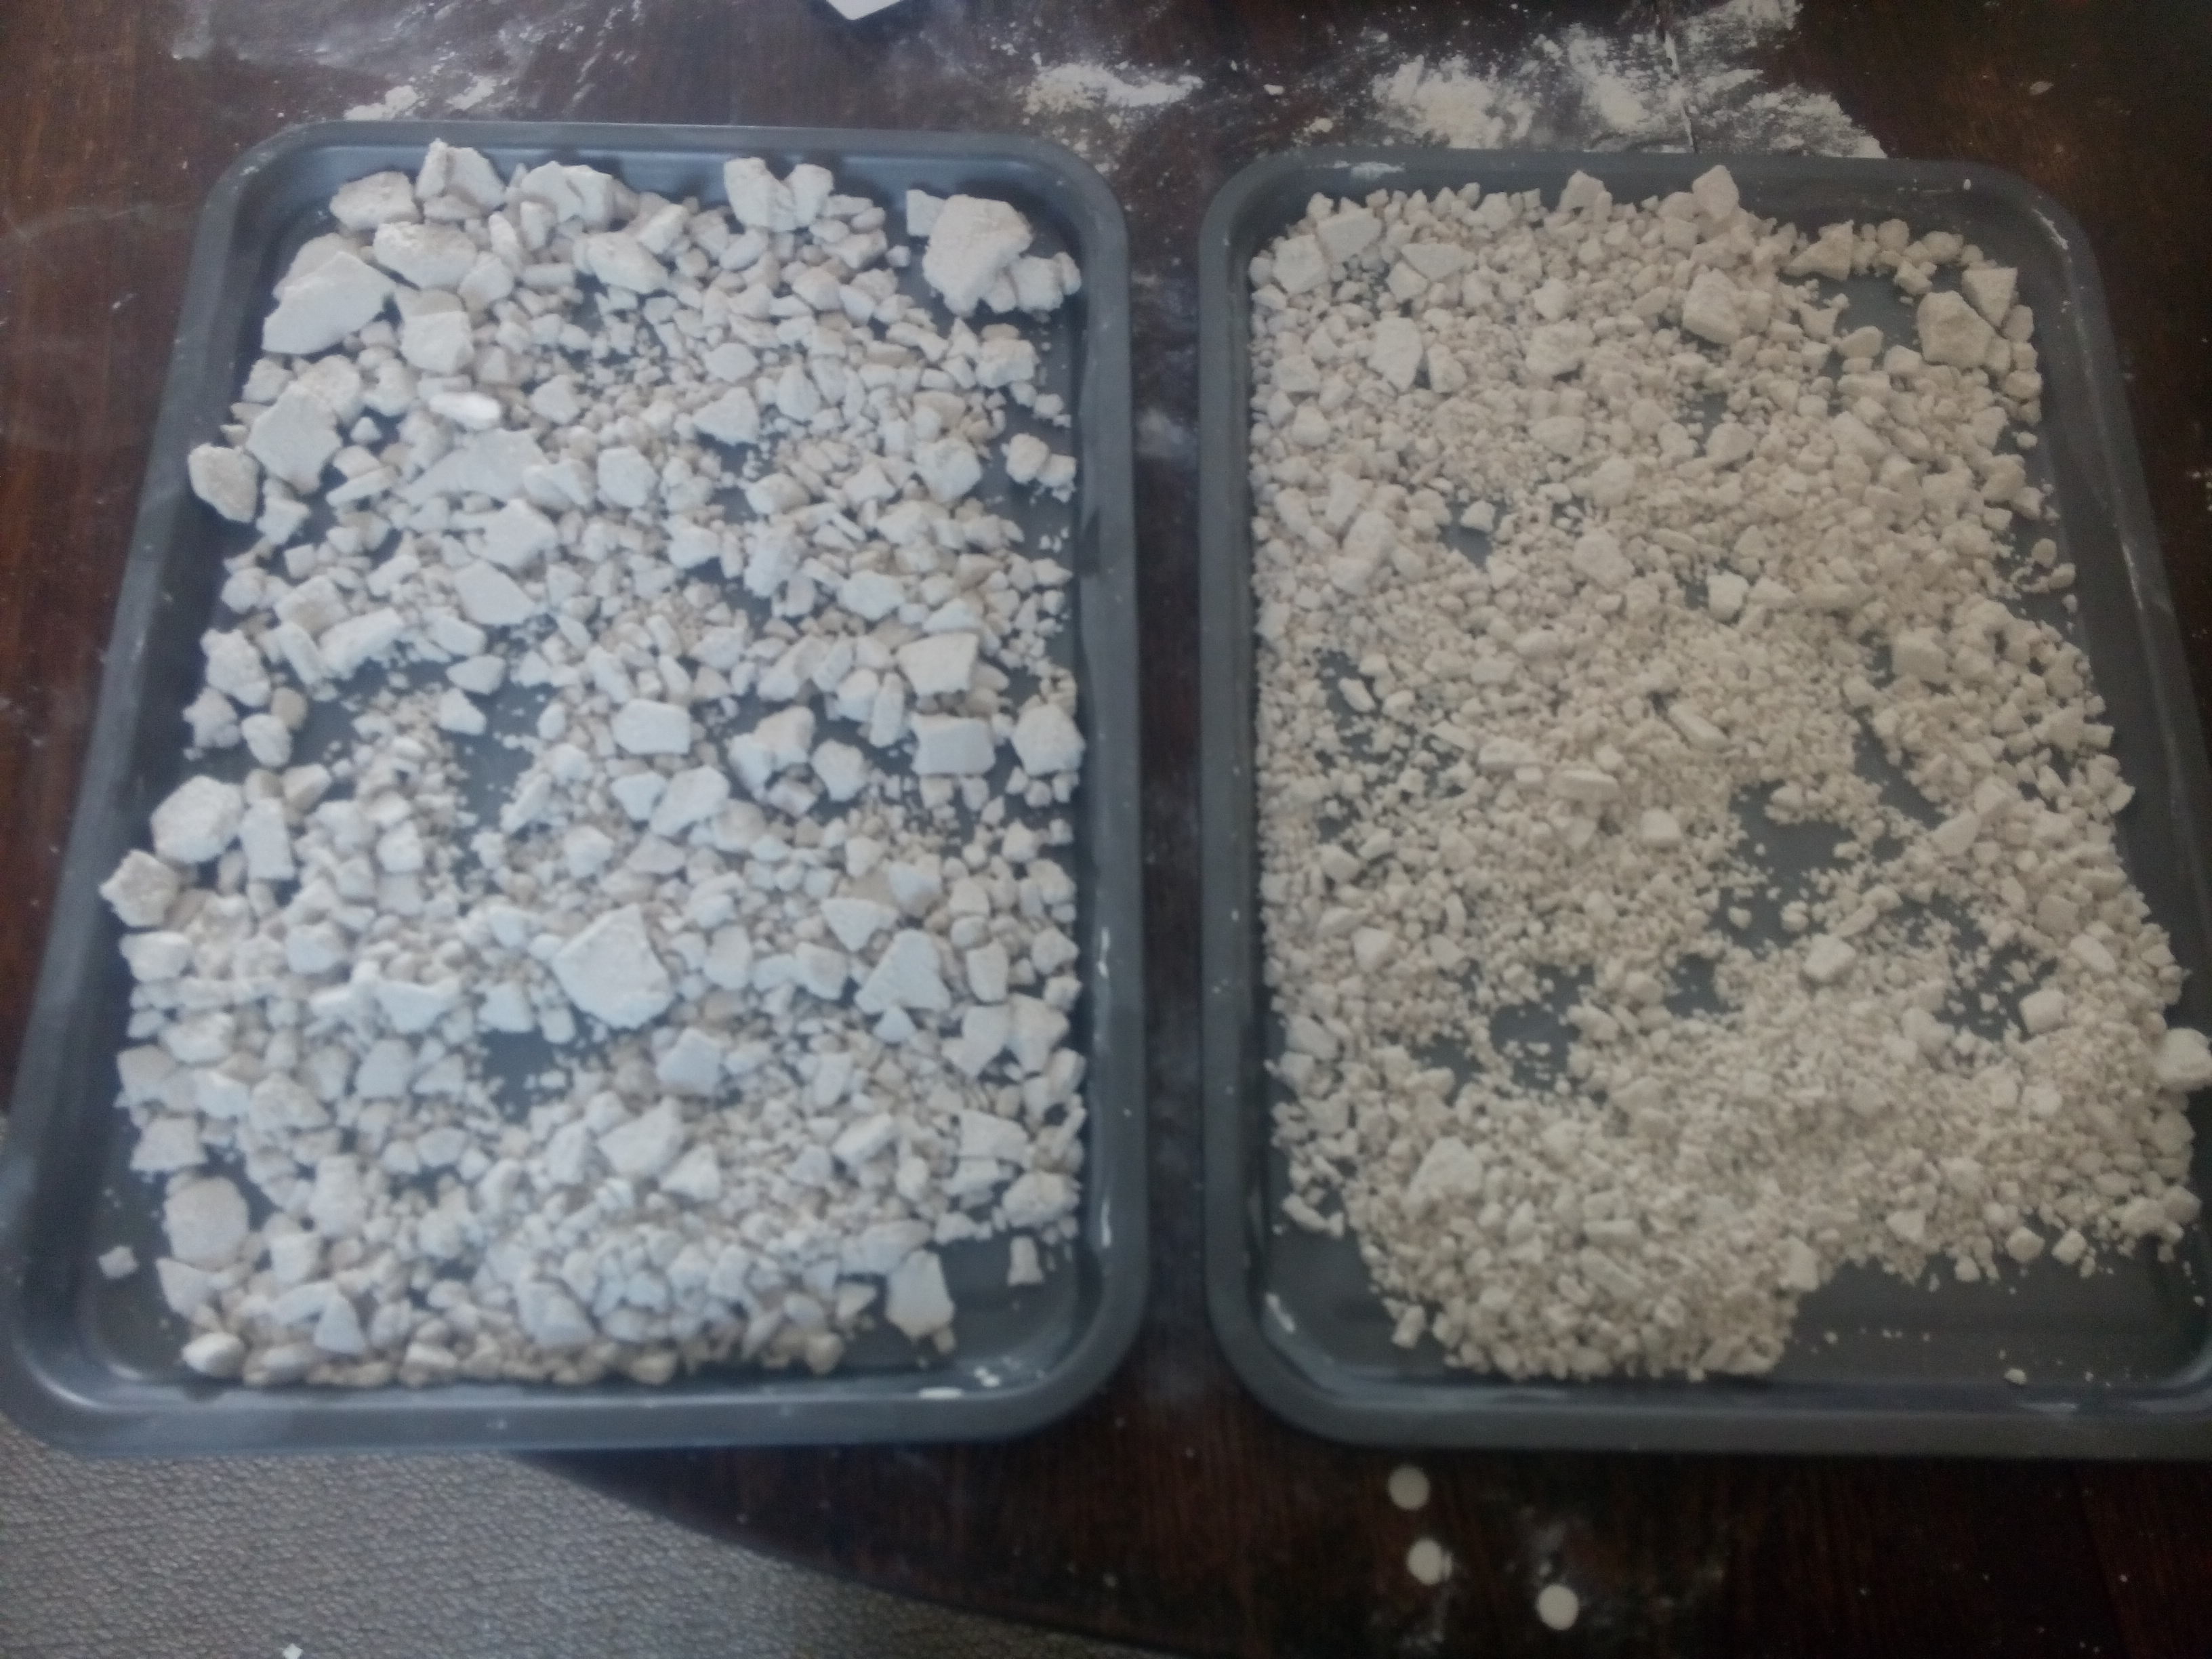
The next thing was to bash the bag with the end of a brick until it seemed like the plaster sheets were all broken up. Then I took the newly broken granules out of the bag, laid them out in the baking trays, and baked them in the oven at 230°C for two hours.
Plaster granules ready for baking
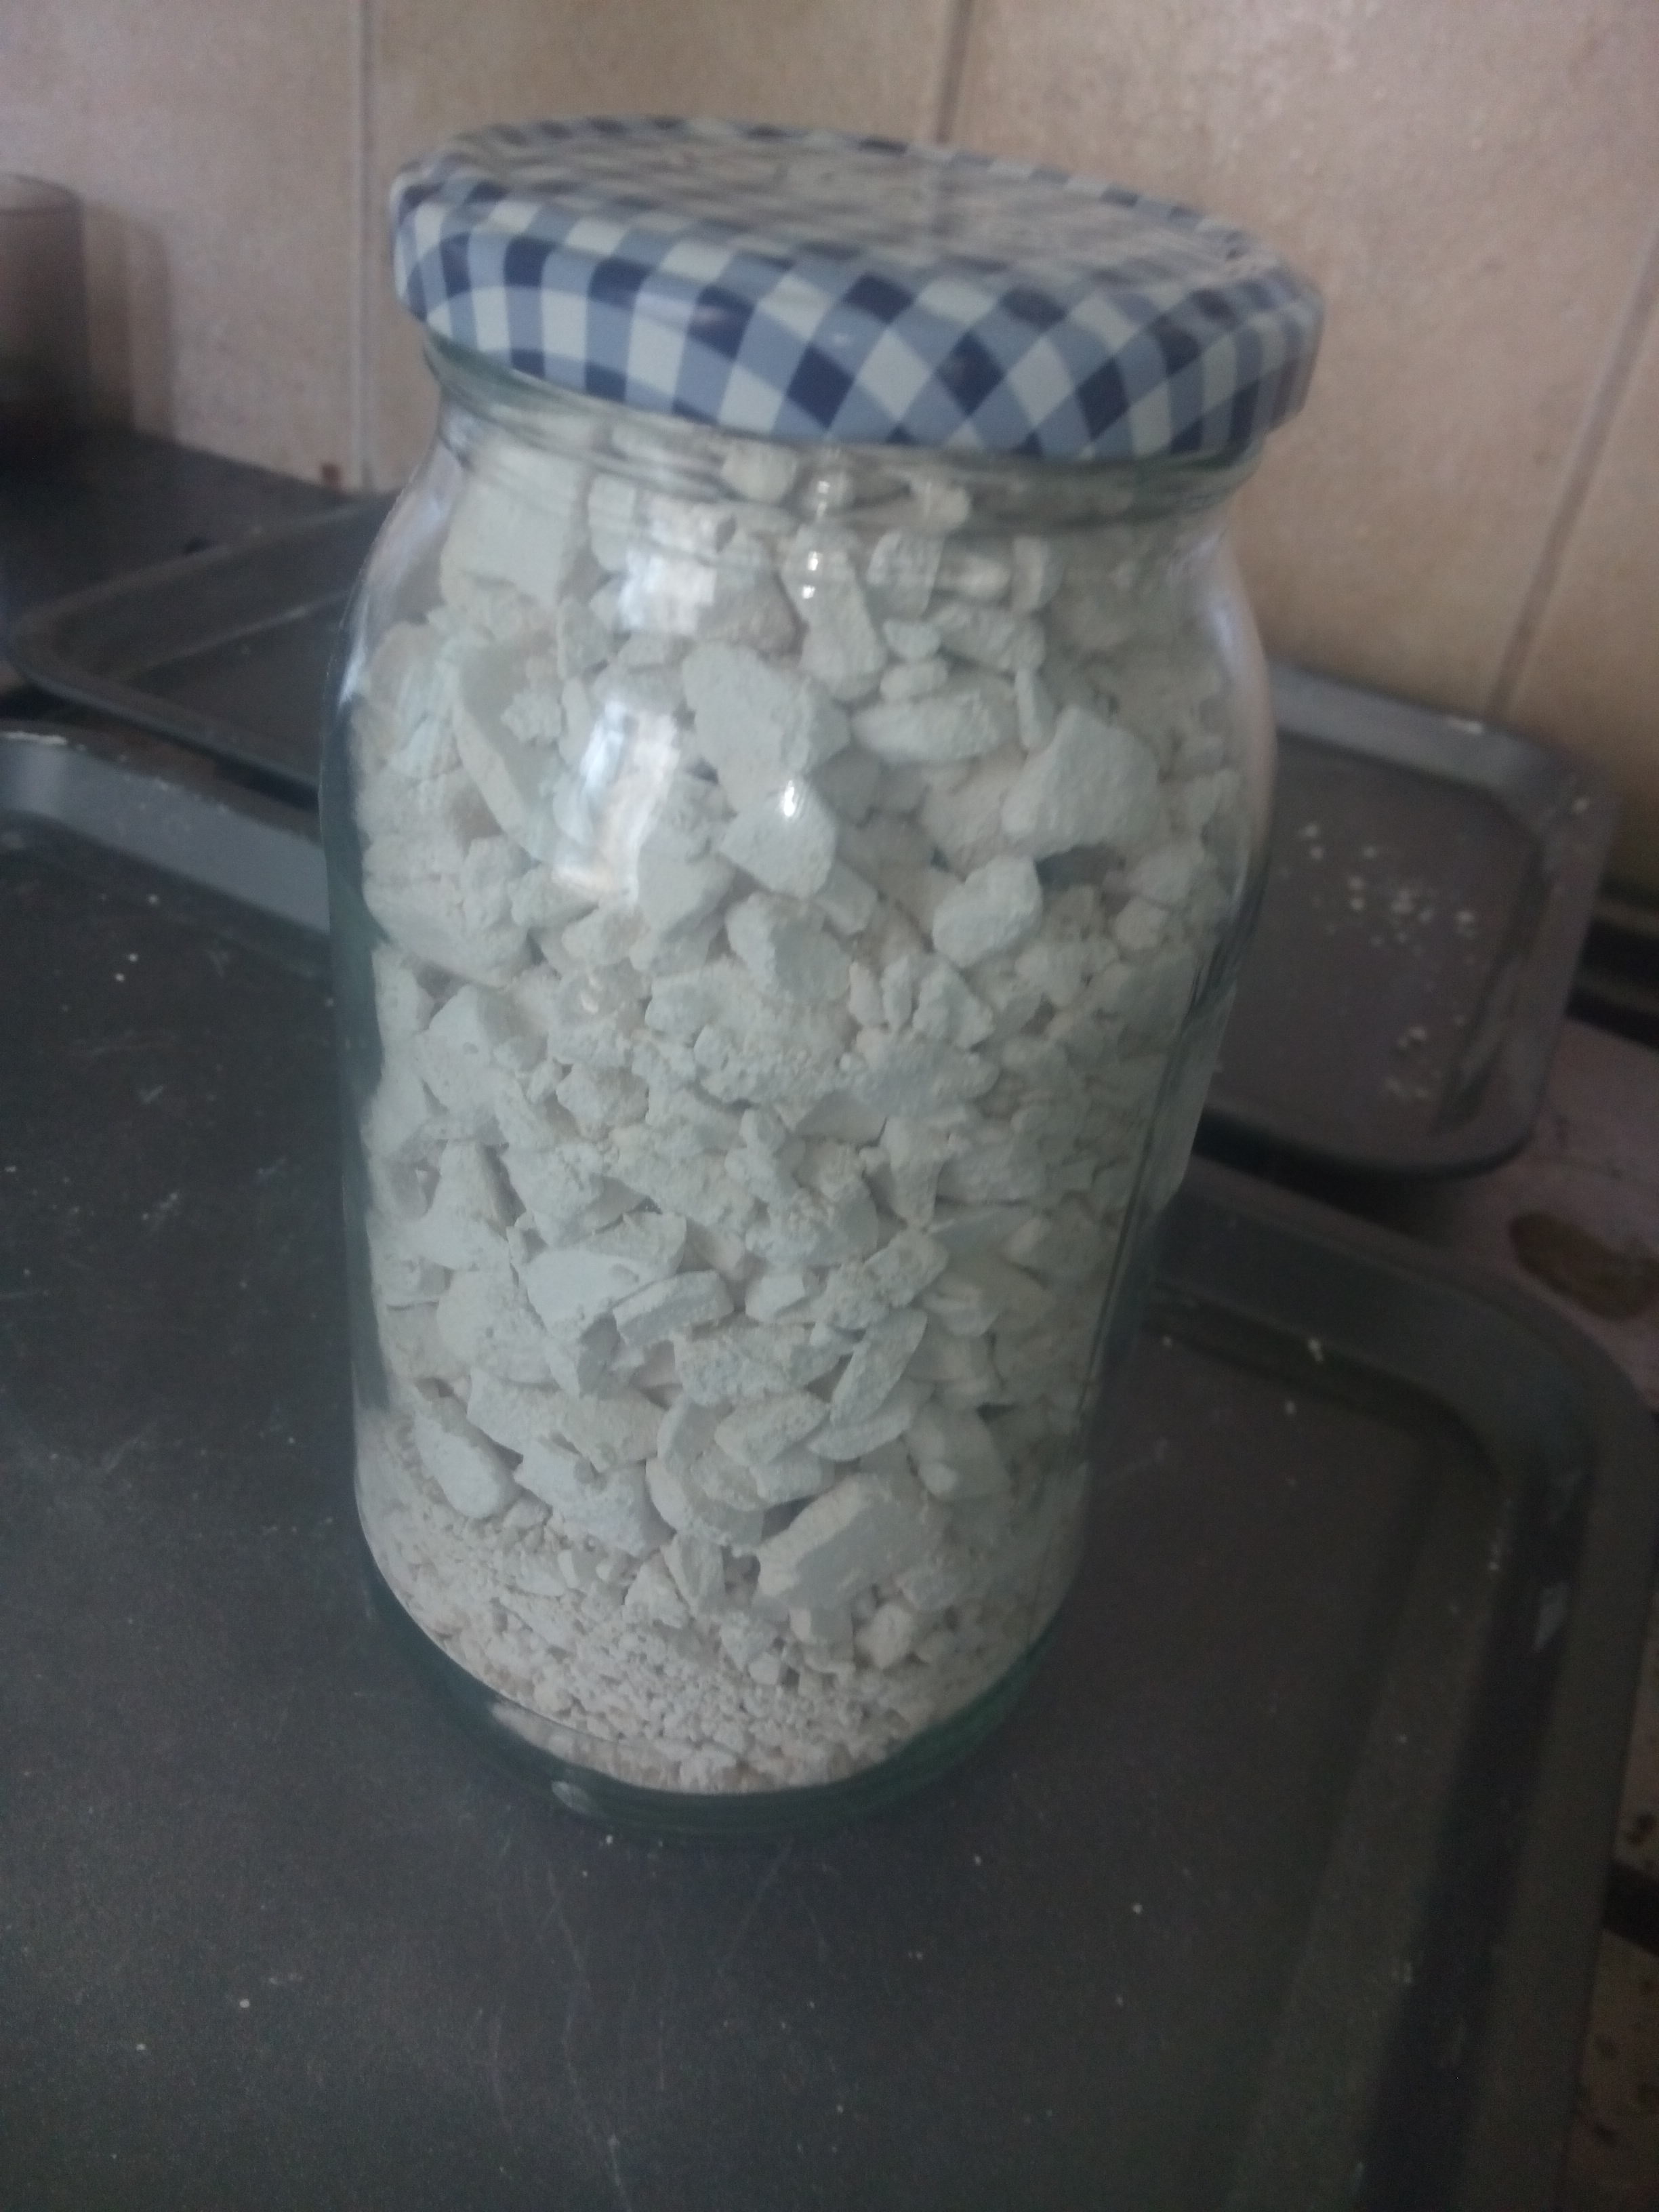
I left the trays on the hob for a couple of minutes to cool down a little, then poured the granules into the large glass jars to cool properly.
Plaster granules cooling in jar
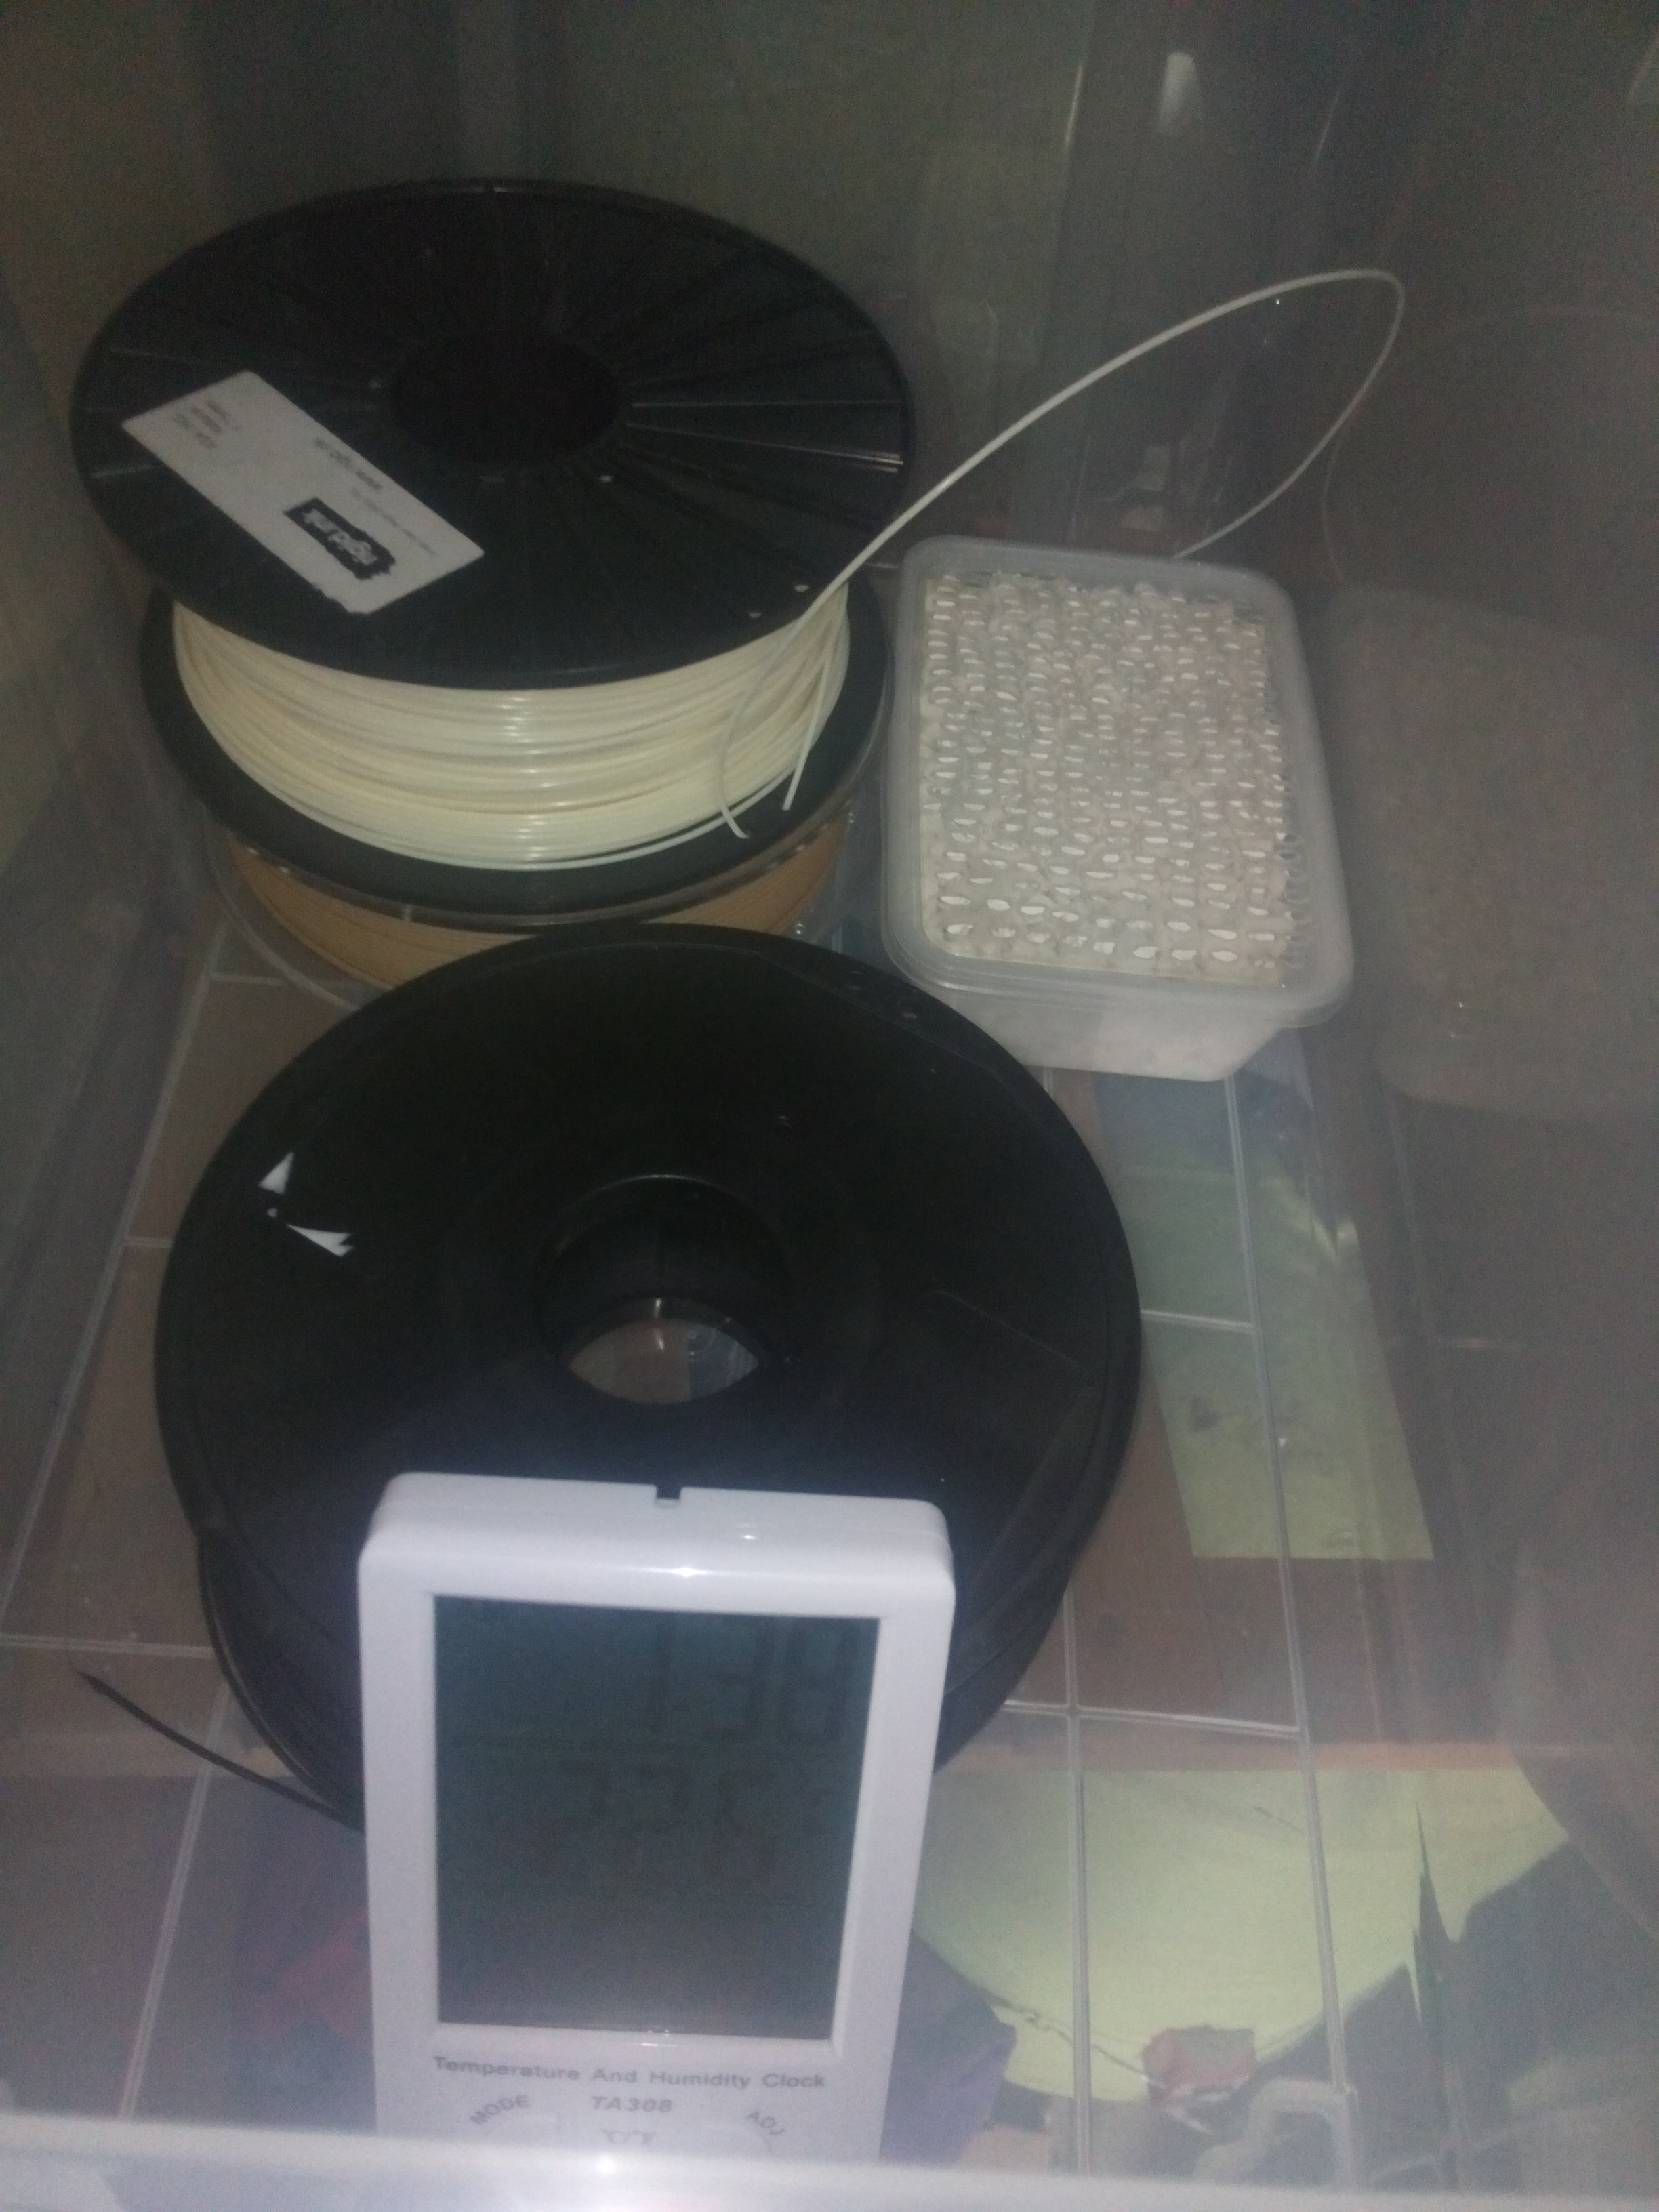
Once they were cool, I put them into the plastic tray with the holes in the lid and sealed this in the storage box with the hygrometer reading visible through the plastic sides.
Plaster granules, hygrometer and filament spools inside the dry box
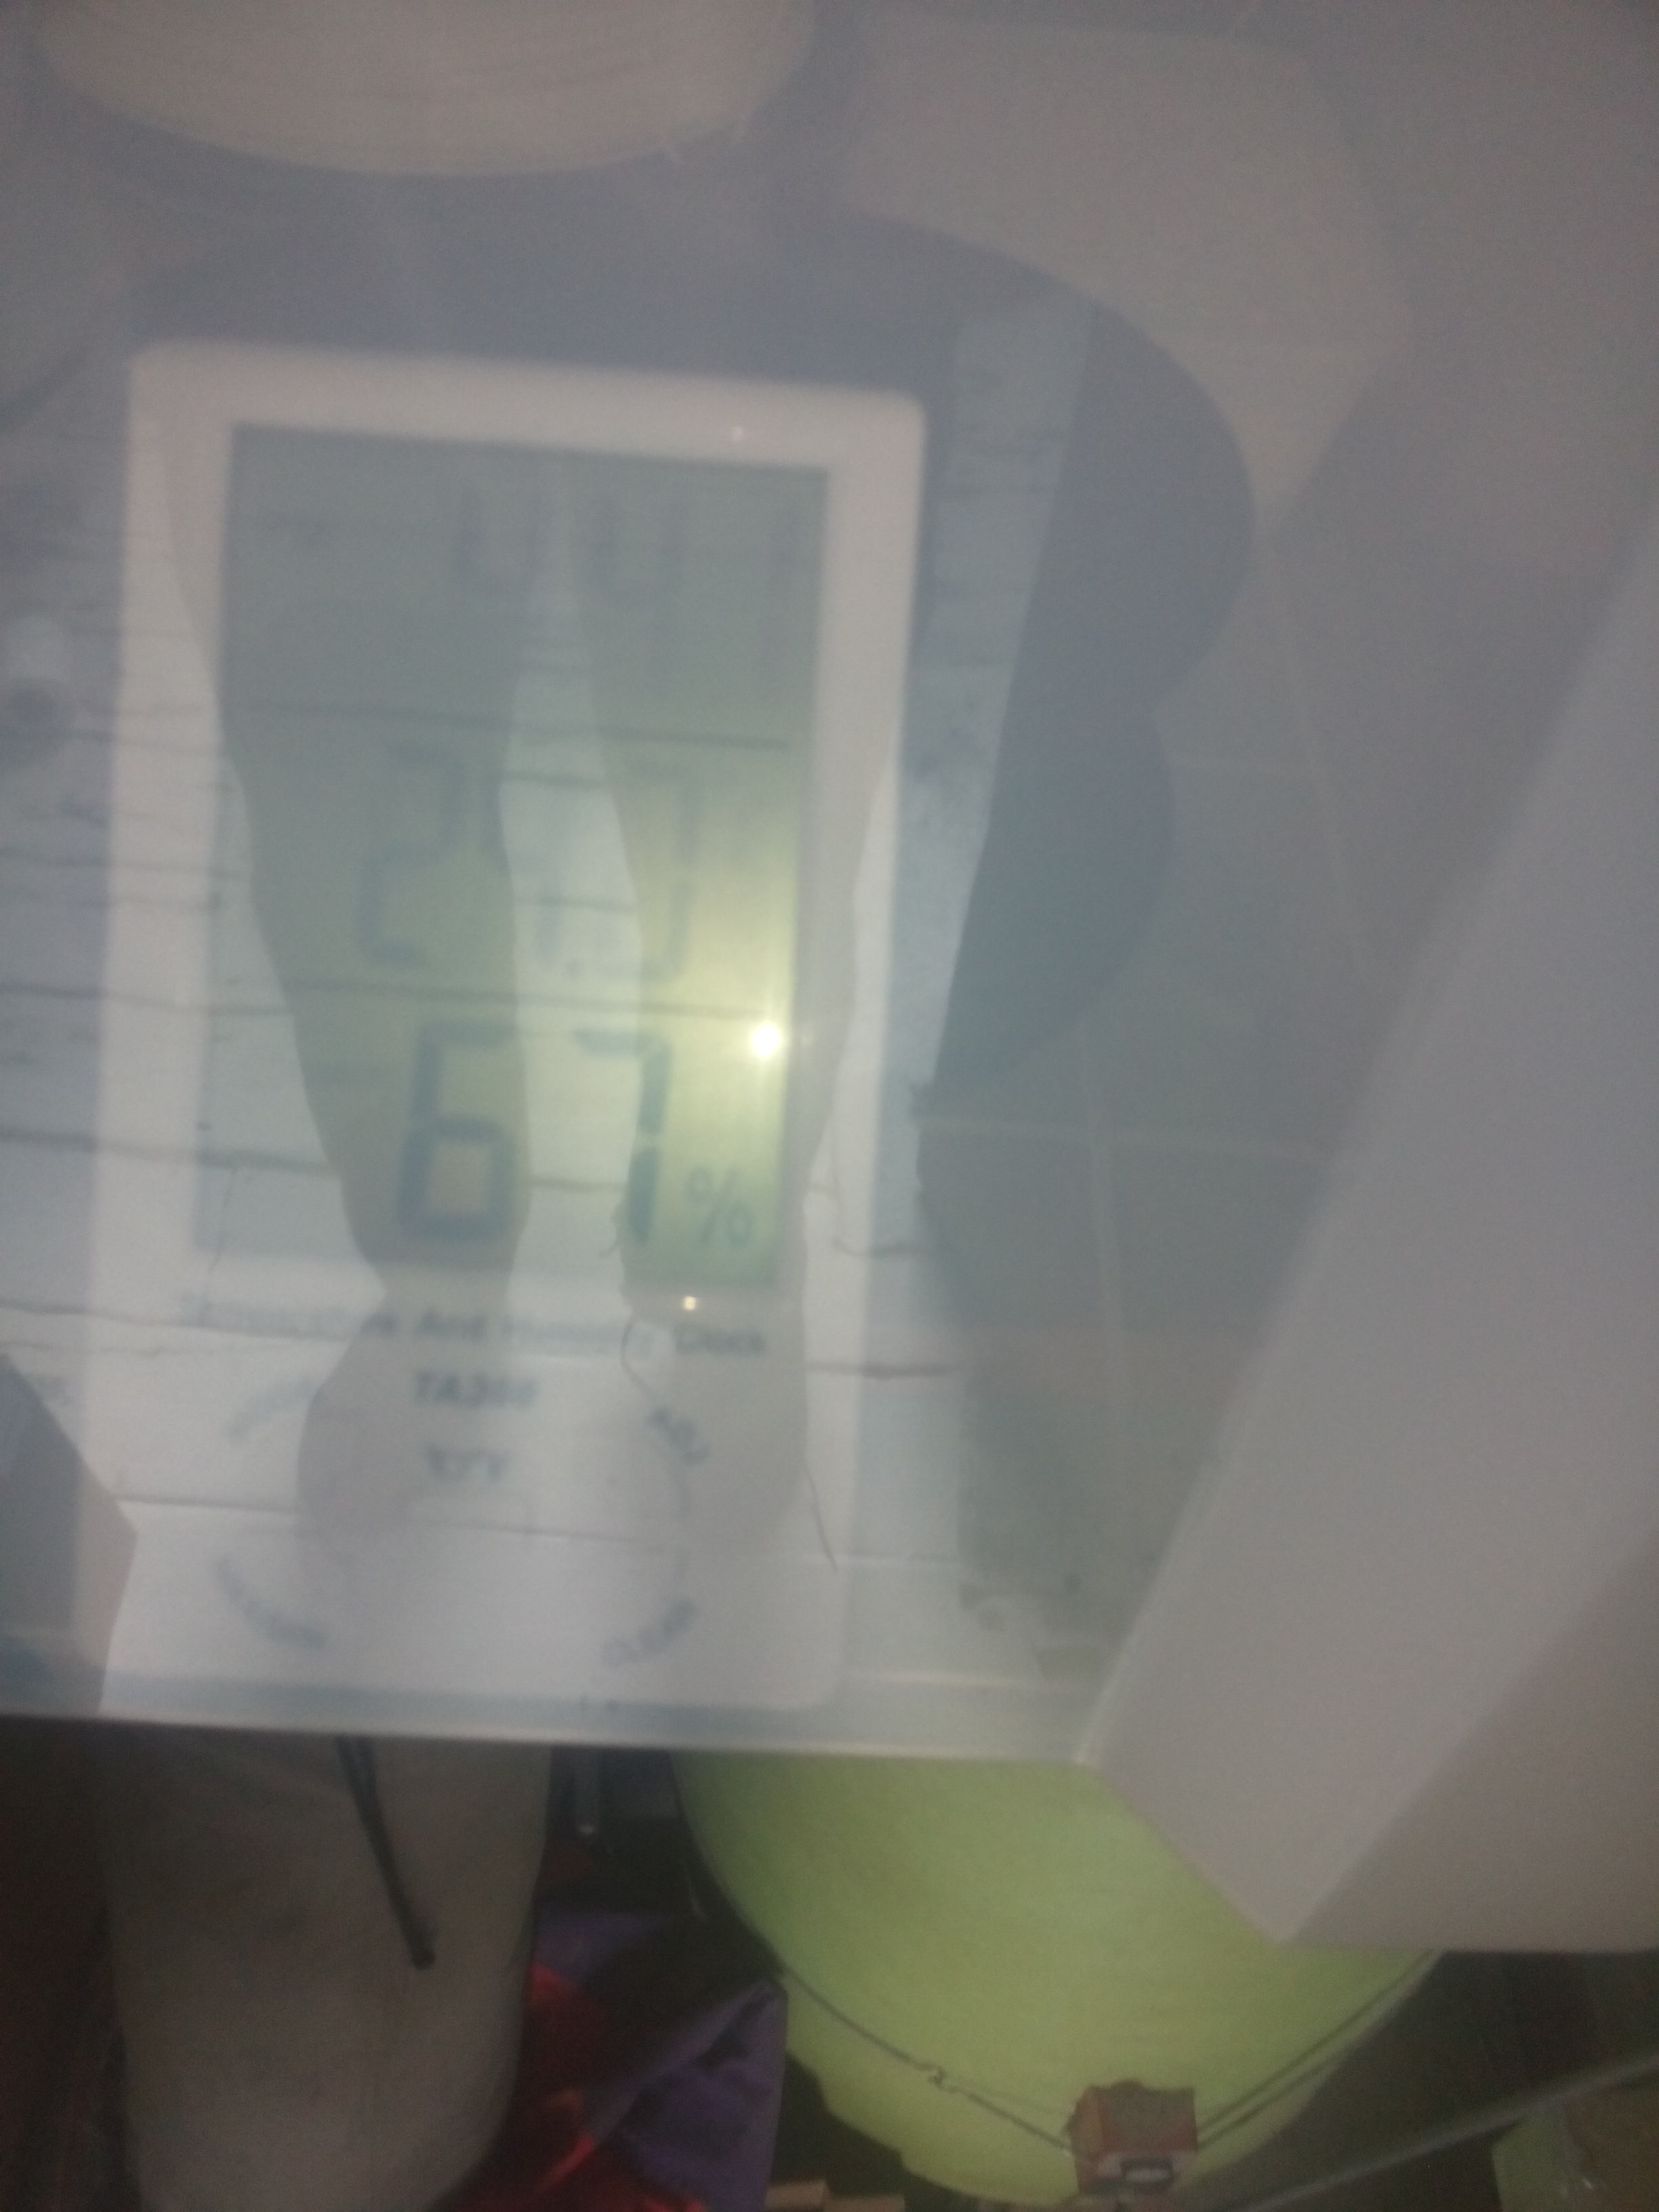
The box sealed with the hygrometer reading showing
Finally it was time to see if the granules were going to work. I wrote down the time and relative humidity for the next few hours, and watched the humidity fall from 62 % RH at 16:42 to 27 % RH at 23:04. It fell quite fast at first, going down to 38% by 18:03, and then slower after that. Whether it will get all the way down to the level of a few percent that the web page I referred to above says you can acheive using calcium sulphate, I’m not sure yet, but I’m pretty pleased with this result, as it is below the level that is supposed to be acheivable using silica gel.
One test I would like to do is to open the box again in a day or two, let the air mix, and then see if the humidity drops as fast the second time, to get an idea of how much drying capacity this amount of dessicant has. If I get around to this I’ll post an update in a comment.
On the 17th of June from 12pm to 5pm we are organising a day of demos and talks on the subject of ‘3D design for 3D printing’. There will be several talks and demonstrations on the subject of how to use 3D design software to produce physical objects for manufacture, whether on a 3D printer, laser cutter, or CNC milling machine. If you are curious about 3D printing and other computer based manufacture techniques but don’t know where to start, or if you have experience but would like to share skills and ideas with others, this could be the event for you. All ages welcome but under 16s must be accompanied by an adult.
The talks / demos will be:
Tom Bloor – Introduction to Fusion360.
Ian Norton – Modelling in OpenSCAD.
Andrew Baxter – 3 ways to model a real object in FreeCAD.
— break —
Dave Leack – 3D Printing with Blender: Common errors and how to fix them.
Ian Jackson – Modelling in Vectric Aspire.
The talks will last between 30 to 40 minutes, with a 20 minute break in the middle.
If you would like to help publicise this event, please download and print out this poster, and put it up wherever you think people might be interested.
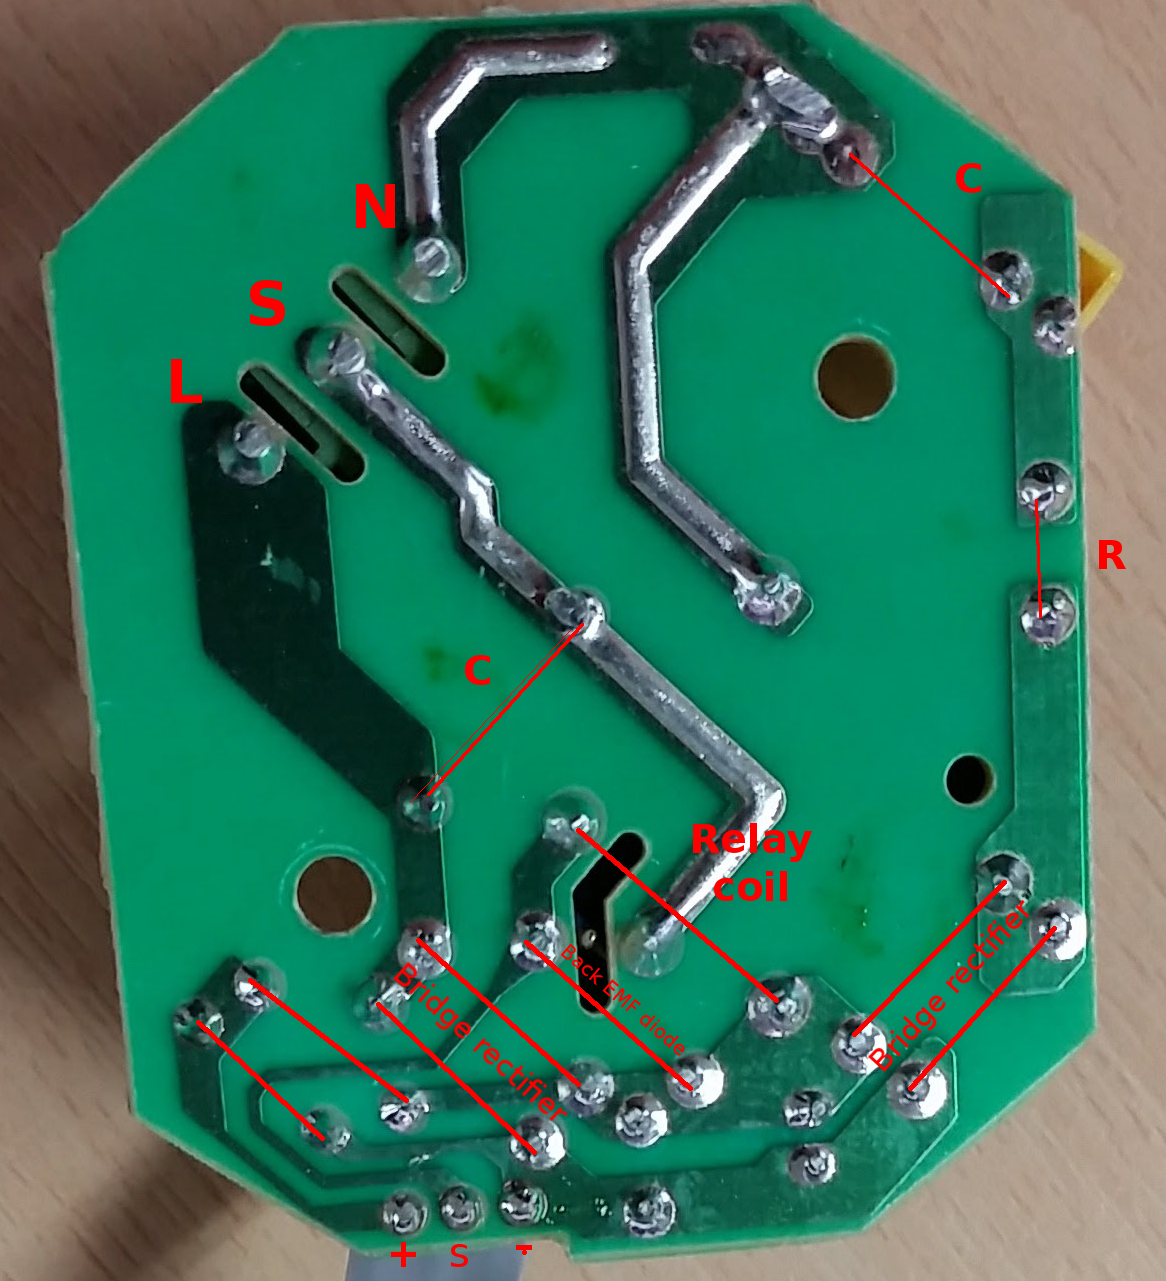
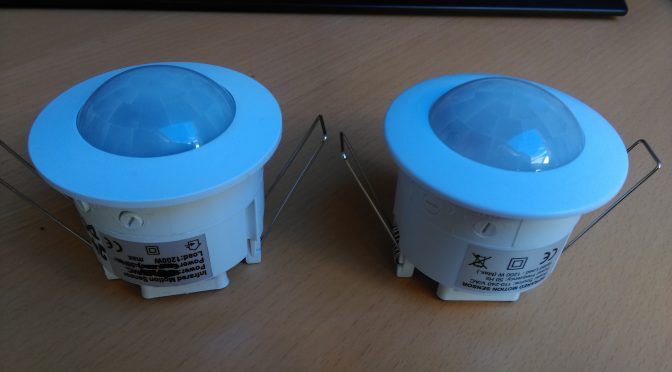
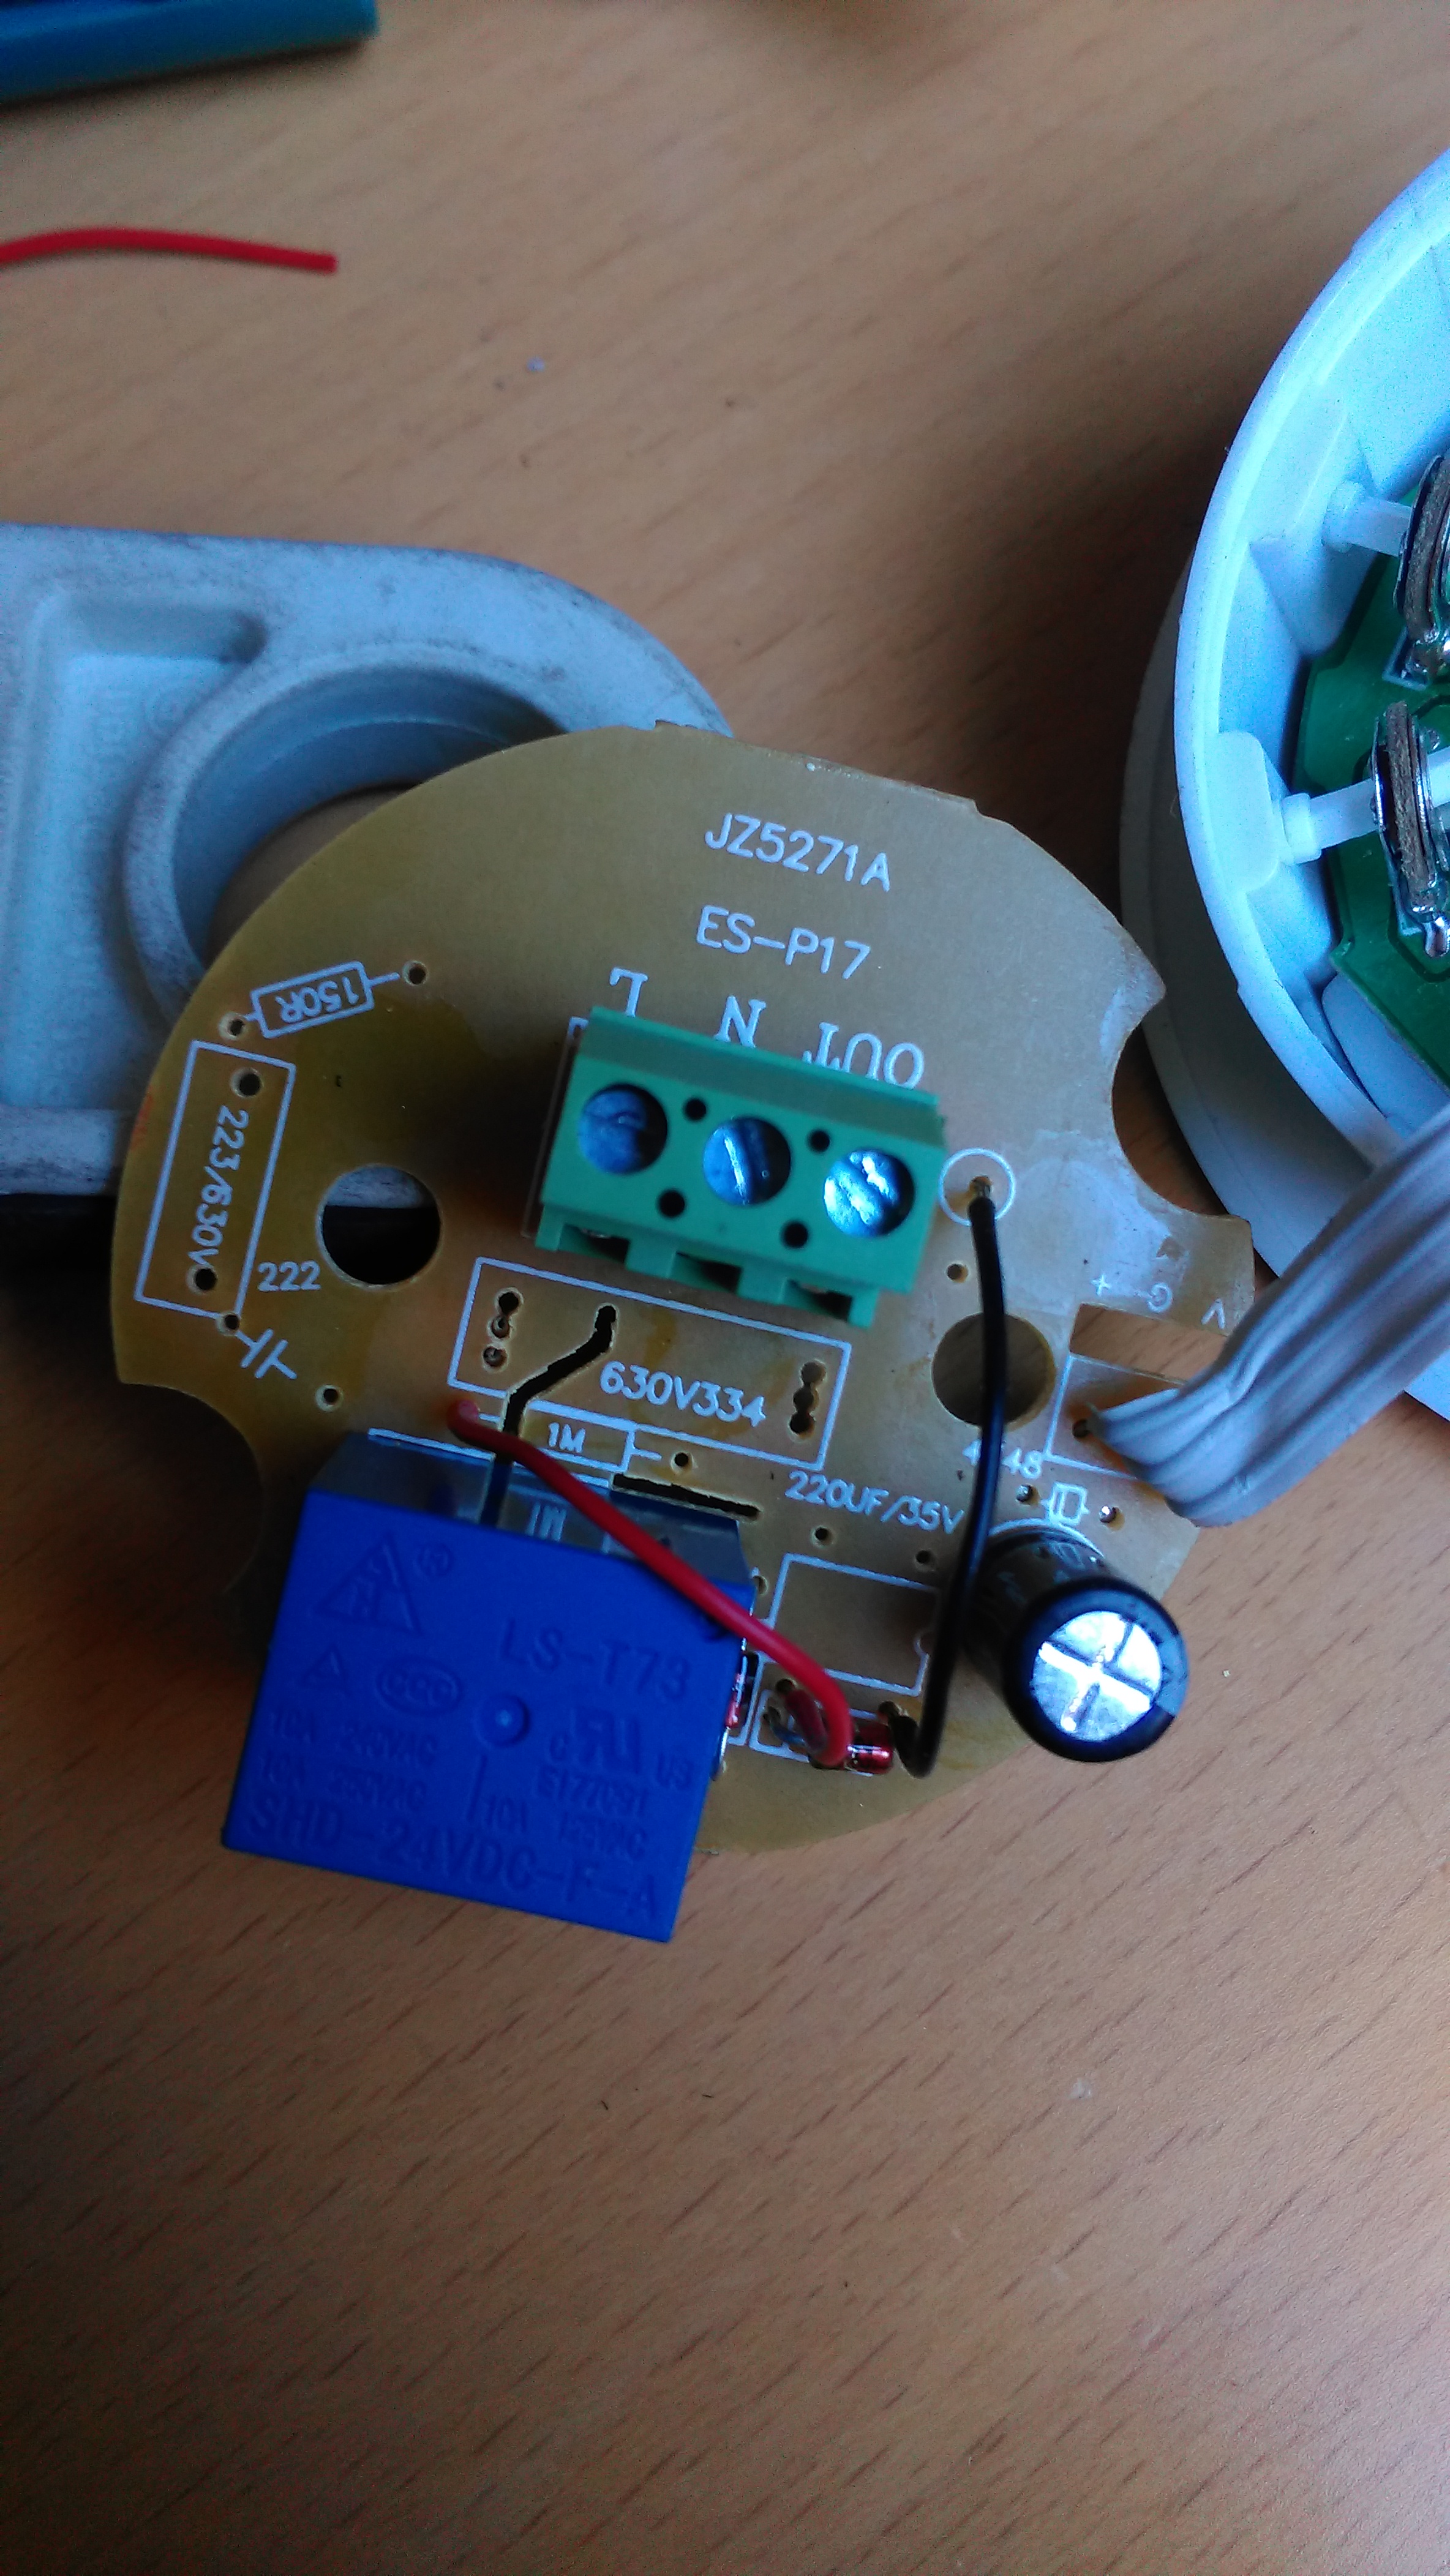
As does happen with these things, we’ve ended up with another different style of sensor from the same supplier!
The design of this one is actually more complicated than we’ve seen previously making use of zenner diodes to drop the +24v DC to 5v for the front panel PCB.
Thanks once again to Malc who eventually gave up trying to make this design work and posted me three up to look at, I shall enjoy the beer on you mate 😉
The AGM for Lancaster and Morecambe Makers will take place on Monday 27th February 2017 at 19:00 GMT at the Space
Please could all Members make the effort to attend this meeting, if you cannot attend we will require proxy votes beforehand
If you would like to raise anything please let one of the directors know by the 19th February, so that we can add it to the agenda. The agenda will be circulated before the meeting to allow time for Proxy votes
In accordance with our Articles of association two of the directors will stand down at the AGM to allow others to become directors.
If anybody wishes to nominate or be nominated to the board please let us know before the 13th February 19:00 GMT.
Please submit in writing a statement with the intention to propose the appointment of a person as a director; contains the details that, if the person were to be appointed, the association would have to file at Companies House; and is signed by the person who is to be proposed to show his or her willingness to be appointed.
Please submit any point, proxy votes or nominations to lamm.space@gmail.com
The two directors who will be standing down this time will be:
Shout out to Malc Crook (https://hackaday.io/mal8837) and Adam (https://hackaday.io/Bobbsta10) who both contacted me to say that the PIR linked to in the original post is no longer the one you get when you order the same item from the same seller 🙁
Fear not, for I have hacked the new one this evening and it’s pretty straight forward 🙂
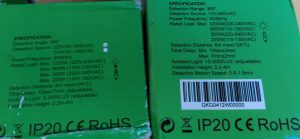
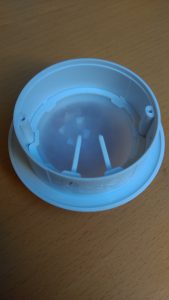
Well that mostly looks similar…
Still looks similar…
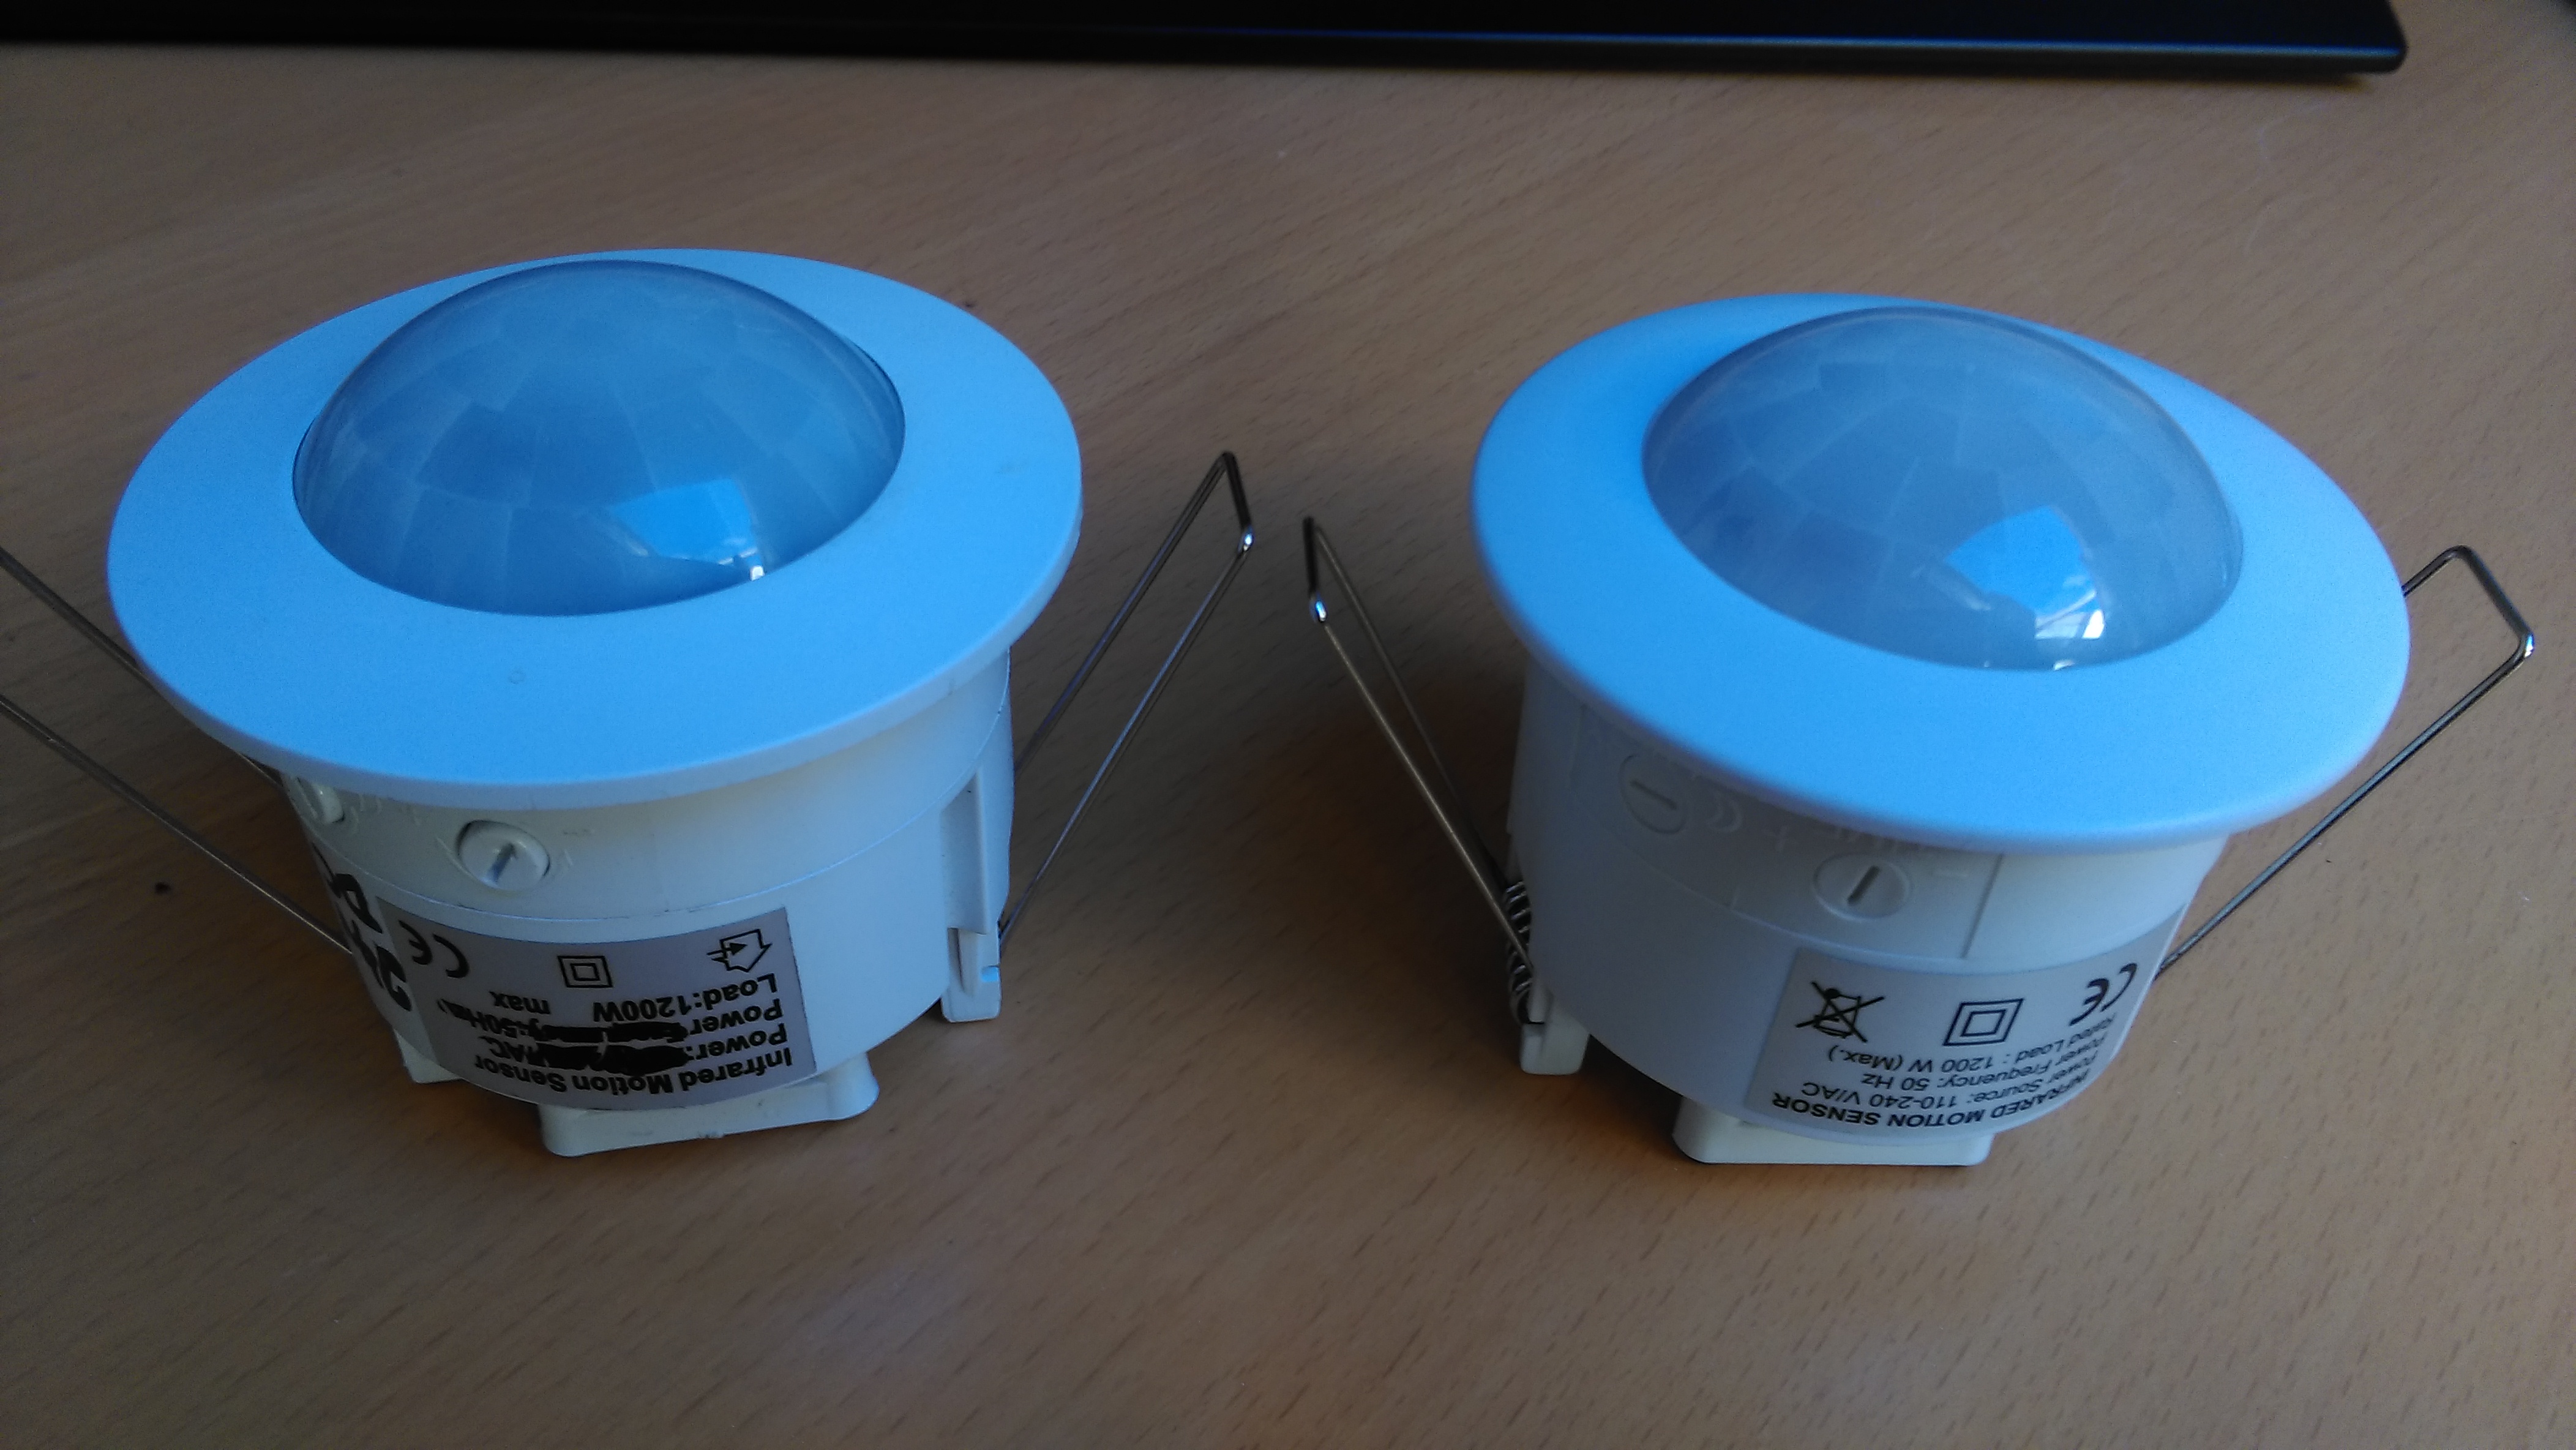
Well that’s different. The two boards are fixed together and the front board has to come away from the plastic shafts for altering the time and lux level
Those are really annoying to get back in but I’ll come back to that.
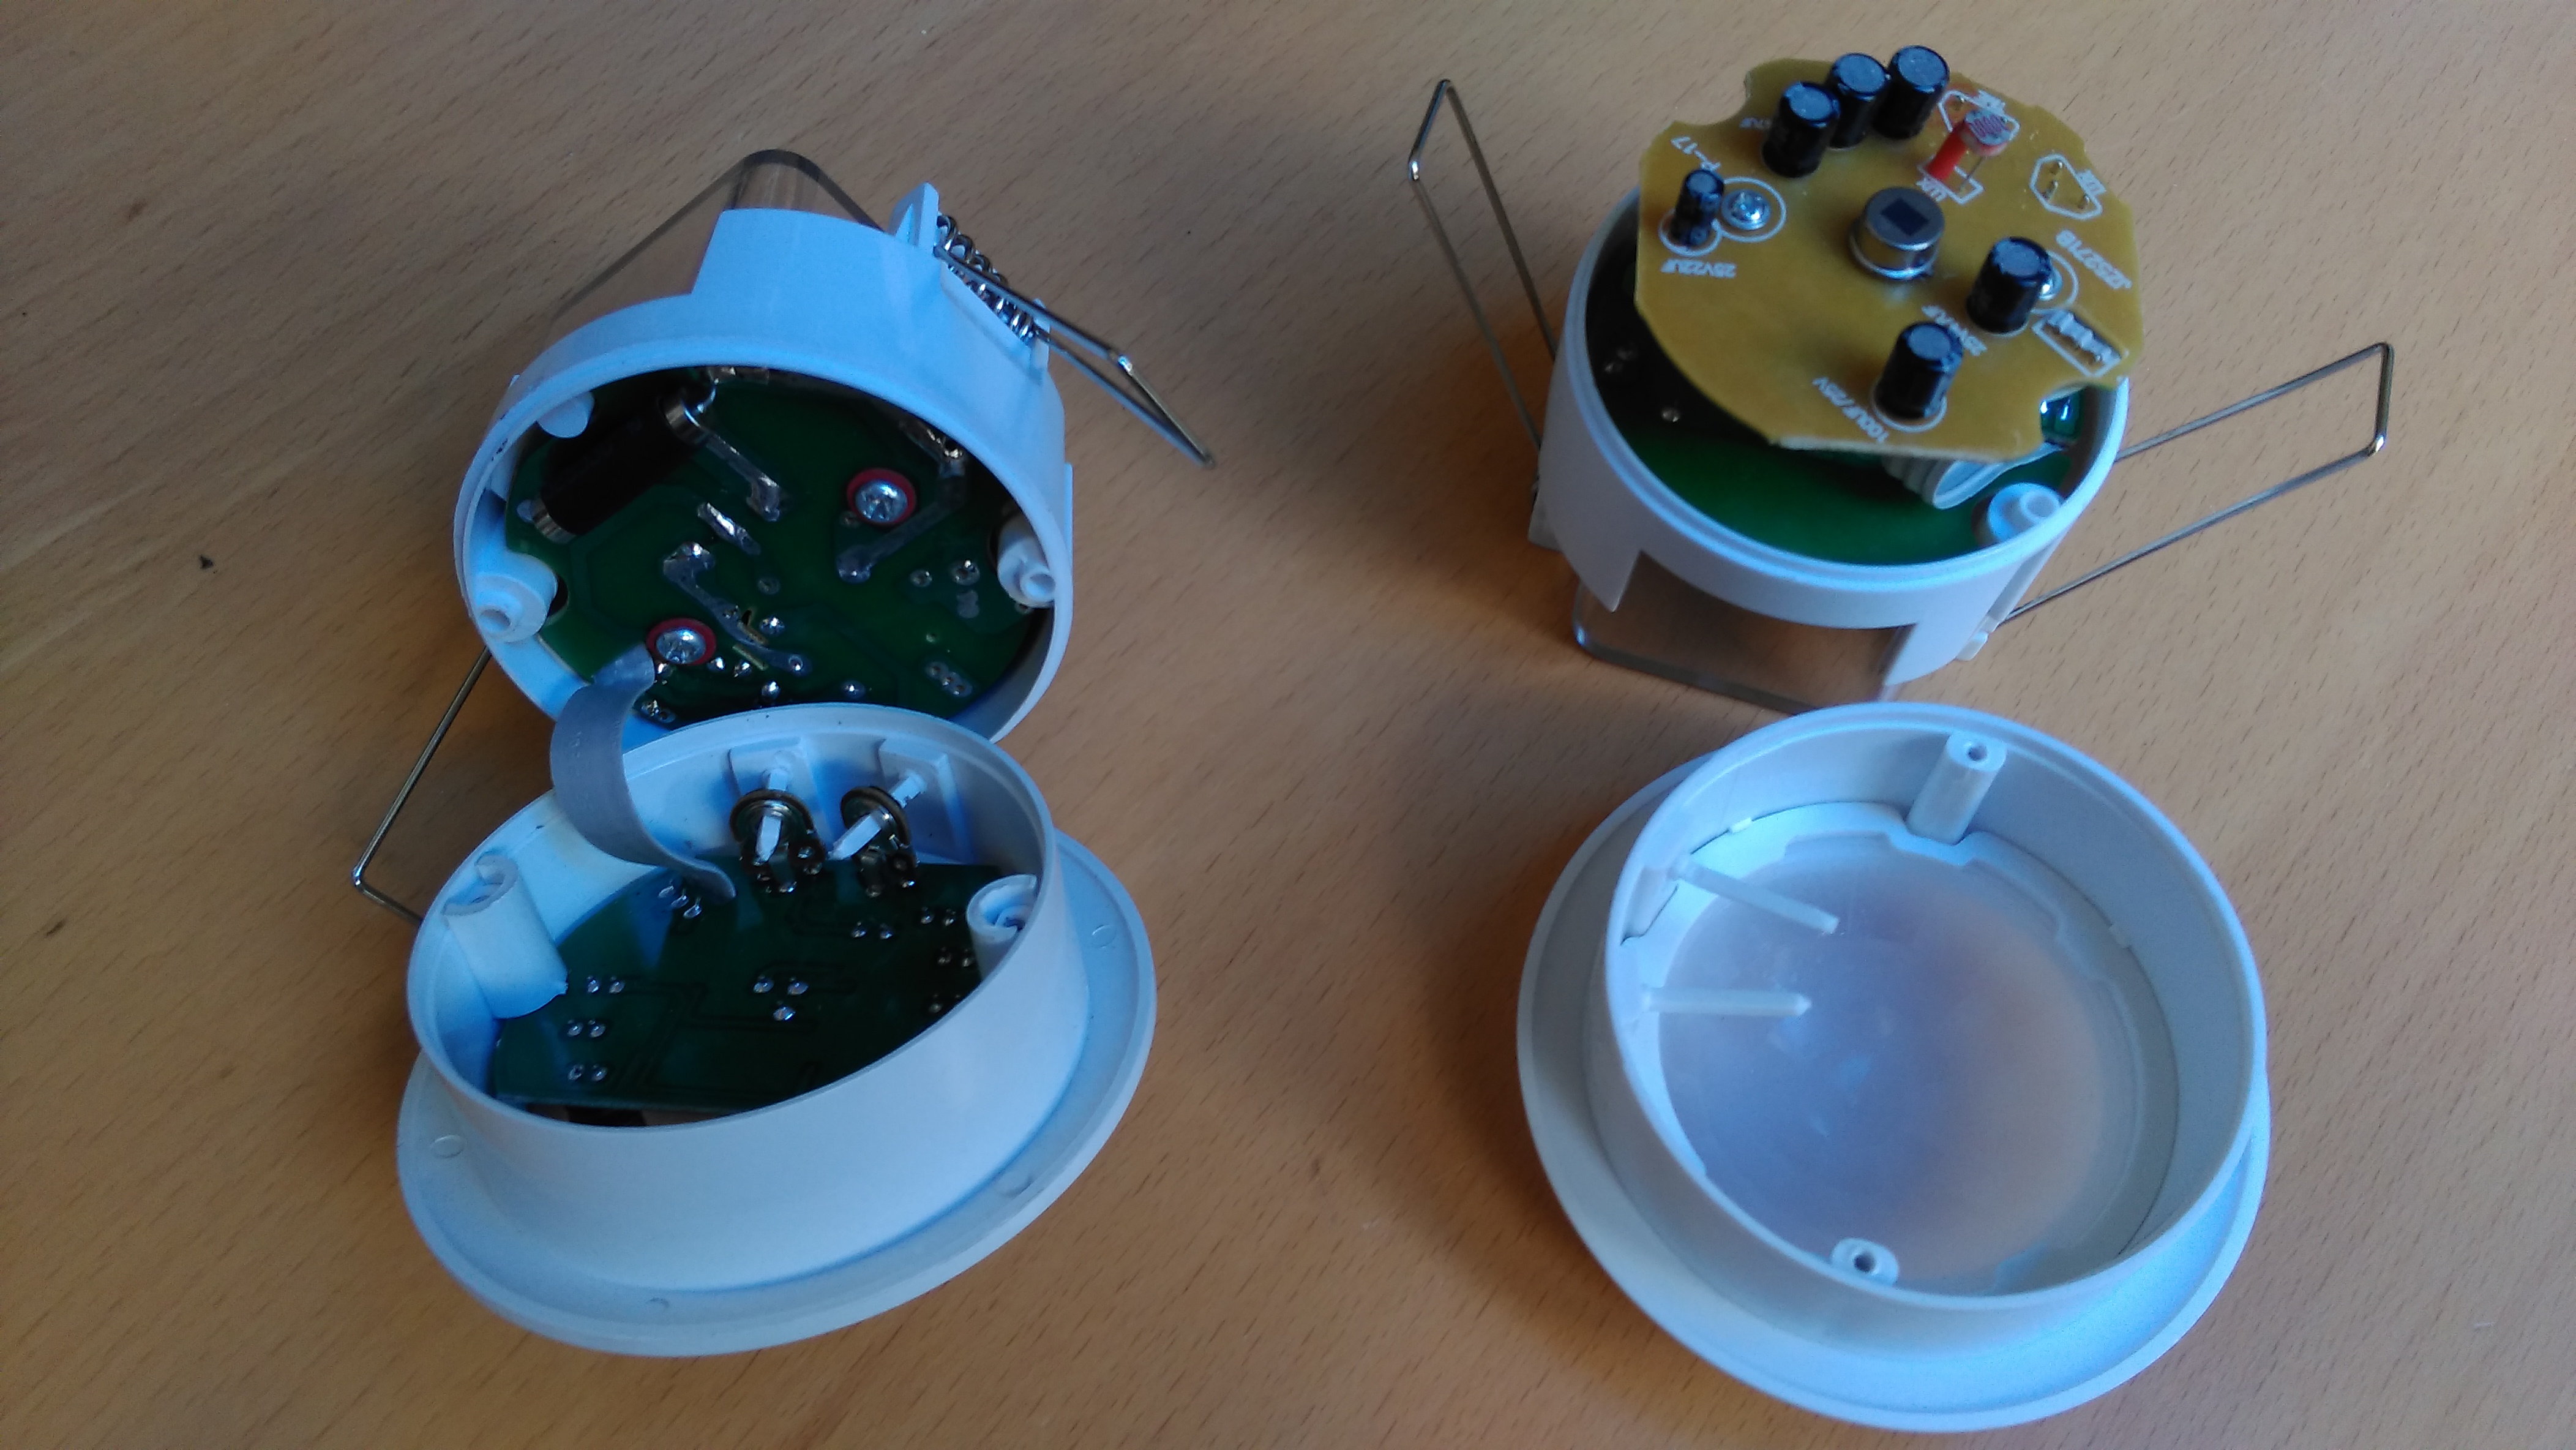
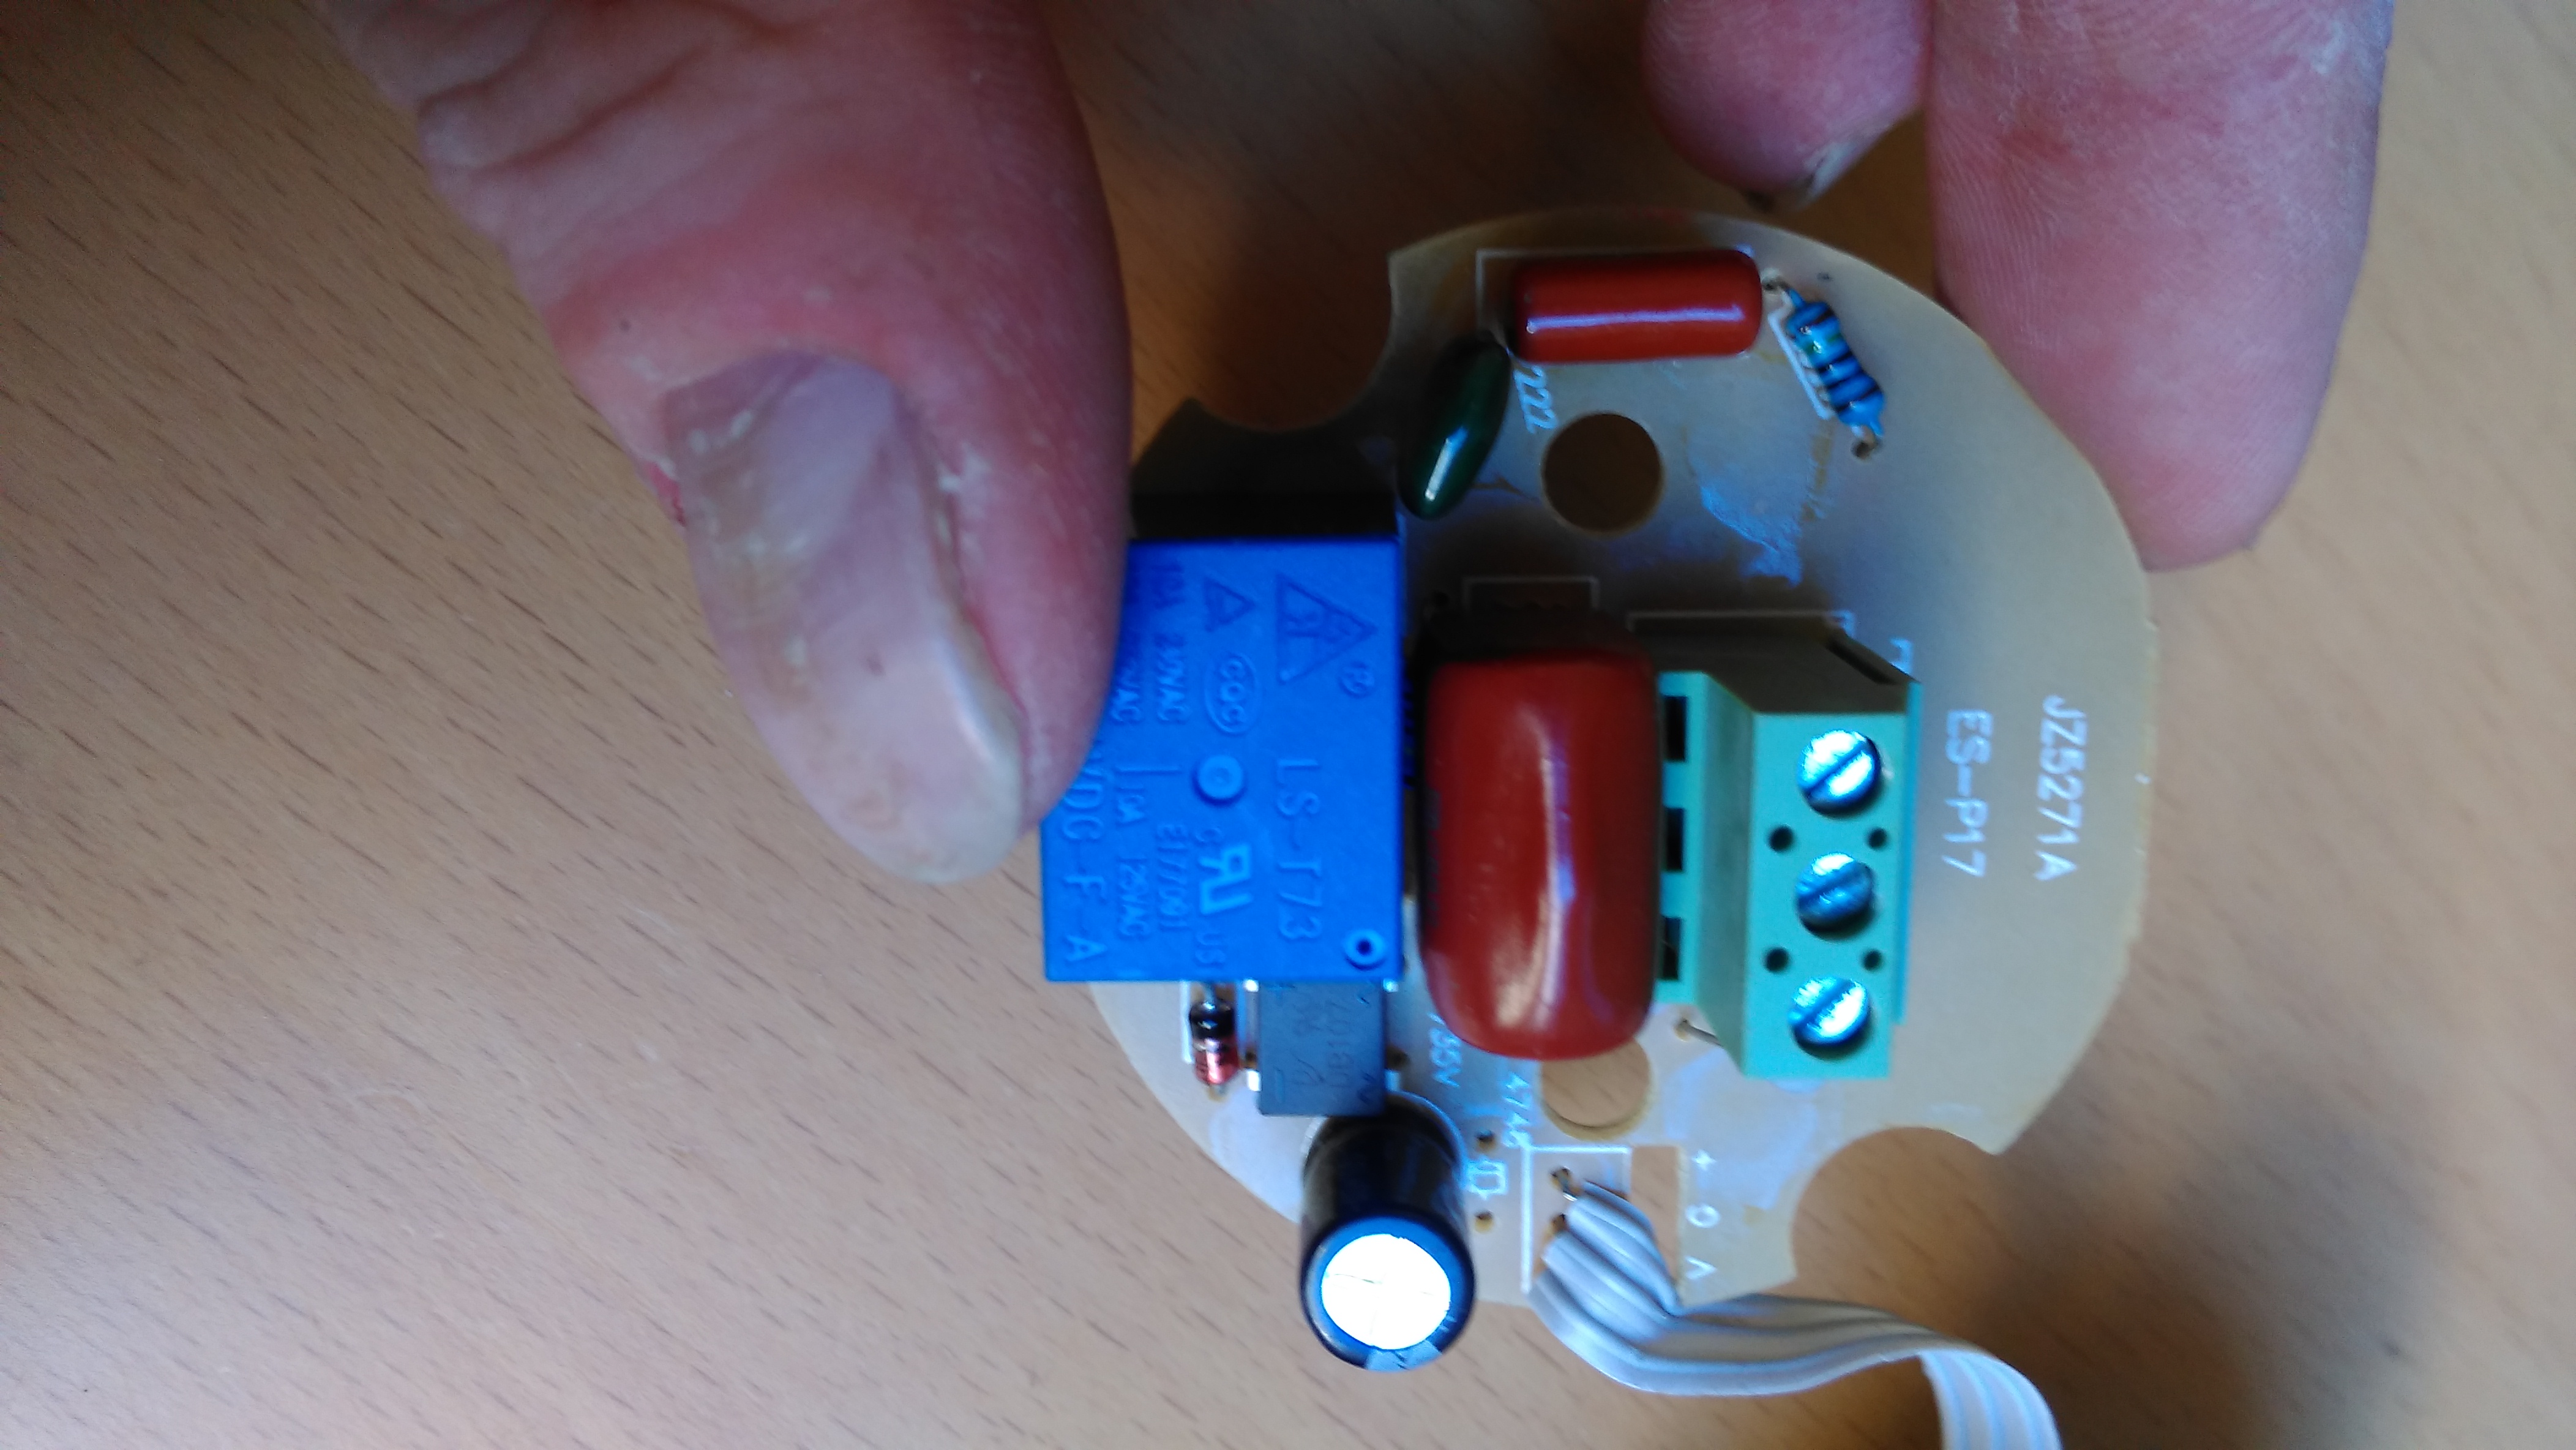
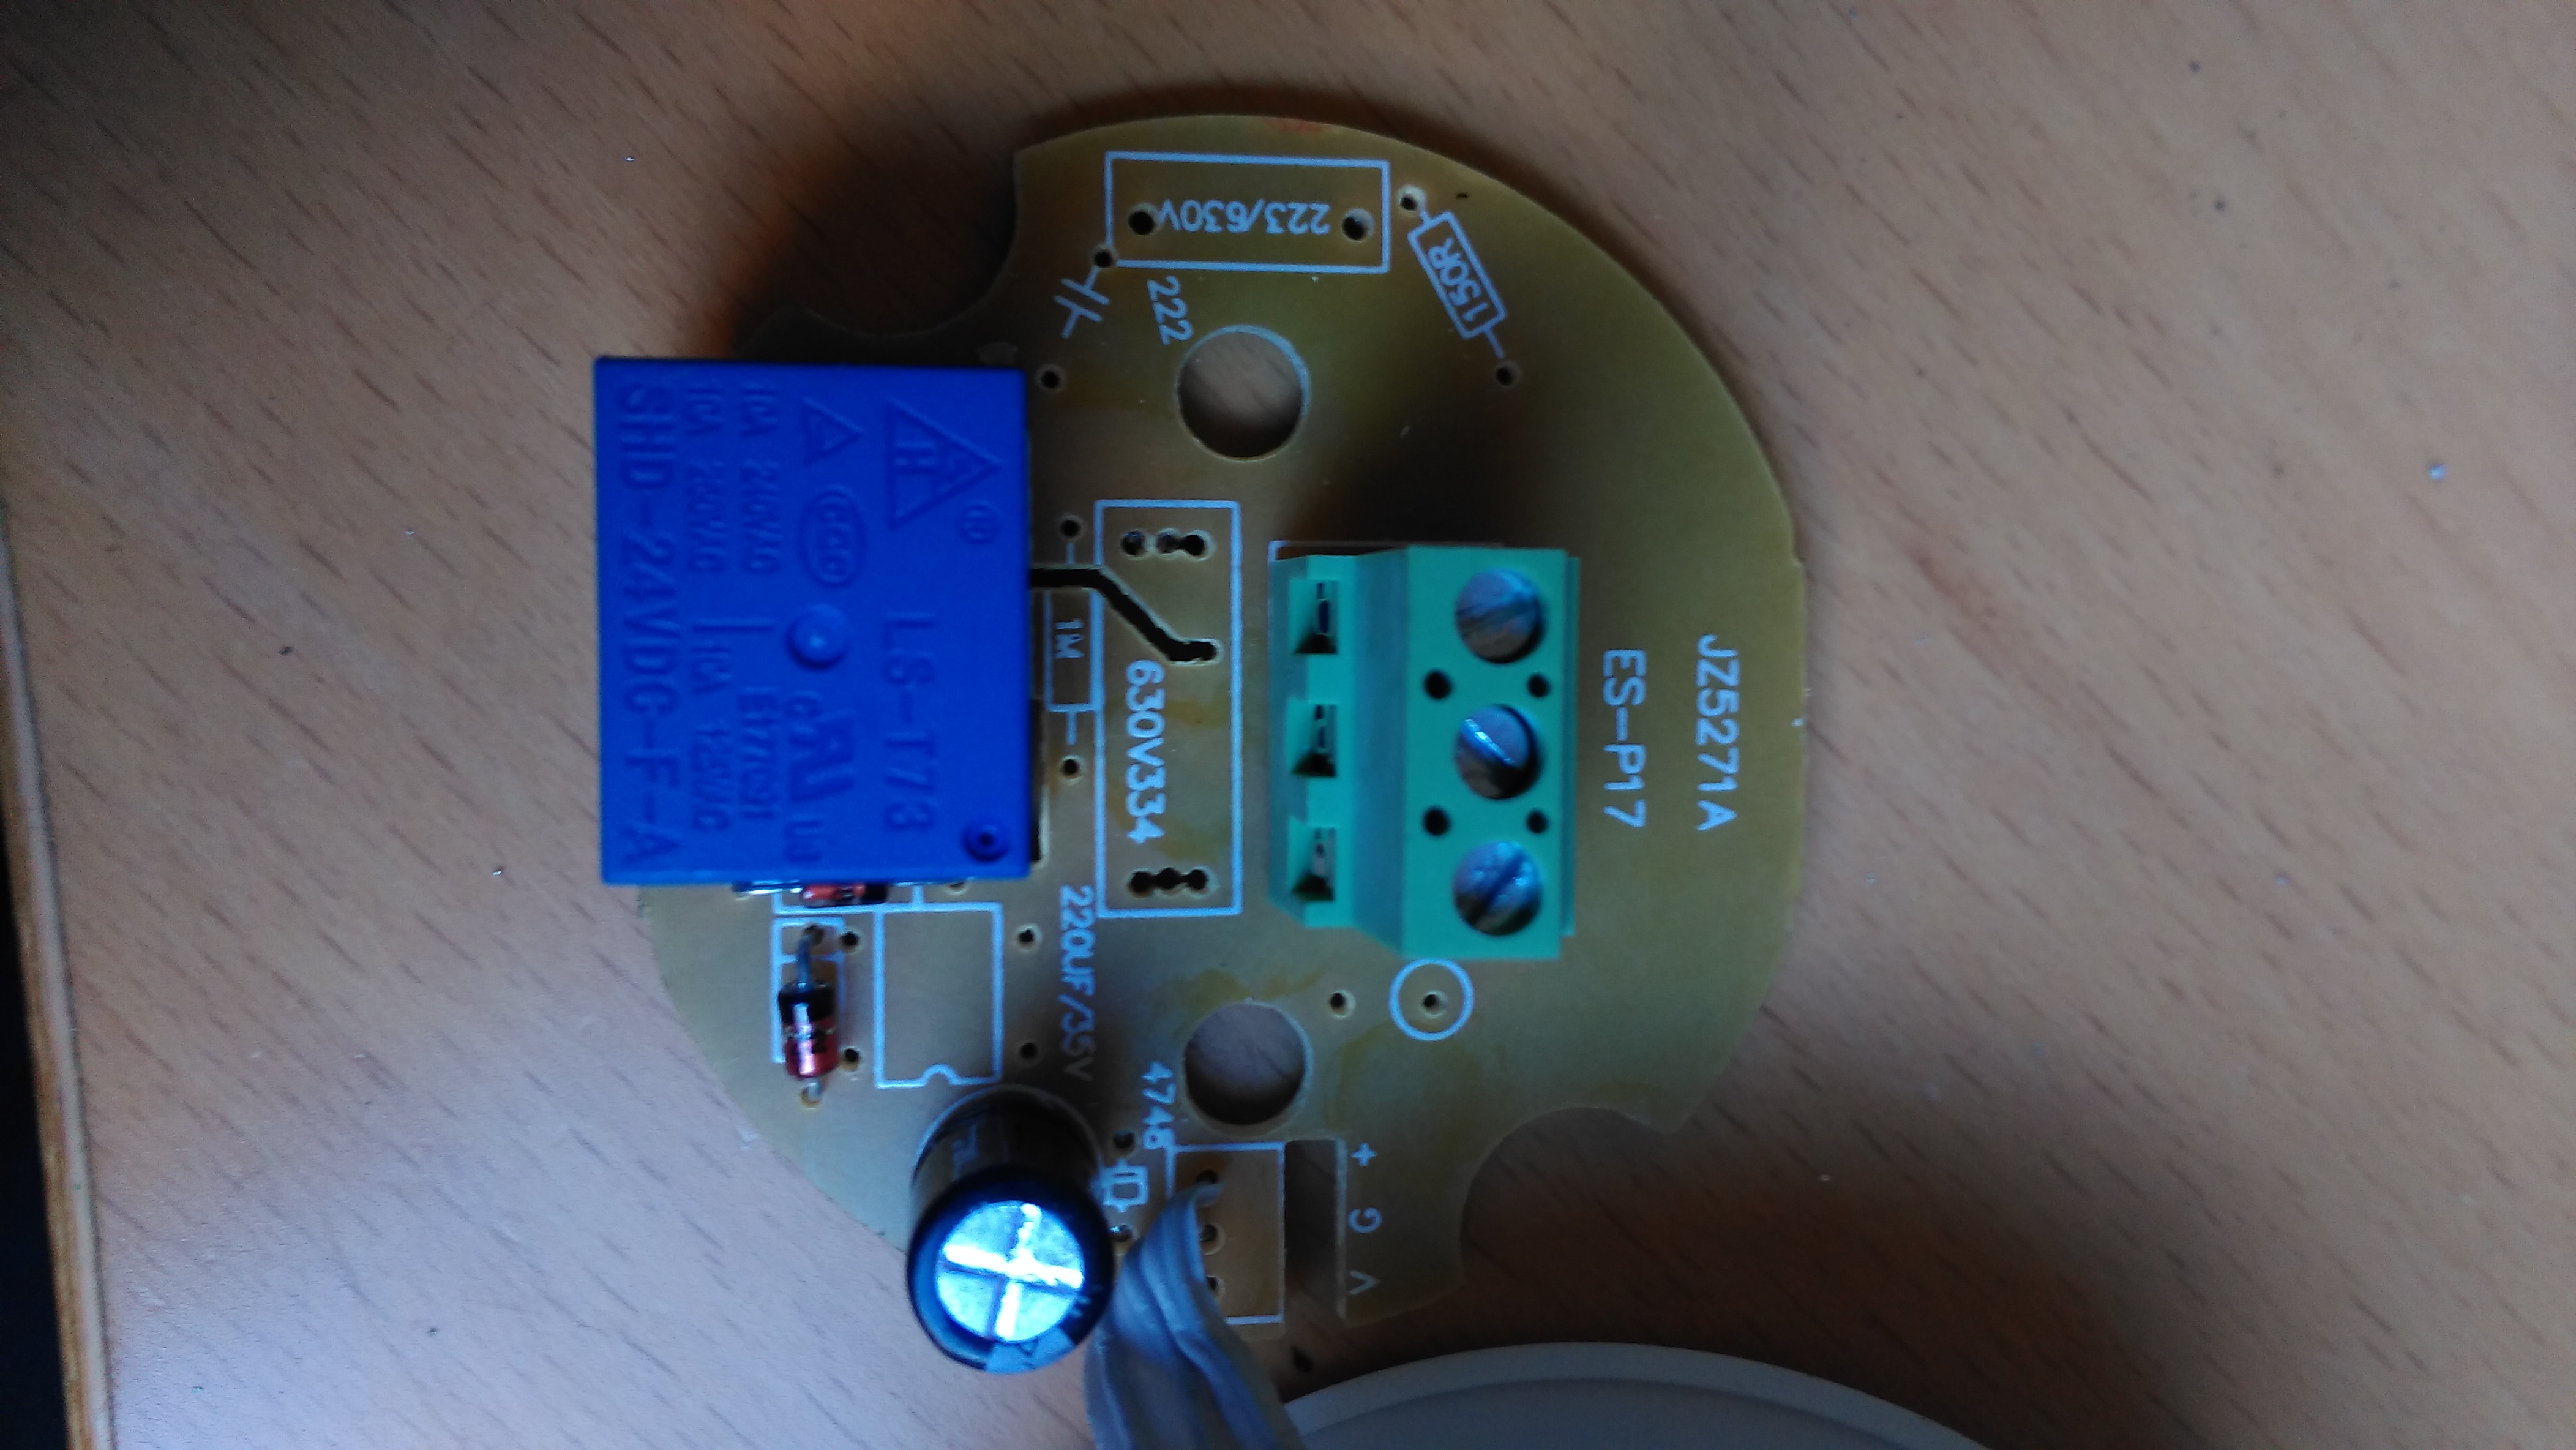
Different AC supply board this time around. Let’s take a look see what’s going on..
So capacative dropper is driving an actual bridge rectifier this time rather than four discrete diodes. Seems like there’s a lot here we don’t need….
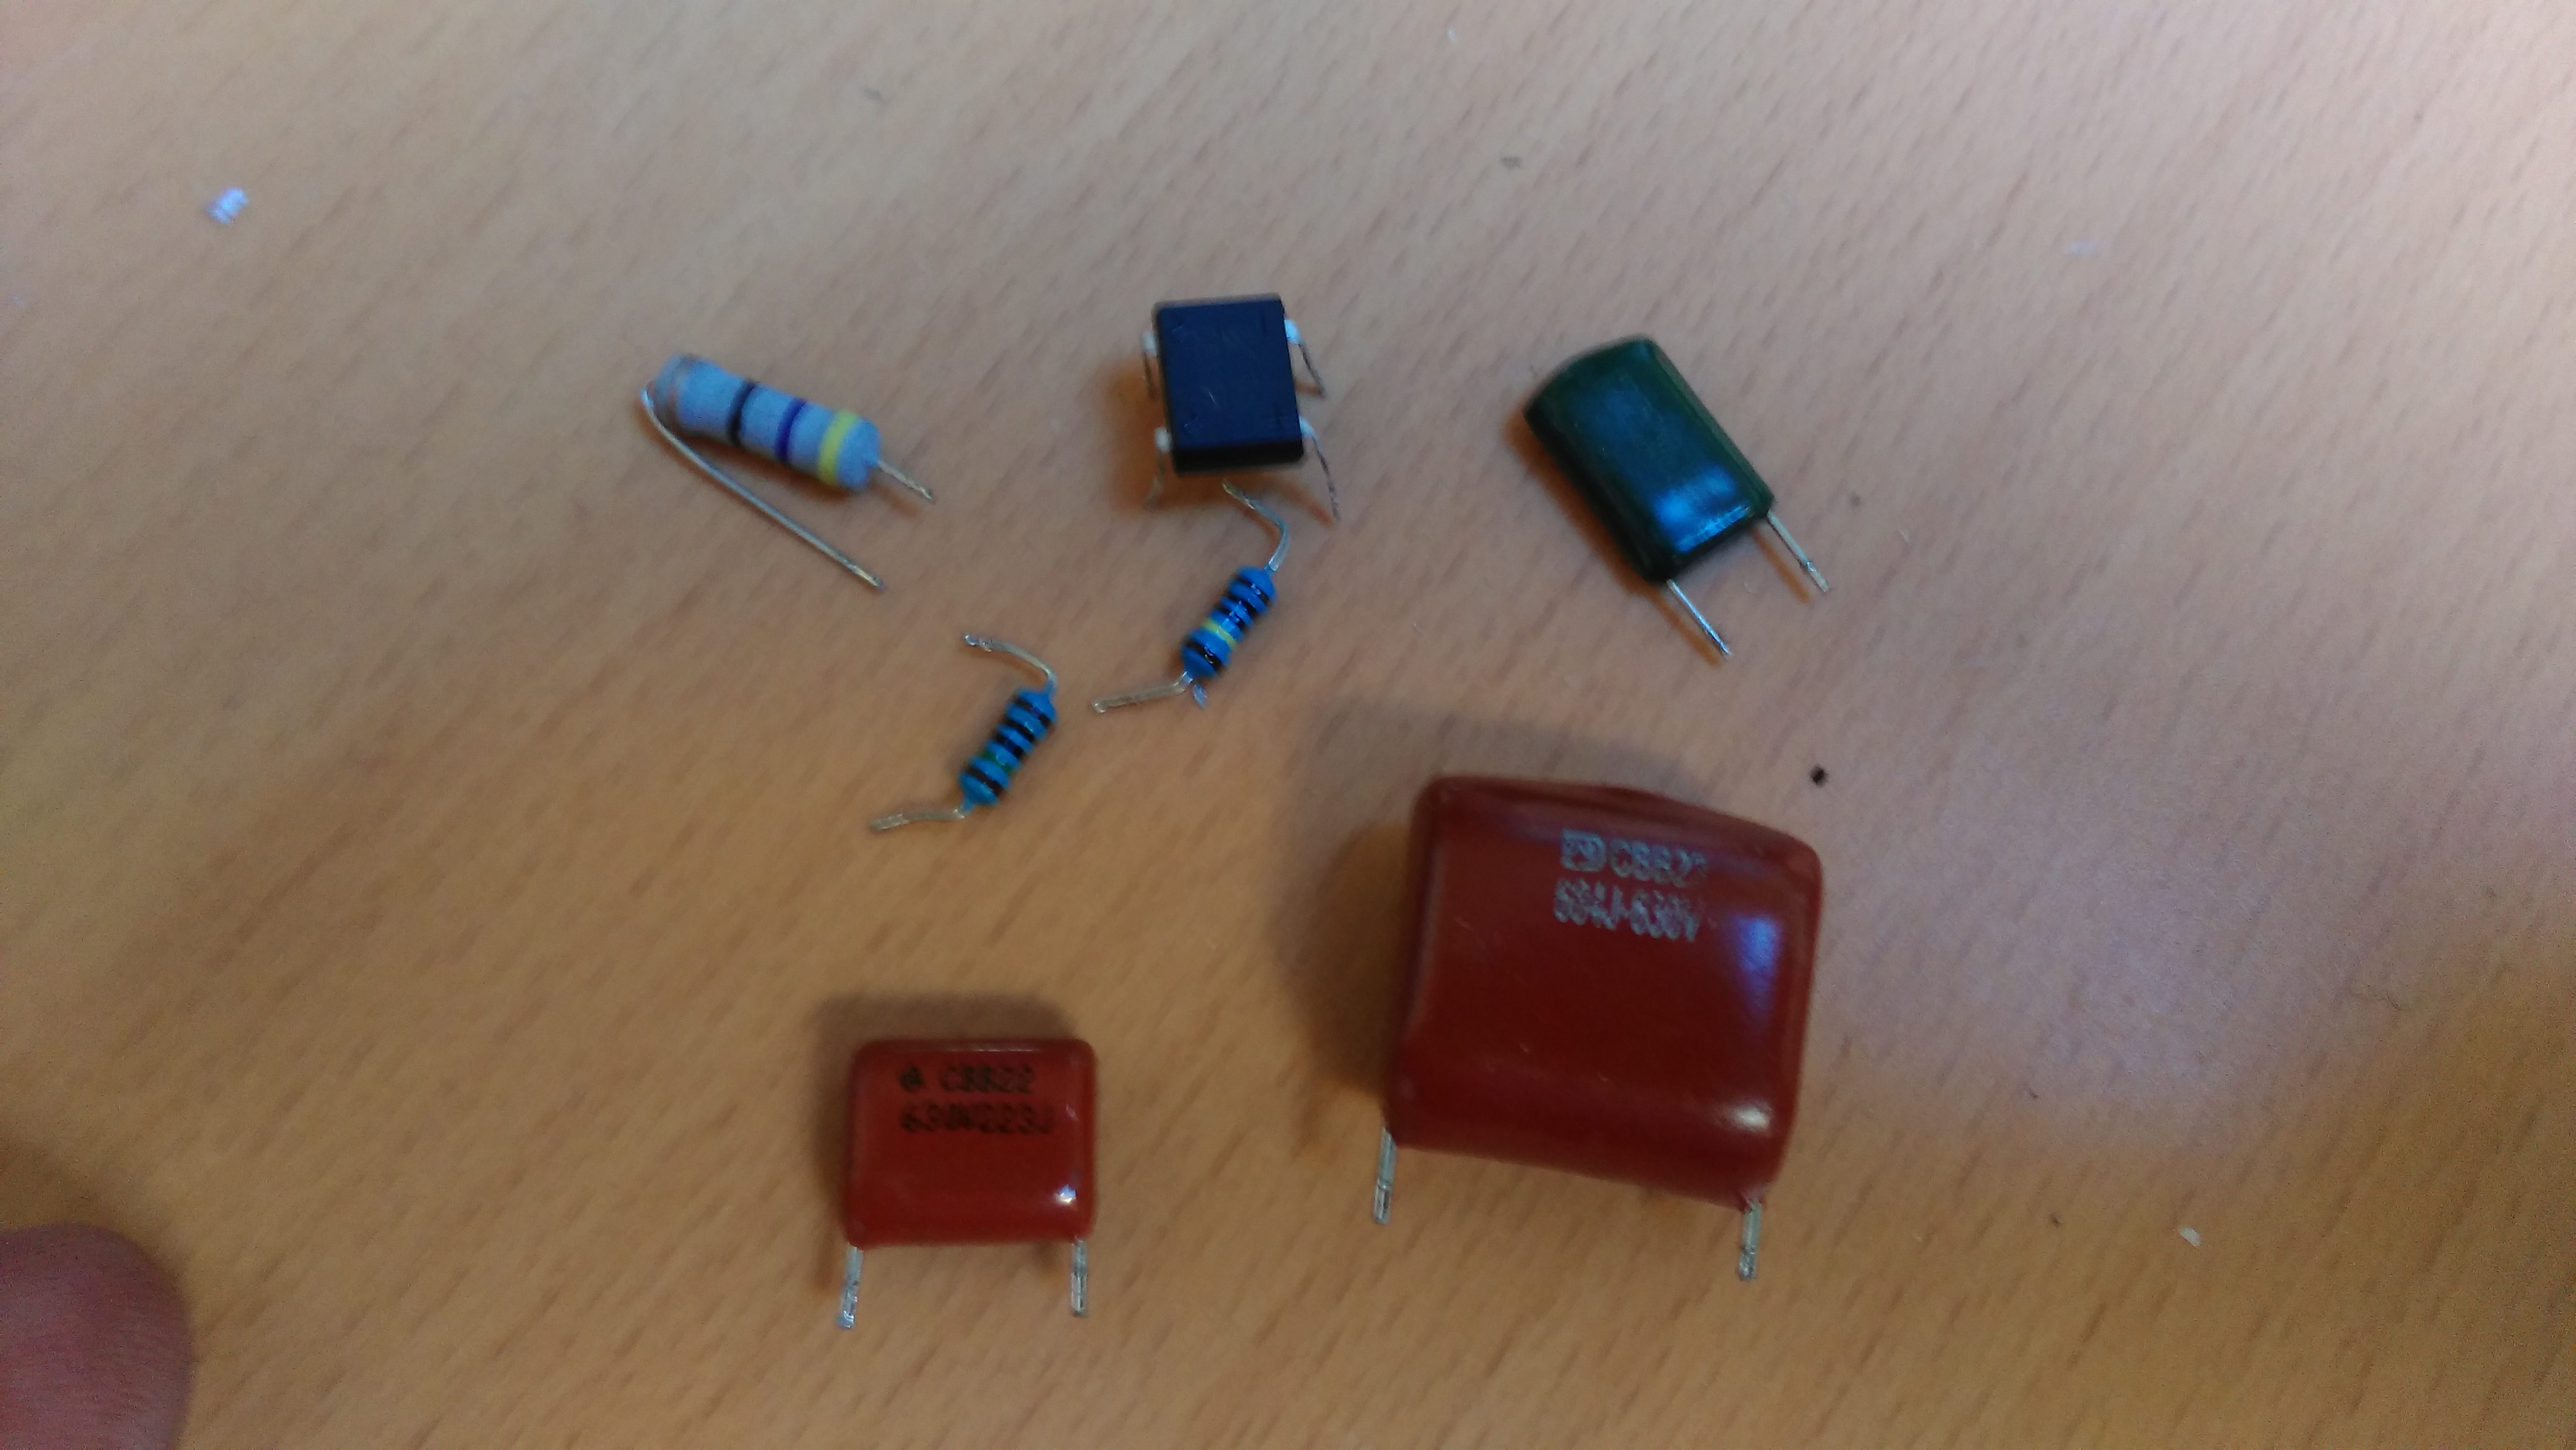
I always end up with spare bits when I take things apart….
Right, so now we look like:
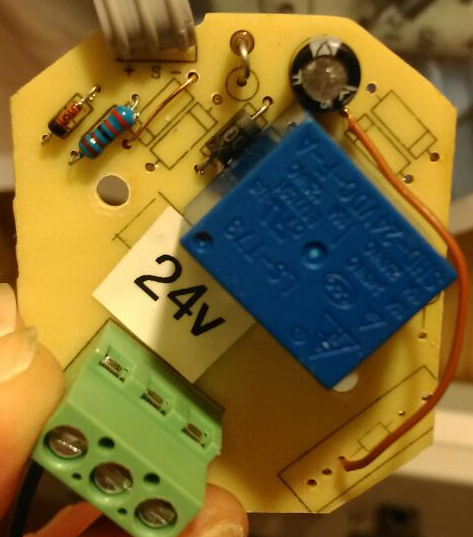
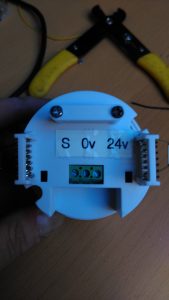
So having removed all but the diodes for protection and the capacitor for smoothing the supply, we’re left with +24v going in and a working automation PIR! I put the front board in place without screwing it in and put the spacers on the back board as it came but without the screws. We’re no longer dealing with mains voltage and the spacers keep everything sensibly… well… spaced… Best update the labelling…
That’s a bit neater than the previous scribblings with a sharpie… 🙂
I’m hoping that step by step pictures and the diagram will make it clear how this change works. The PIR module is 24v all along, all we did was remove the AC components and drive it directly.
There doesn’t seem to be an LED on this model. The relay is triggered by dropping the signal line from the front board to 0v. It floats at +24 otherwise so technically we could lose the relay completely and drive that back to an input. I’ve not tested that so your mileage may vary.
The upcoming open Saturday (Saturday 17th September) will see a change to the hackspace. While we busy ourselves with preparation for the Lancaster Fun Palace (October 1st and 2nd), there will be something spongy, crispy, something with a lovely crumb or maybe a good snap. Yes that’s right we will be holding an informal bake off.
If you watch the BBC, you’ll be no stranger to The Great British Bake Off which started back on the telly last week. Quite a few of us seem to be keen bakers, so for a bit of fun we’ll be taking our best bakes into the space for a bit of a competition.
There will be three prize wining classes
Biscuits or Cookies
Bread
Cake
Please feel free to bring your best bakes and join in
Prizes will be given for the best in each class chosen by those there.
(Please note we will NOT be baking in the space)
Okay so that’s the fun part.
We do need peoples help to prepare for the Fun Palace and there are, as always, jobs to be done around the space.
This is not going to be a short message, however I will get straight to the point: We need more members. Without any more members, then there is a strong possibility that we will not be here in the next few months. So, if you are already a paying member, well done! Continue being awesome. If you are not a paying member, or know someone who would like to become a member, then please join up here: LAMM Membership Request
We have two payment levels, which depend on your circumstances.
The first one is the Standard Membership – this is £25 a month, and will get you full access to the space, meaning you can come and go as you want to work on your own projects.
The second one is for the following:
Young Members – for those under 16, and will require a guardian present.
Student Members – those who are still in full time Education, at University, College, or another education establishment.
Supporting Members – for those who want to support the space.
This payment level is £10 a month, and in the case of the Young or Student member, will get you full access to the space as you would in the Standard Membership. The Supporting Member is meant for people who are not close enough to Lancaster to make use of the space, but would like to support us to allow us to keep doing awesome things.
To join, please go and fill in the following form, and we will get back to you as soon as possible with payment details!
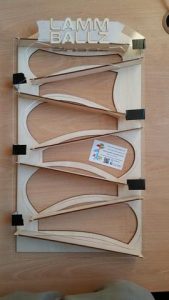
As part of the continuing Manchester MakeFest preparations, and in particular the Amazeballs challenge from Manchester HACMan tonight I completed the next step of my marble (well pinball) run drop.
This is a large version of the version 2 Lammballz. So essentially a Version 3 Lammballs and is 555mm by 300mm made from a combination of perspex and birch.
Big thanks to the ever-wonderful Tom Bloor for help with the setting on the laser cutter, design done as always in Inkscape. Images of the unfinished (needs lots of glue/fixings) version with business card for scale, below.