
Space2 is coming soon!! Yes, LAMM is moving to a bigger and better unit. 👍
We will shortly be getting keys to our new and improved workshop space in Harpers Mill on White Cross Industrial Estate in Lancaster. (Same business park, different building)
Space 2 will be a much larger unit, and we are very excited that it will be much more accessible too. We have spent years looking for an affordable upgrade, and we have finally found it. There is a lift in the new building so people who can’t do stairs will be able to come and join in the fun too! We will still be easily accessible on foot from the city centre and the buses stop right by White Cross business park (opposite the RLI).
So what comes next? Well, members please watch your email for details about when to move your personal projects etc. to the new unit and to volunteer for moving the communal tools and equipment. We will have some setting up to do in the new unit but the first couple of weeks in September are moving weeks!
Space2 should be open for members general usage from Oct and to the general public shortly after that. Full details on how to find us in the swanky new space will be posted as soon as we can open Space2. And, as some of you have been waiting a while, we are happy to say that we will be able to welcome new members as soon as we are in Space2. Use the contact form on the main page to get in touch
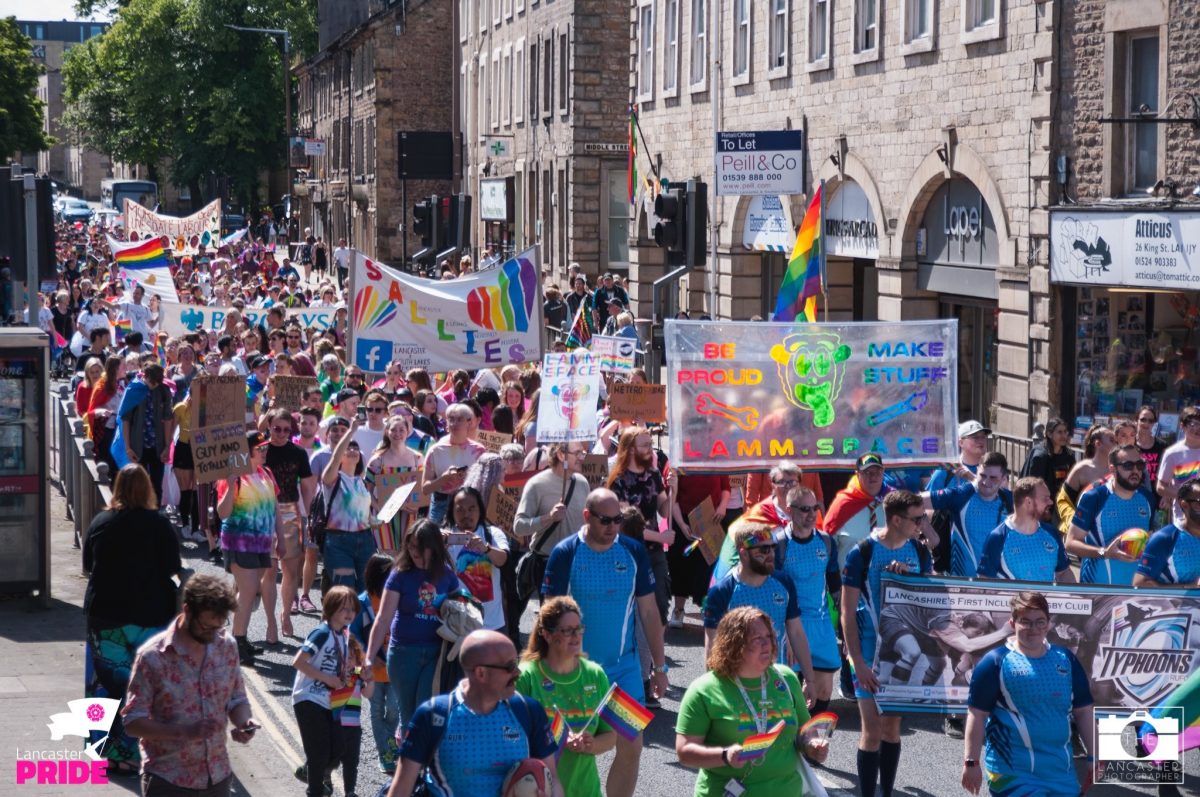
In the meantime, we will be proudly waving our banner on Sunday 22nd August as Lancaster Pride returns. Join us from 11am for the March (Sulyard Street starting point). As you can see from the photo of the 2019 event, it’s quite easy to spot out fabulous banner!
Yay! Space mk 2… Space to make… Space squared…