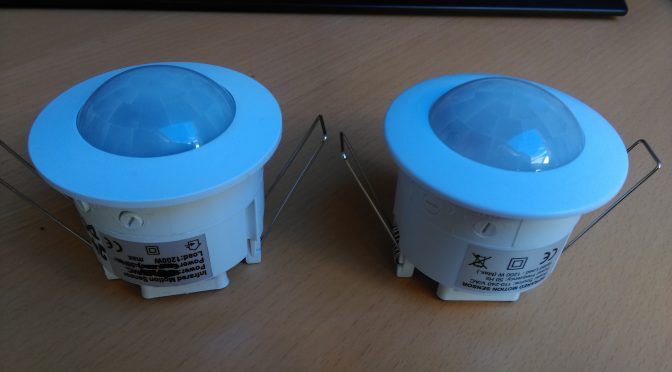
In my previous post I talked about 24v presence sensors for Loxone home automation:
Shout out to Malc Crook (https://hackaday.io/mal8837) and Adam (https://hackaday.io/Bobbsta10) who both contacted me to say that the PIR linked to in the original post is no longer the one you get when you order the same item from the same seller 🙁
Fear not, for I have hacked the new one this evening and it’s pretty straight forward 🙂
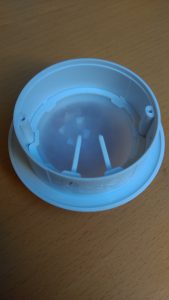
Well that mostly looks similar…
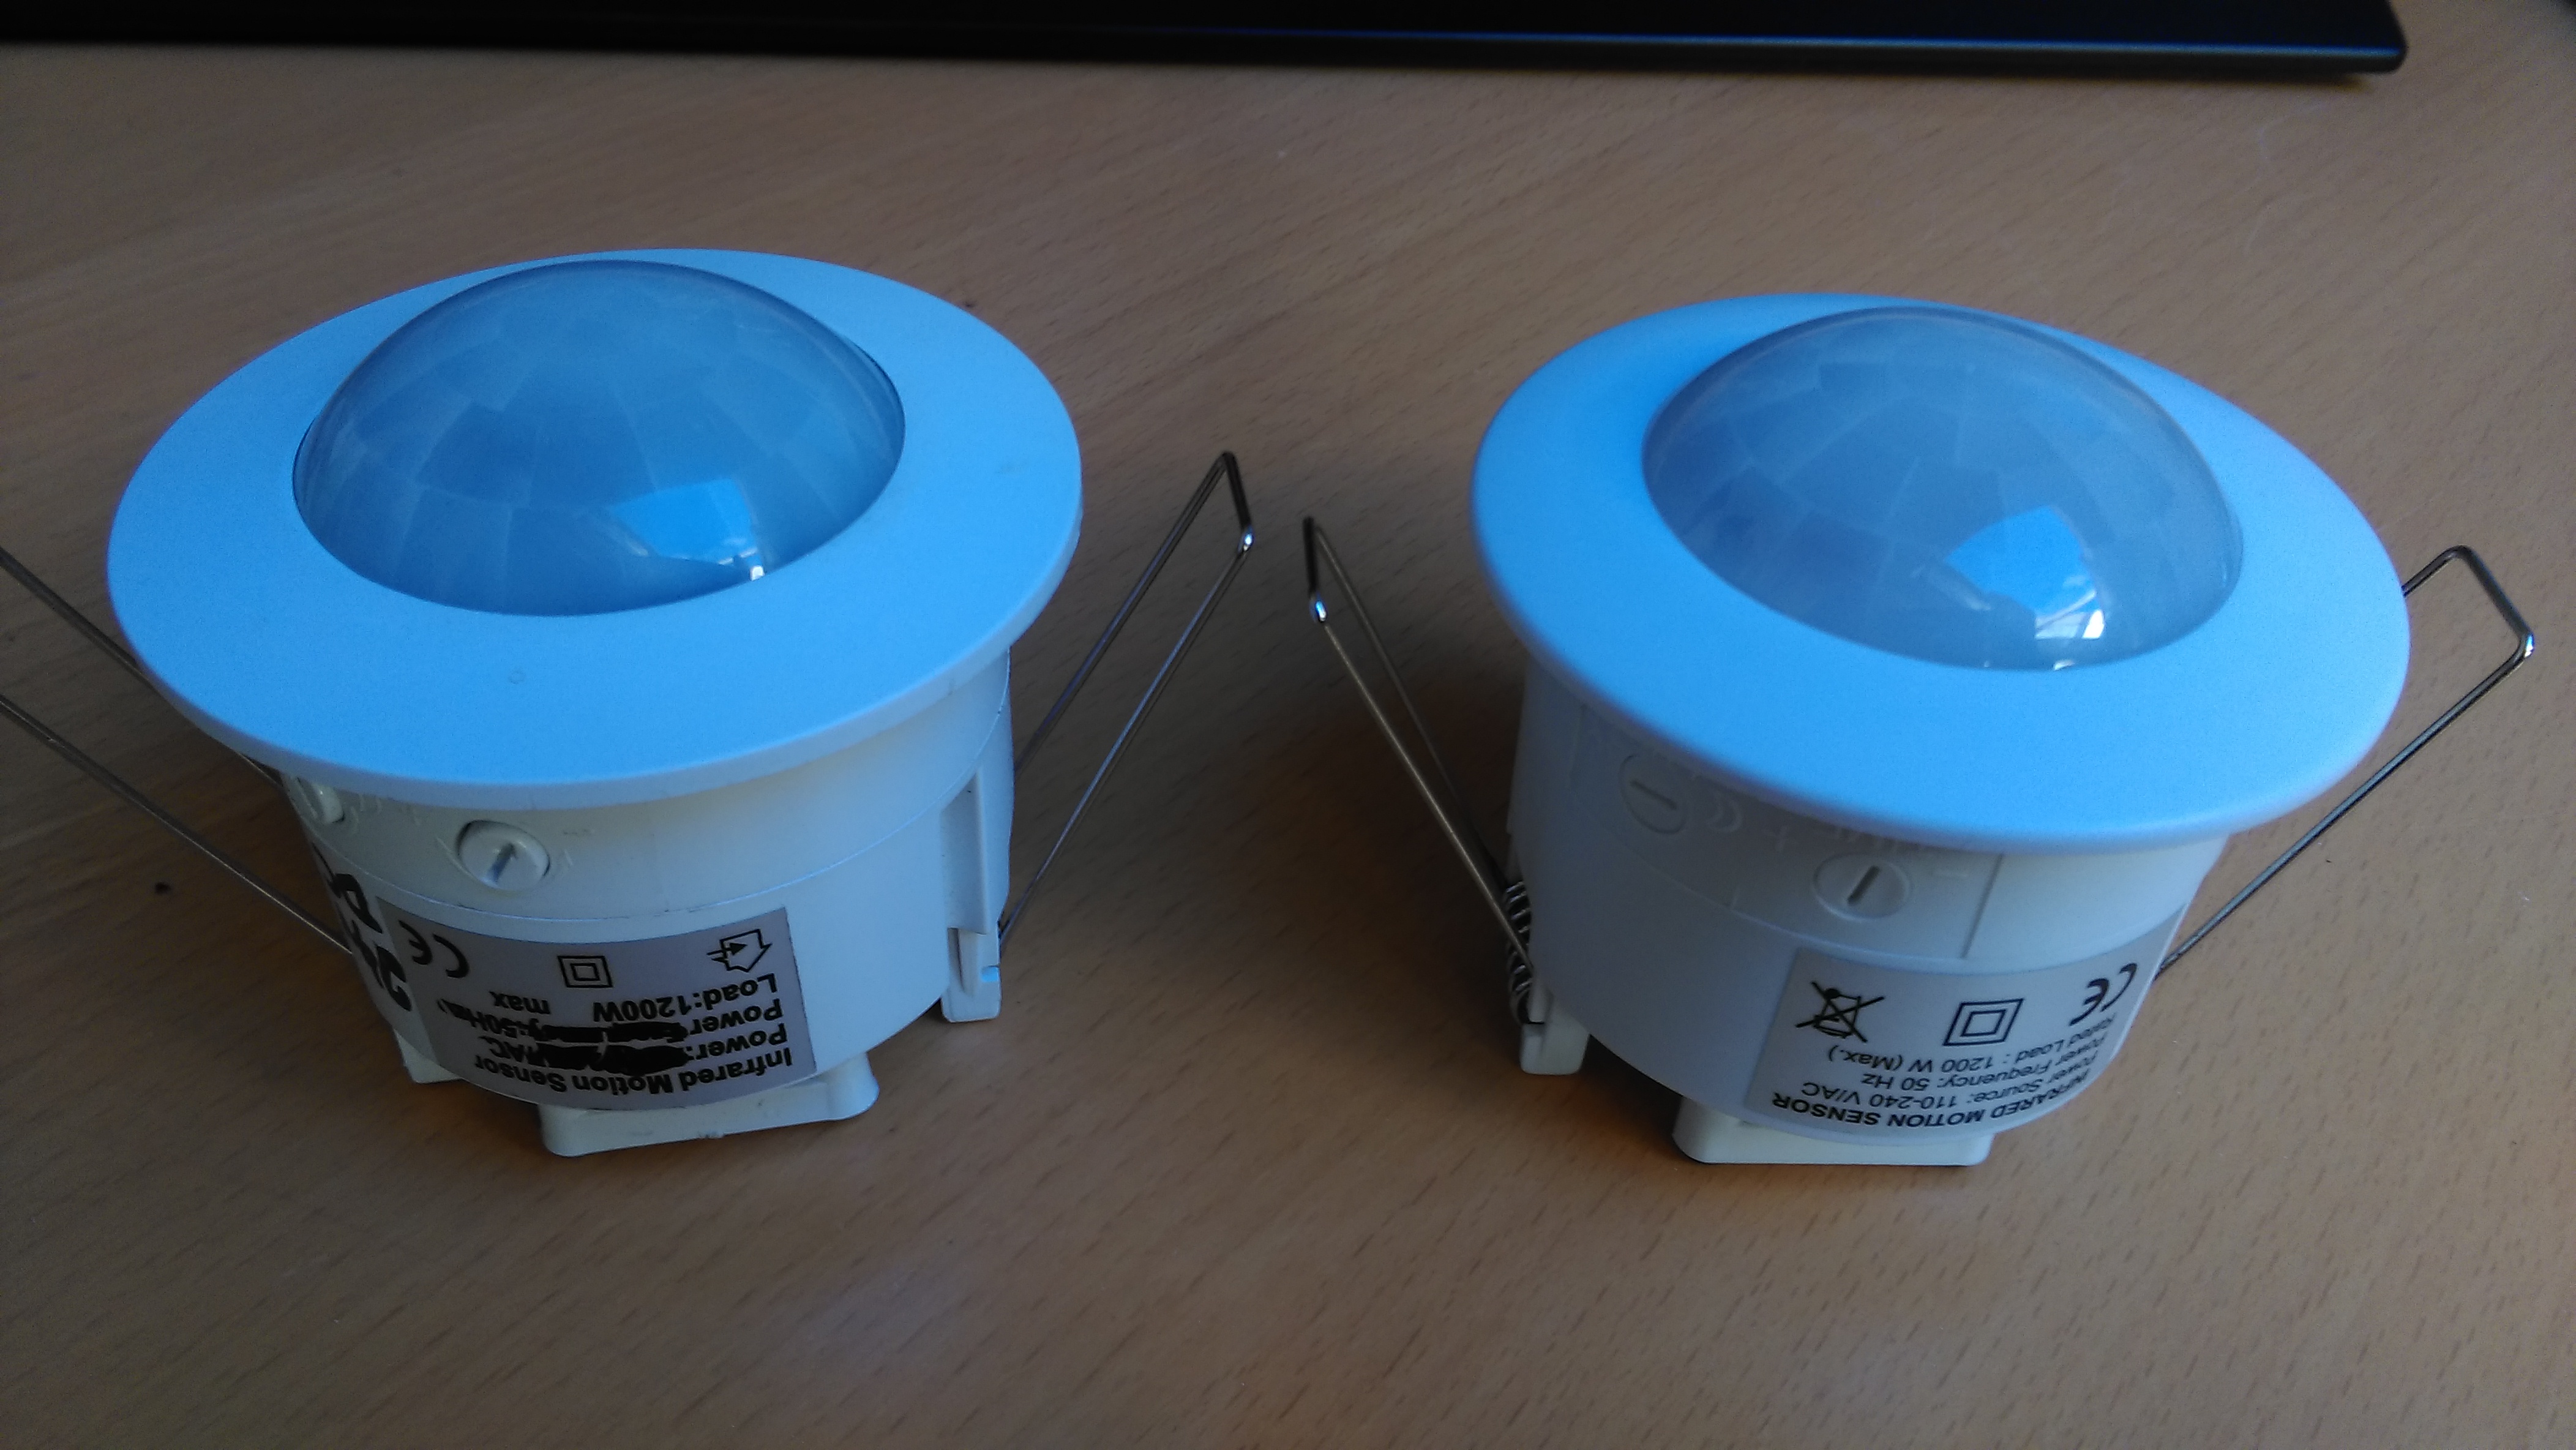
Still looks similar…
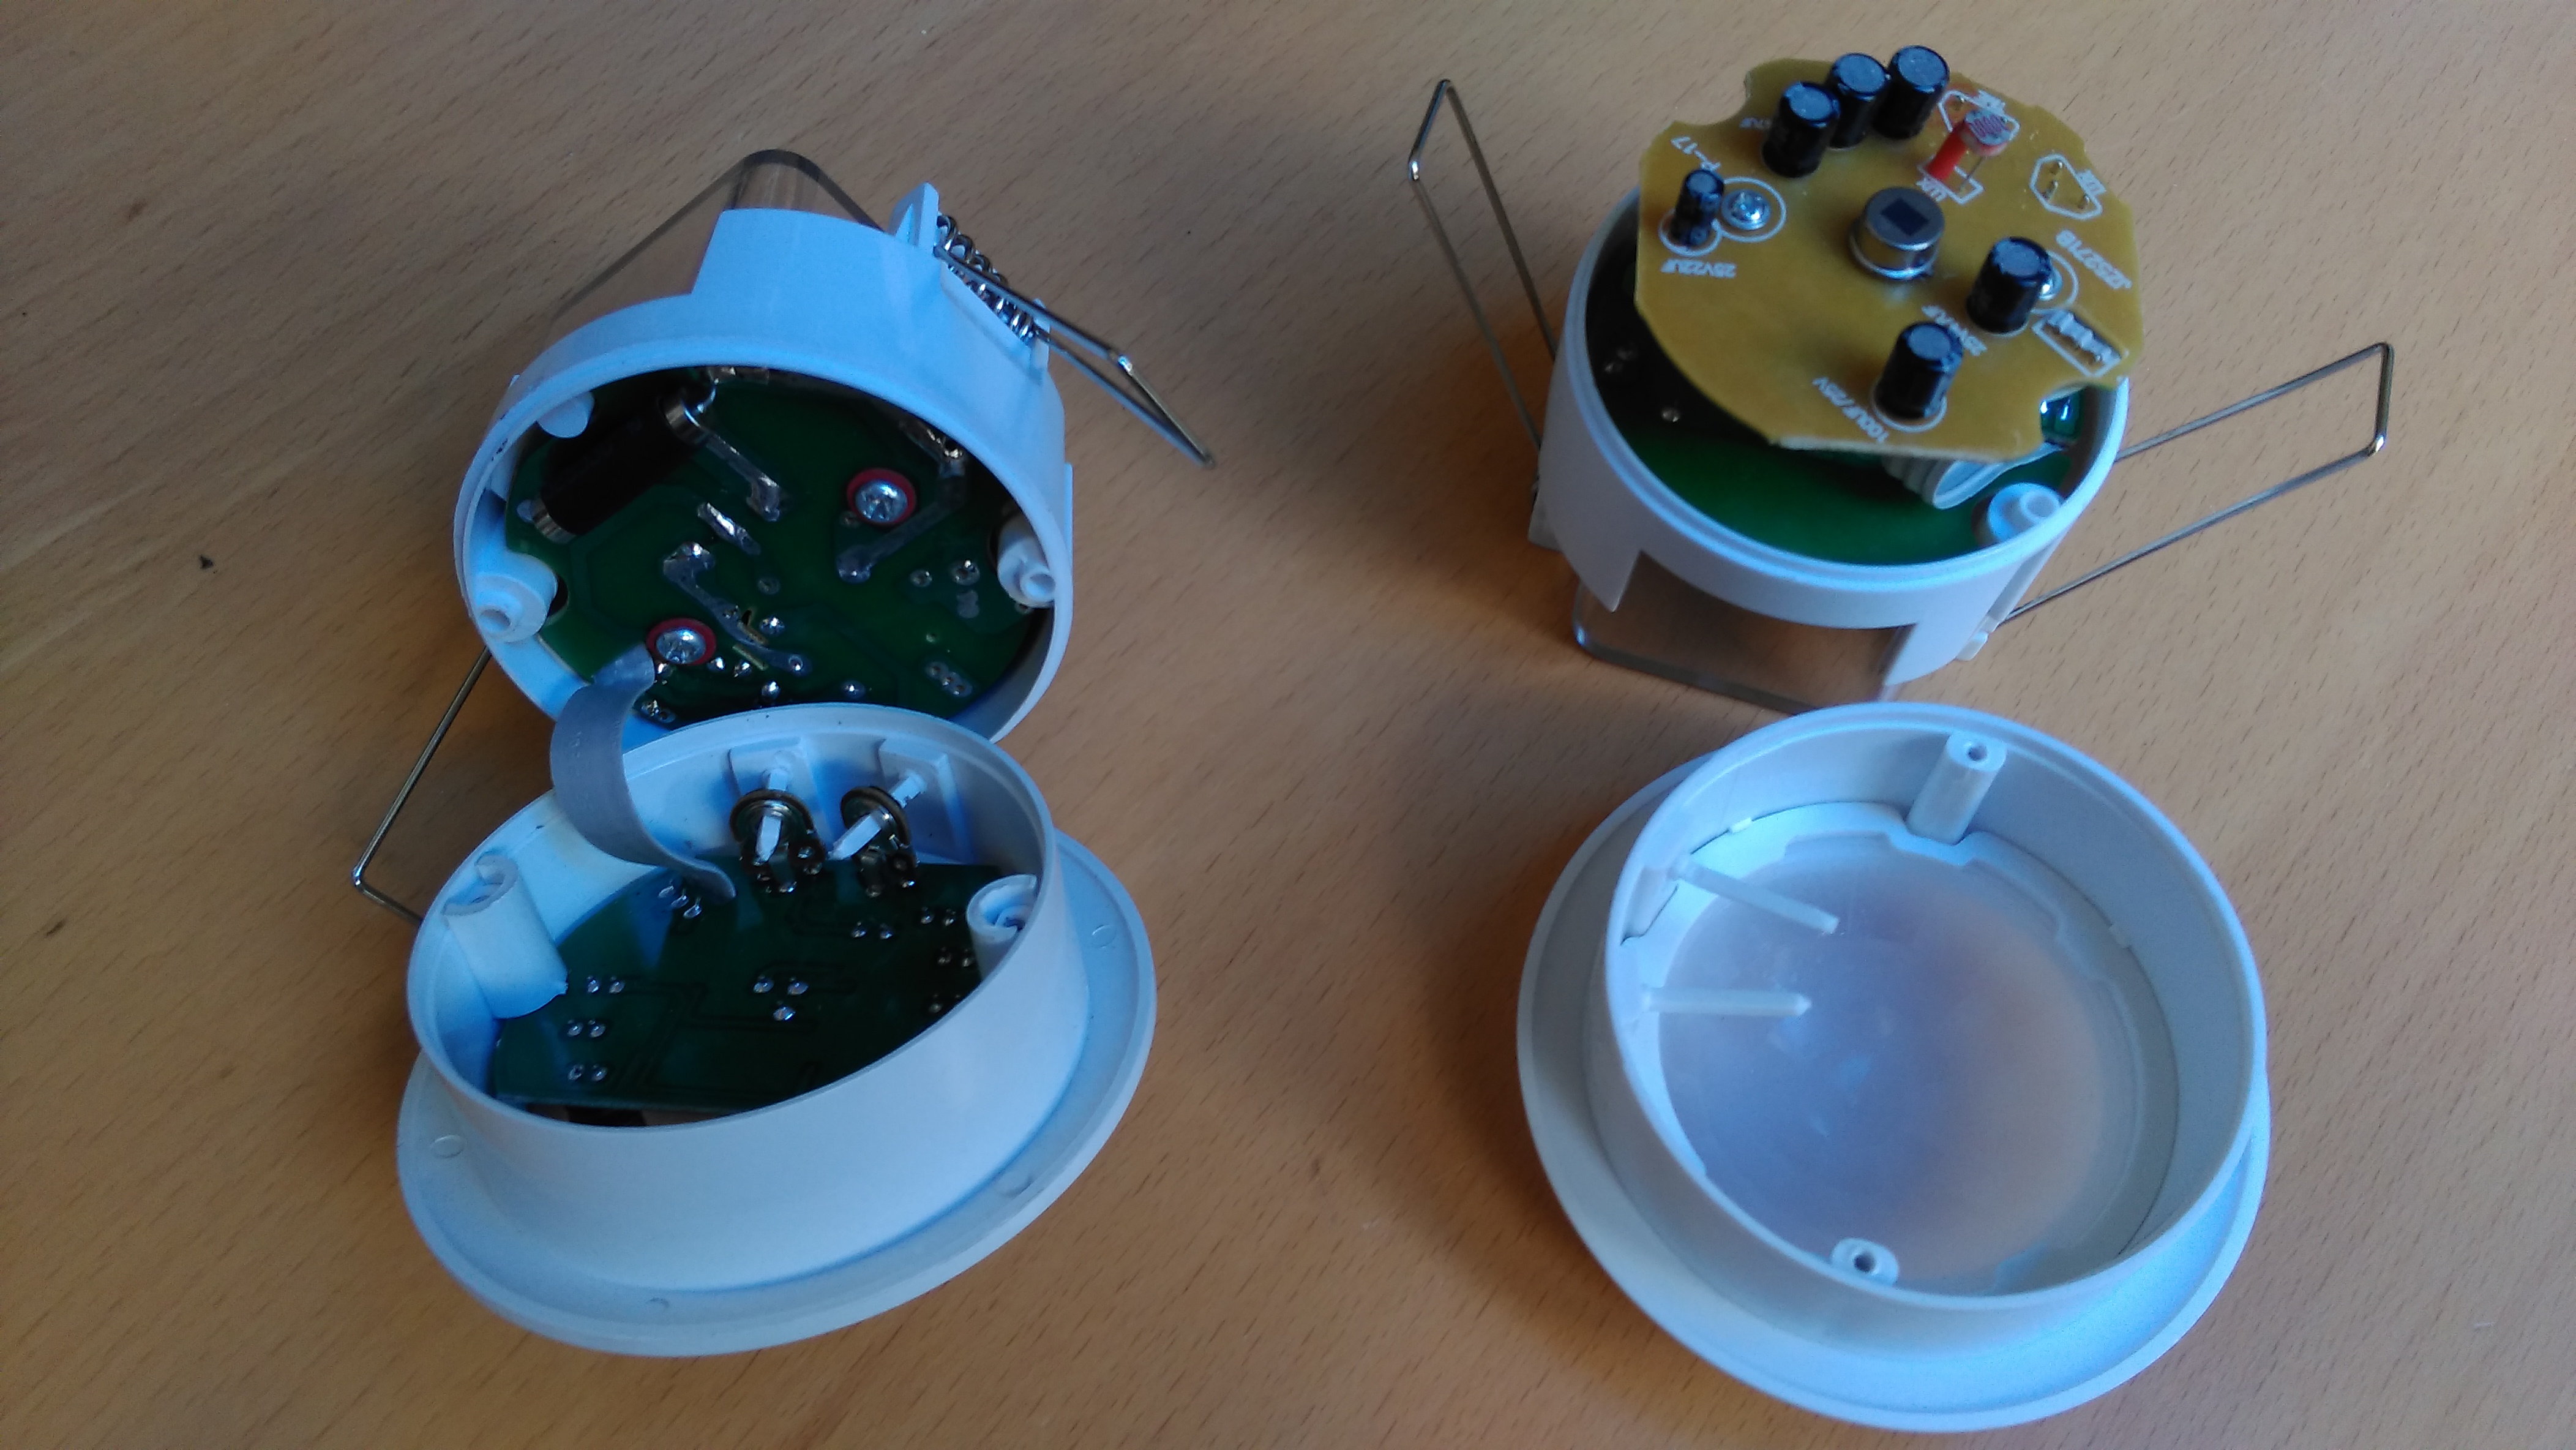
Well that’s different. The two boards are fixed together and the front board has to come away from the plastic shafts for altering the time and lux level
Those are really annoying to get back in but I’ll come back to that.
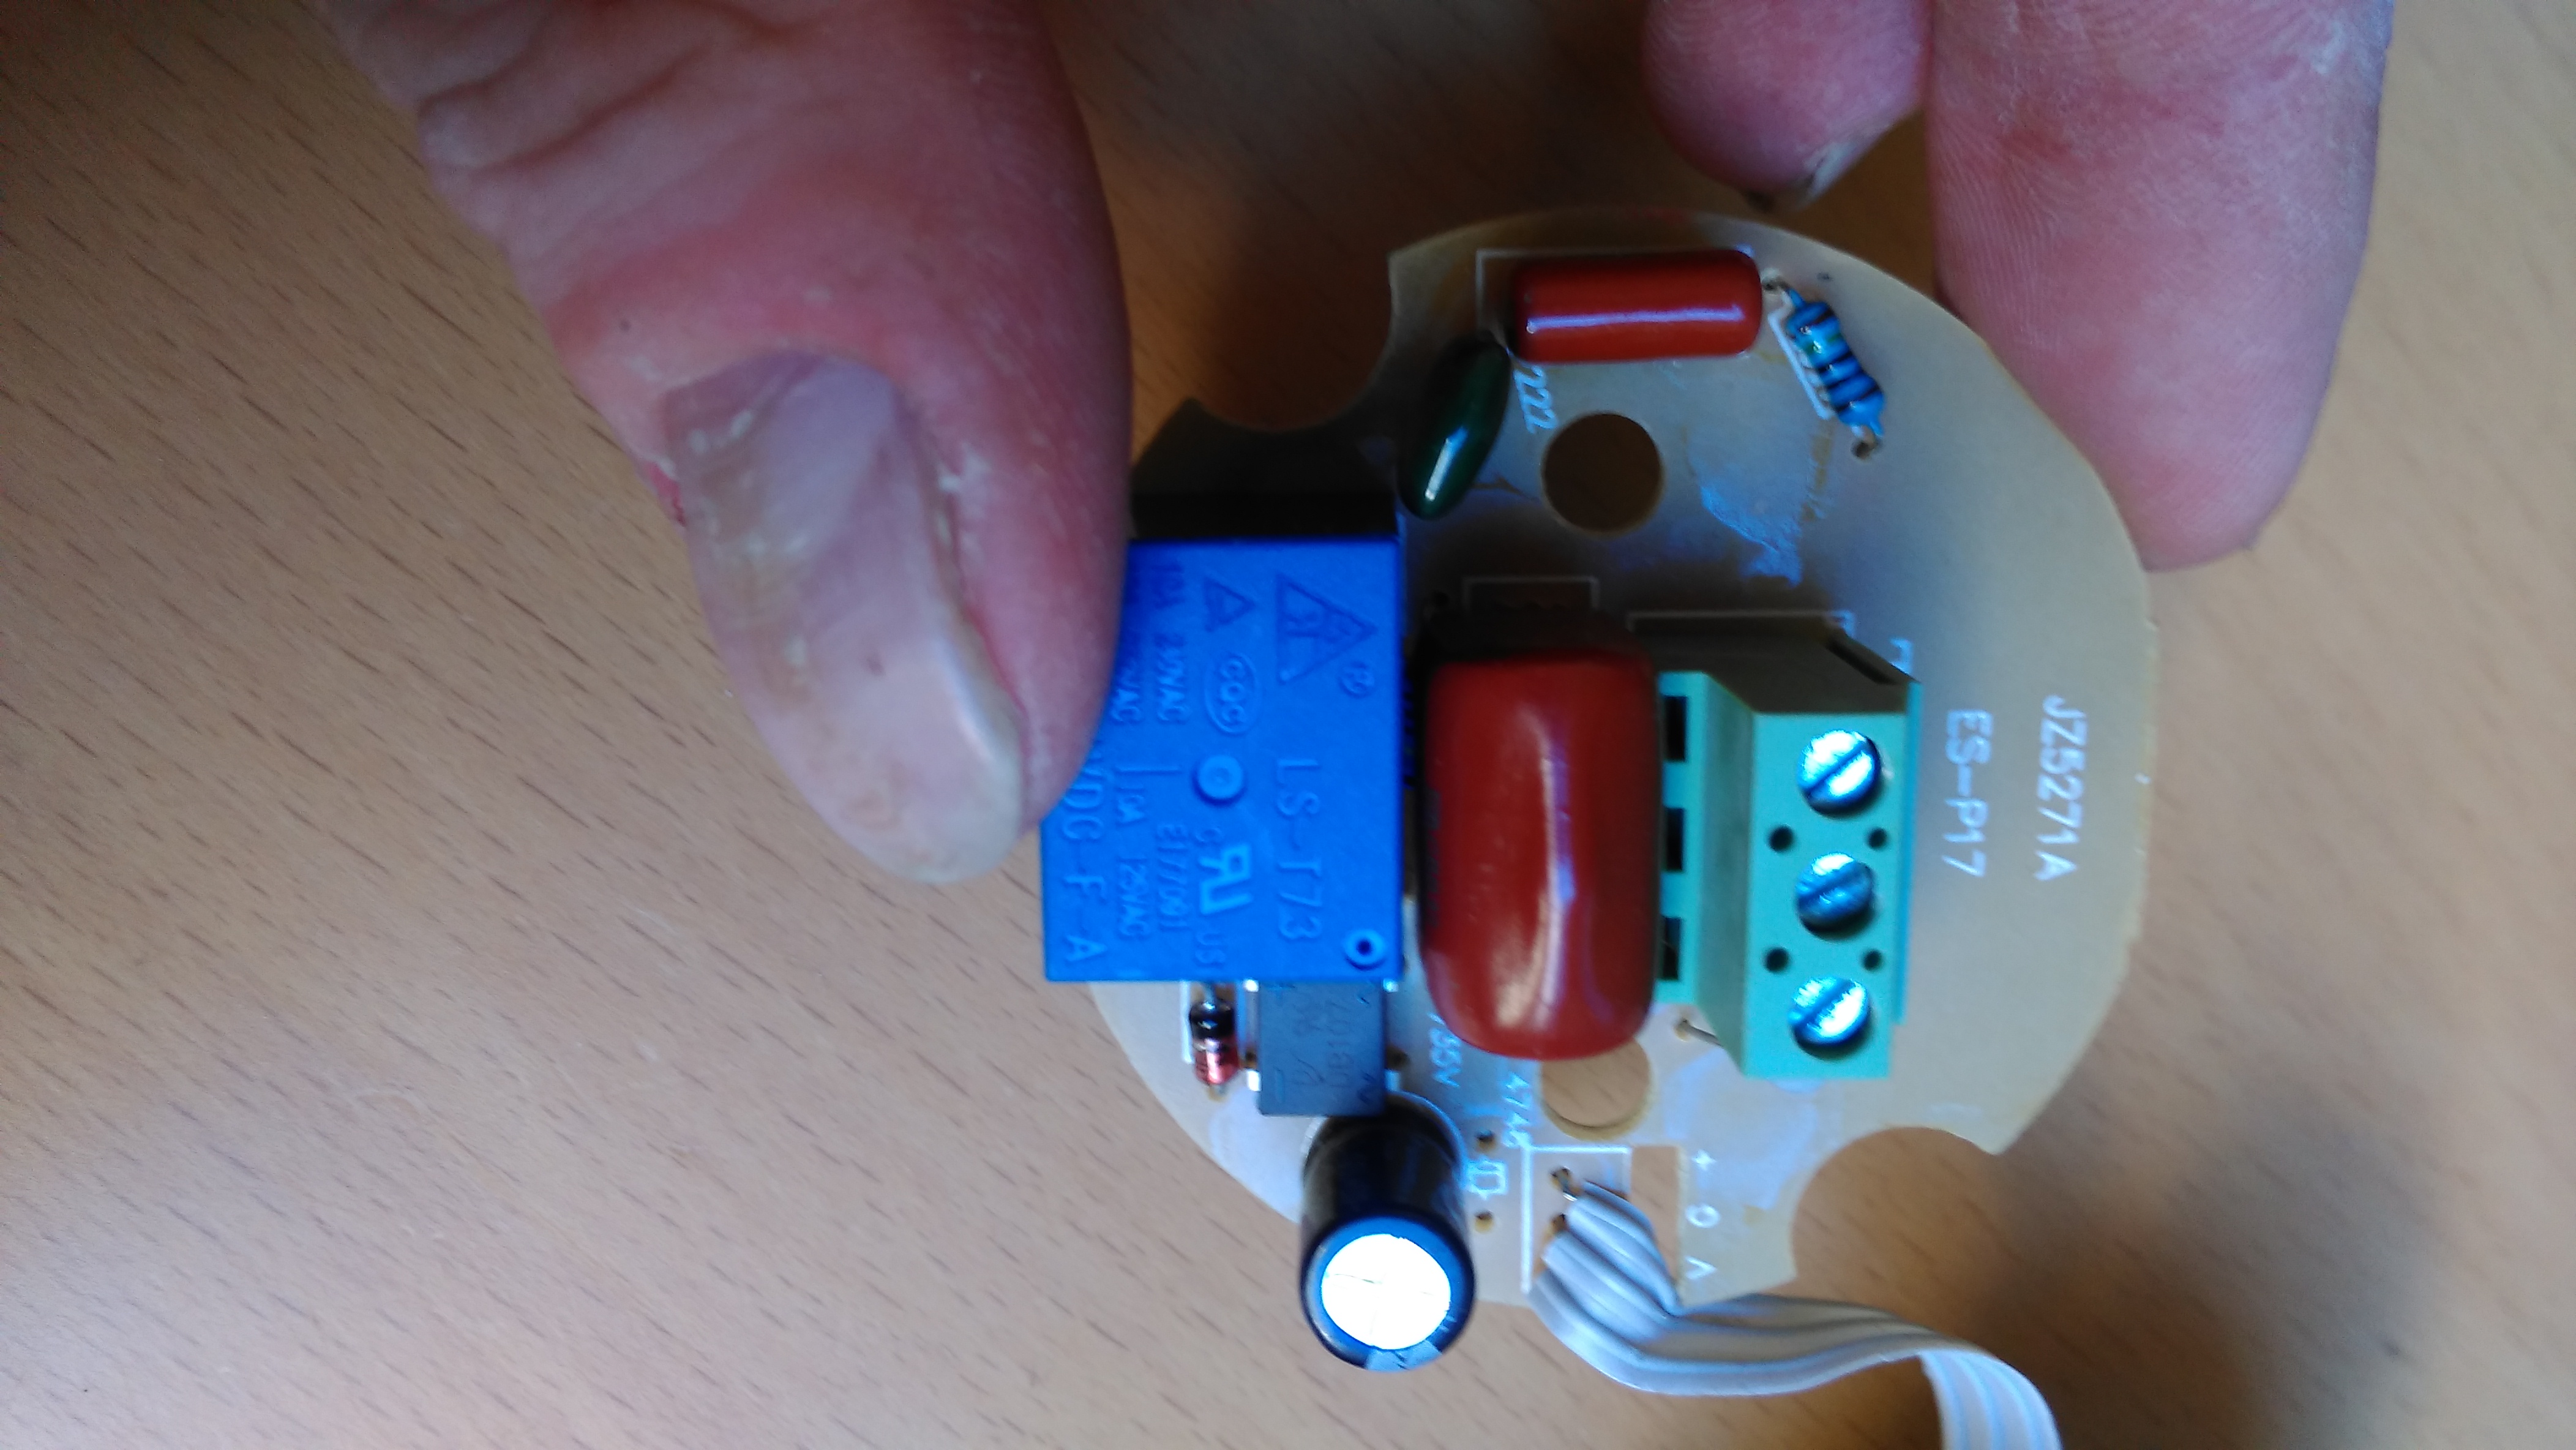
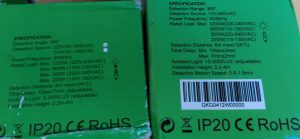
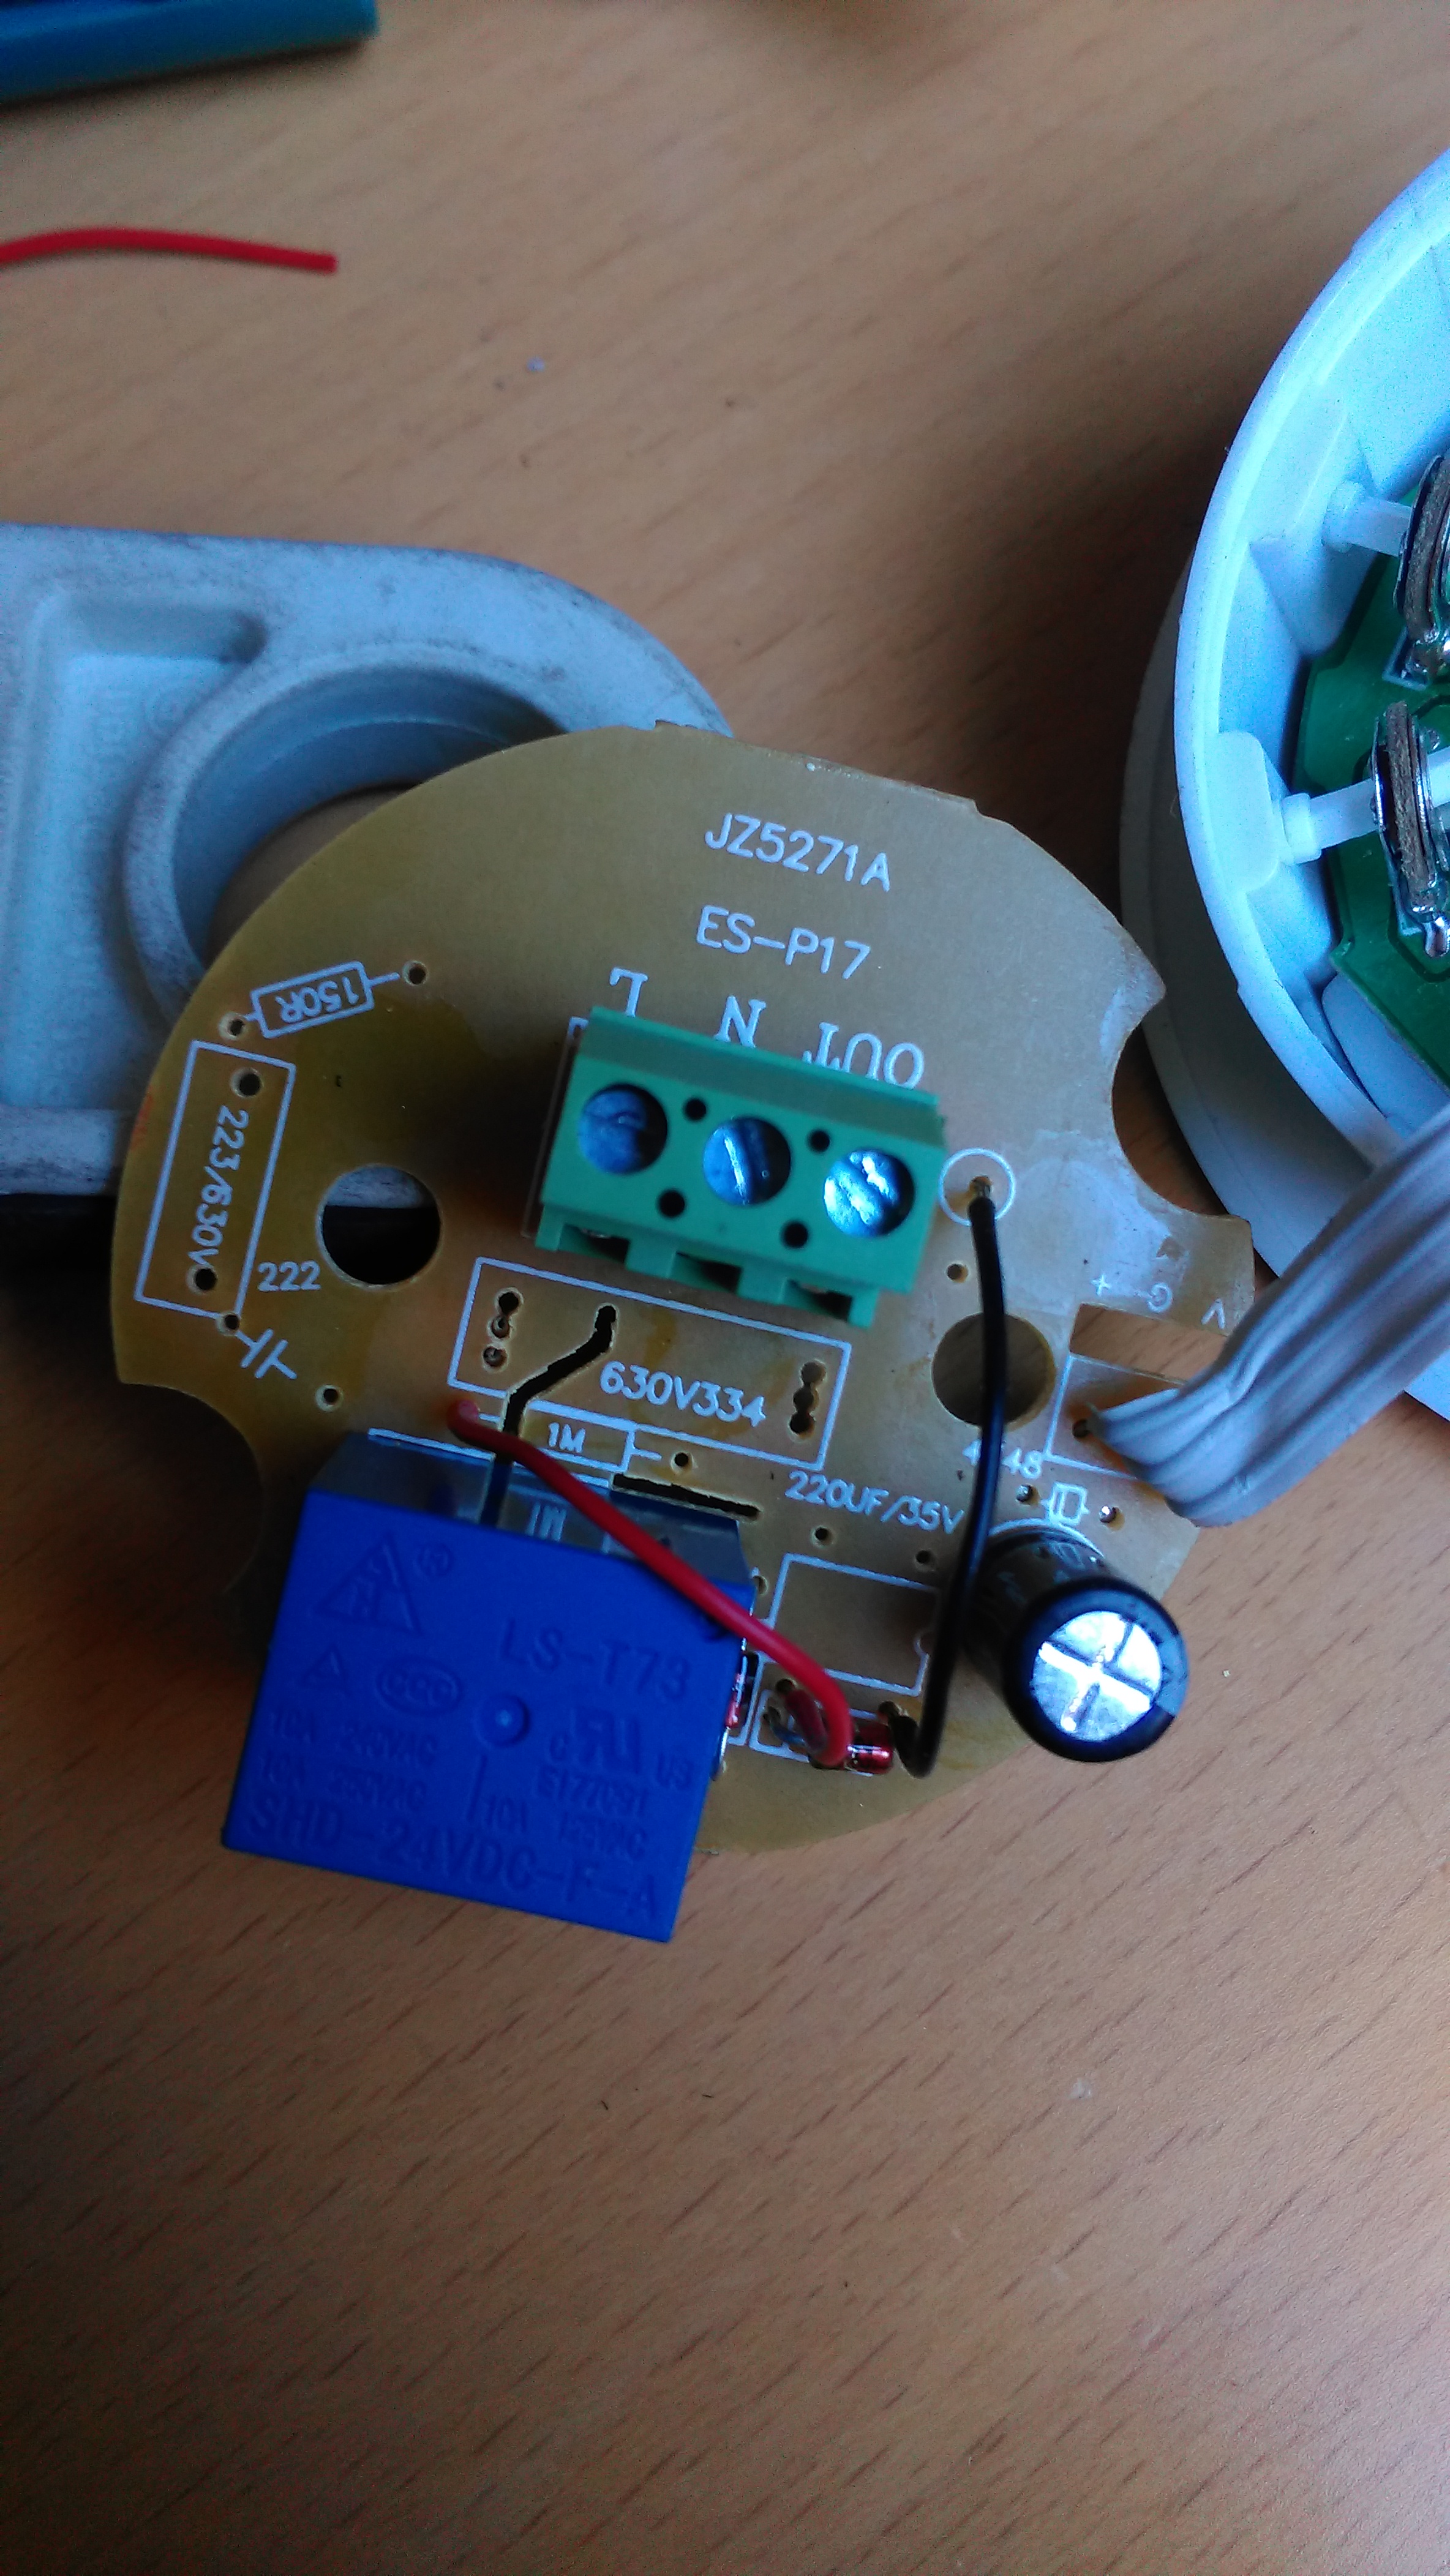
Different AC supply board this time around. Let’s take a look see what’s going on..

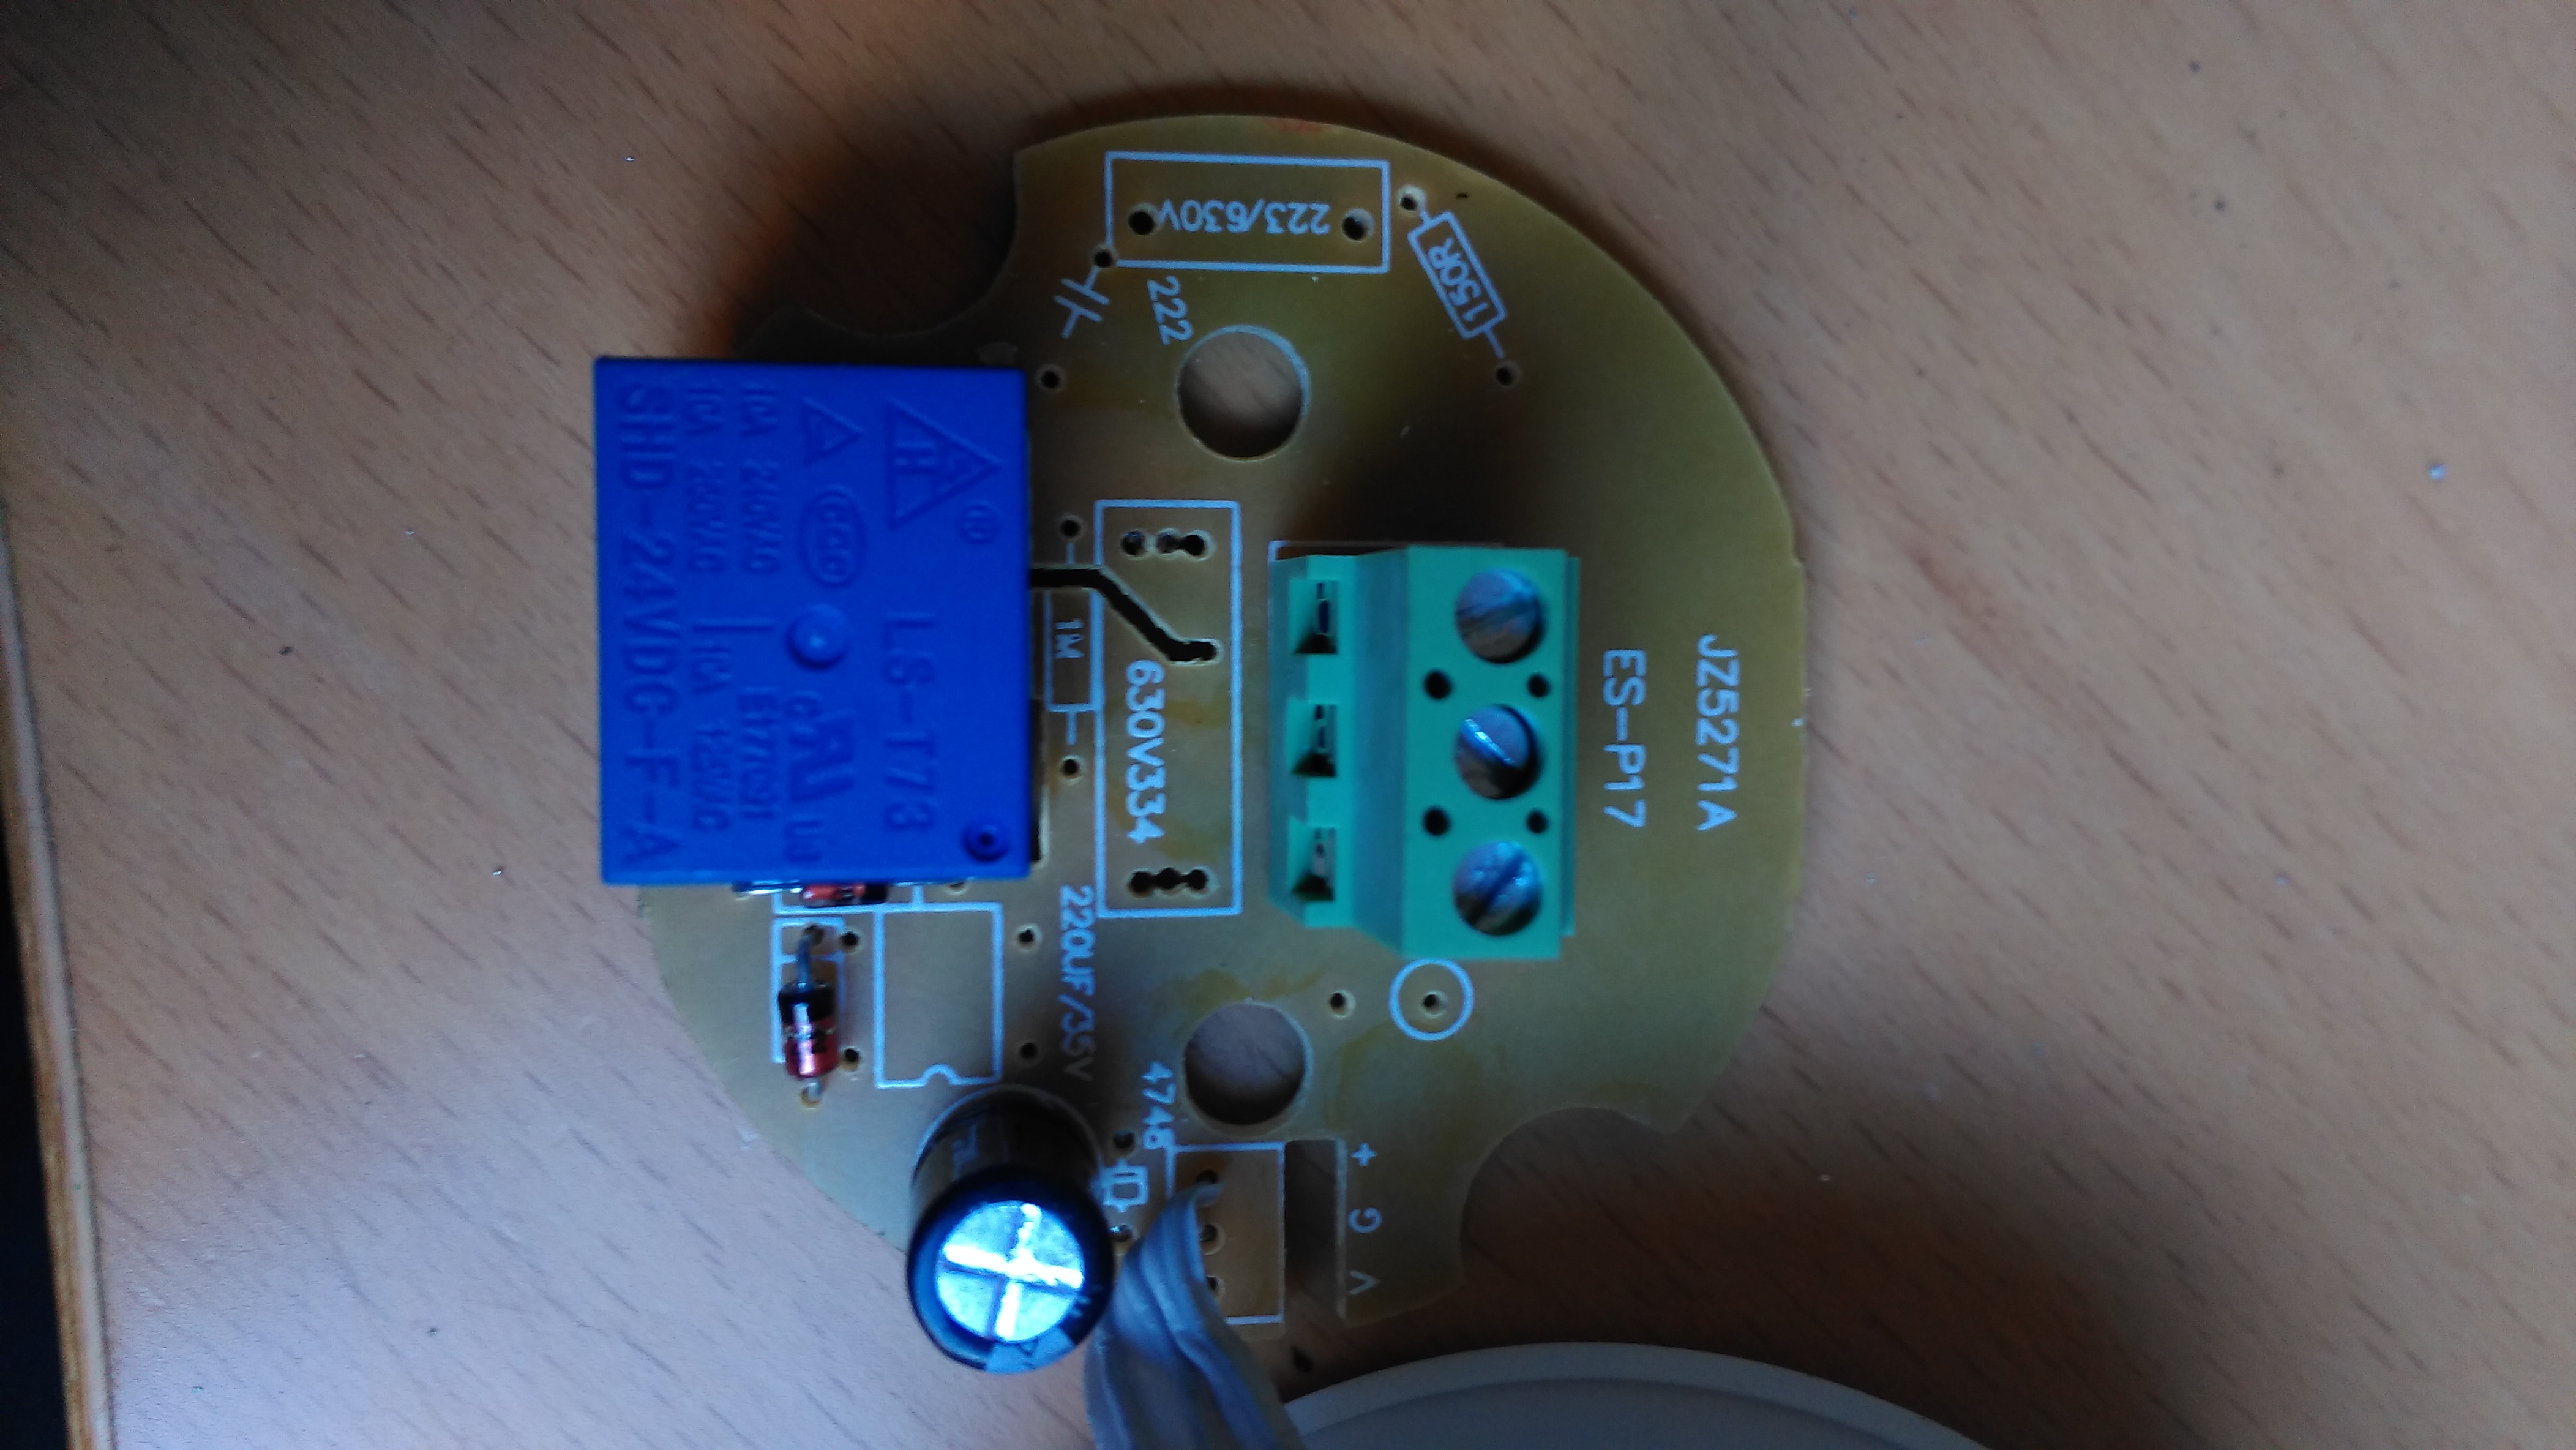
So capacative dropper is driving an actual bridge rectifier this time rather than four discrete diodes. Seems like there’s a lot here we don’t need….
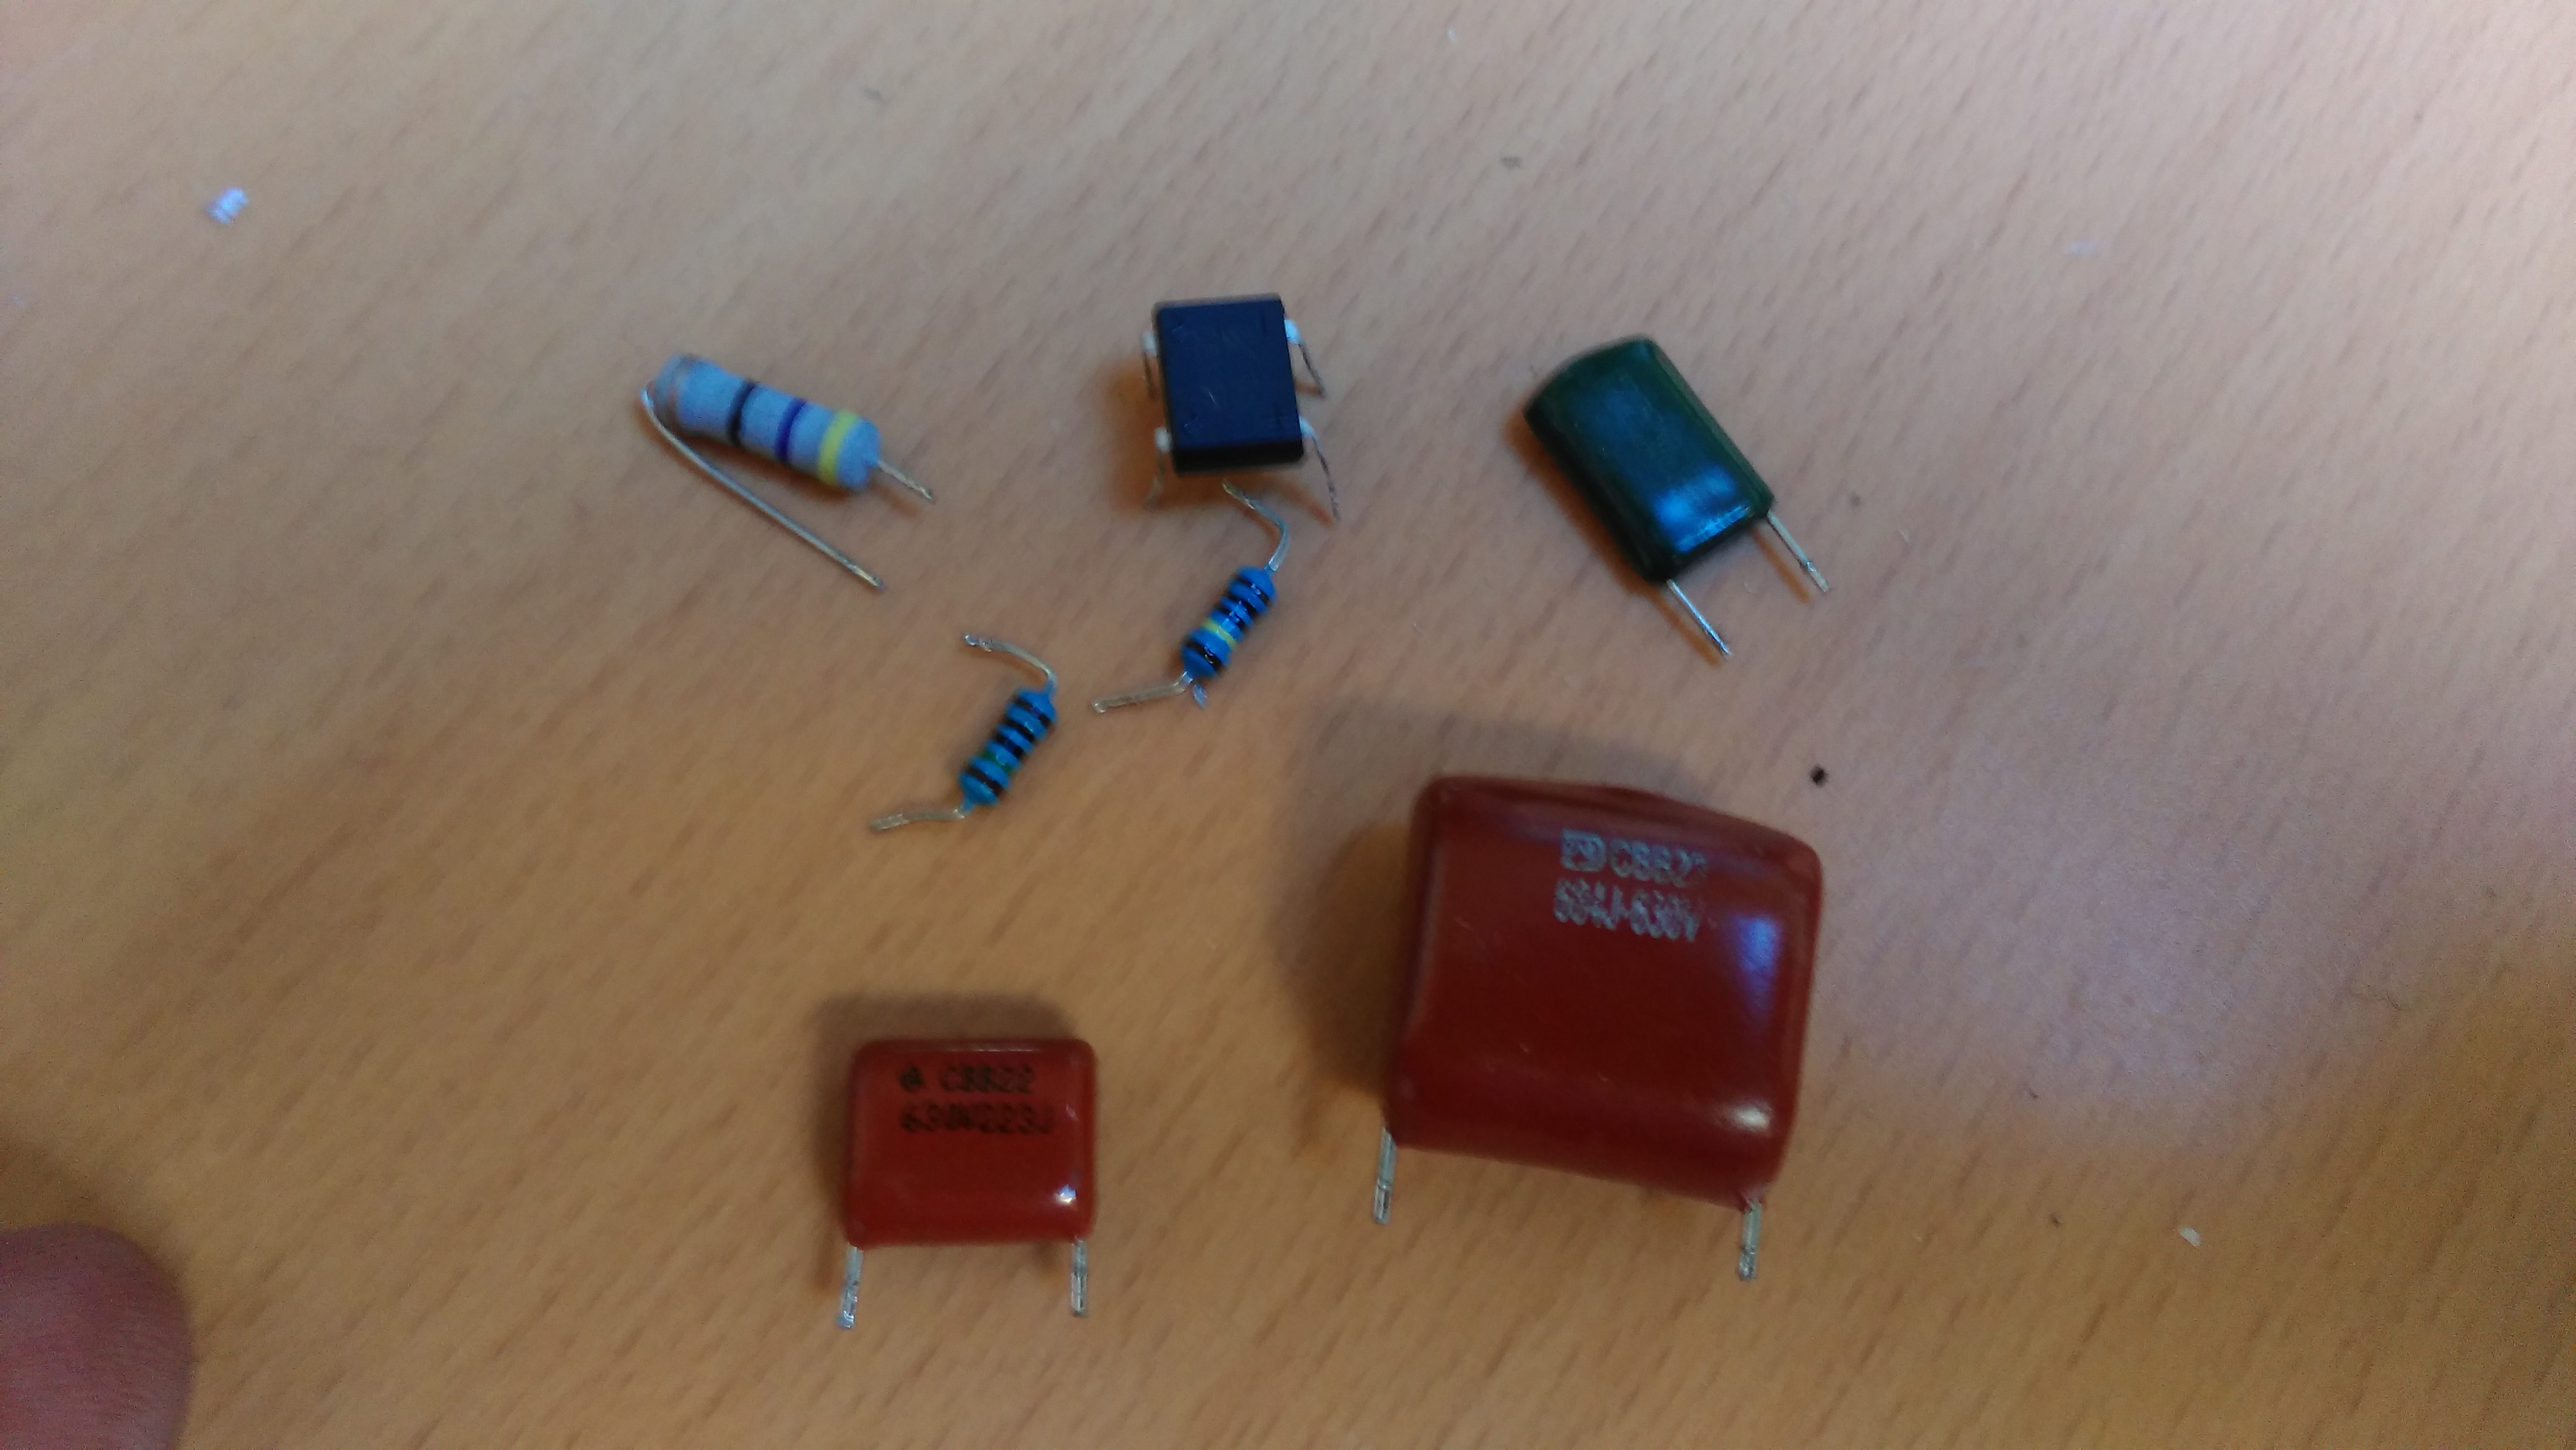
I always end up with spare bits when I take things apart….
Right, so now we look like:
So having removed all but the diodes for protection and the capacitor for smoothing the supply, we’re left with +24v going in and a working automation PIR! I put the front board in place without screwing it in and put the spacers on the back board as it came but without the screws. We’re no longer dealing with mains voltage and the spacers keep everything sensibly… well… spaced… Best update the labelling…
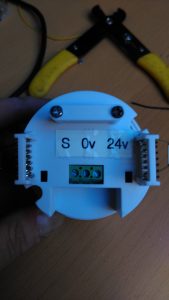
That’s a bit neater than the previous scribblings with a sharpie… 🙂
I’m hoping that step by step pictures and the diagram will make it clear how this change works. The PIR module is 24v all along, all we did was remove the AC components and drive it directly.
There doesn’t seem to be an LED on this model. The relay is triggered by dropping the signal line from the front board to 0v. It floats at +24 otherwise so technically we could lose the relay completely and drive that back to an input. I’ve not tested that so your mileage may vary.
Hopefully that update will be useful to people!
Keep hacking, Ian.