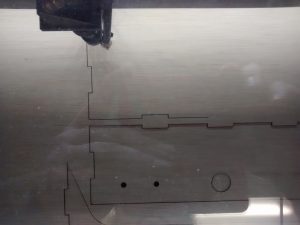
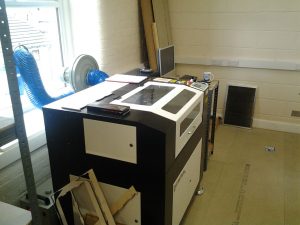
Controlling your dust extraction with a blast gate

Blast gates for controlling air flow are not a new thing but buying them off the shelf can be an expensive shopping experience, plus they’re only available in fixed sizes. I’m using 110mm UK drain pipe which there certainly isn’t a suitable gate for.

Clearly any self respecting woodworker has the skills to be able to build their own. I took some inspiration from Jay Bates and Marius Hornberger both of whom have brilliant YouTube channels that you should subscribe to.

But this is a hackspace blog post, so clearly that’d be a bit too straight forward… how about if we laser cut them?
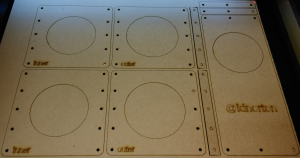

blast-gate-on-laser-bed

That’s heading more in the right direction. That’s a pretty nice design as a starting point. I ended up having to tweak the design to account for a slightly different diameter pipe fitting (mainly because I forgot to measure it before going to the hackspace and guessed wrong). But neat trick if you happen to do this, cut another one the right size and then when it’s finished very carefully lift it out of the cutter without moving the board you cut it out of, now drop your badly sized one in the hole and re-cut. Obviously that only works if it’s too small, or you have a magic laser that glues bits back on… no, wait, that’s a 3d printer.

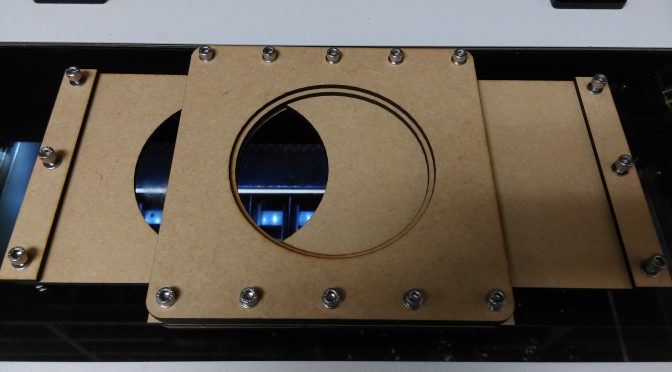
So our Blast Gate Mark 1 is available over on GitHub which looks a bit like this:


blast-gate-mk1

Parts list:

You’ll obviously need a laser cutter, we always recommend those awesome guys at Just Add Sharks because they rock!

Assembly notes:

  • The shorter bolts fix the handles to the gate
  • Squares with the larger hole go on the outside
  • The tricky bit is putting all your gate bolts in, adding the side strips, adding a washer and then adding your second set of gate pieces
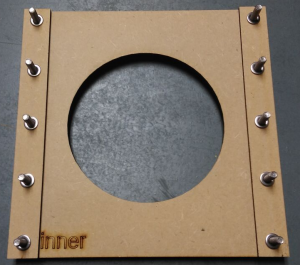

blast-gate-washers

This is important, don’t over tighten this or your gate won’t side. I recommend the use of a cordless drill with torque setting that you can wind right down to low. As long as you can’t rotate them by hand, they are tight enough.

Having assembled your gates, you should have something that looks like the header picture above. Now we need to cut the pipe fitting in half and attach it to the gate. Safely cutting the plastic coupler in half without a big enough lathe is a hard thing to achieve, so having had a think about how to do this I came up with something that will undoubtedly make some people twitch like crazy:
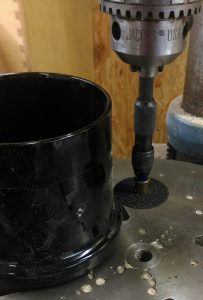

2017-03-15 15.28.38-1

That’s a Dremel speedclic plastic cutting wheel on an arbor, in a pin vice, in a pillar drill, yes. I did warn you. A safer way to achieve this would be to use a lathe if you have one big enough (the pipe couplng for this goes around the chuck of my small lathe). This technique gives accuracy whilst being the safest I could think of with the equipment at hand.
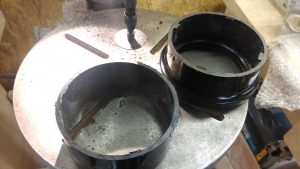

2017-03-15 15.37.10

I cut mine to have the tabs on the end with the seal as that’s the one I plan to stick an extraction hose end into.

Once the coupling is cut, glue it in place on either side of the gate. I used Screwfix’s Pink Grip which hasn’t quite set right now but looks like it’s going to do the right thing.
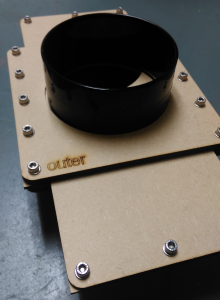

blast-gate-mk1

So there we have it, Mark 1 blast gate. Stay tuned for Mark 2 which has electronics to control your extractor.

Presence sensors again!

In my previous two posts I’ve talked about hacking cheap presence sensors to work on 24v DC rather than mains.

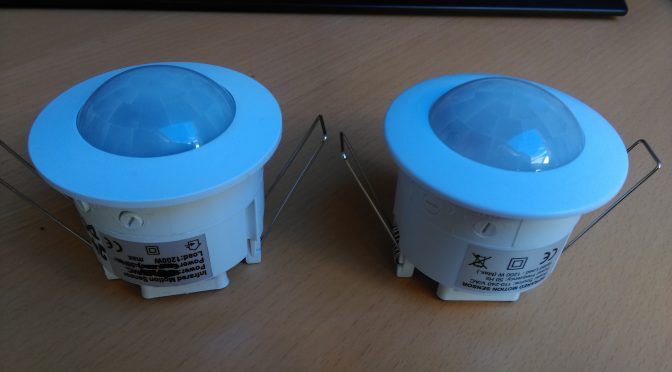
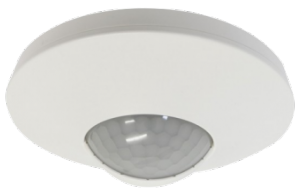
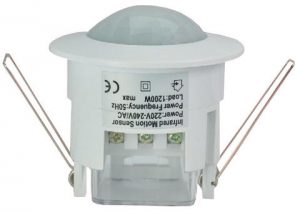
As does happen with these things, we’ve ended up with another different style of sensor from the same supplier!

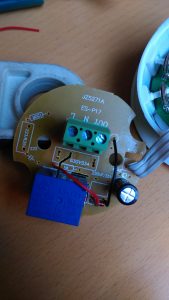
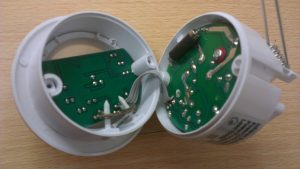
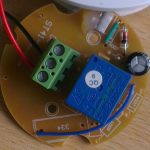
pir3-pcb

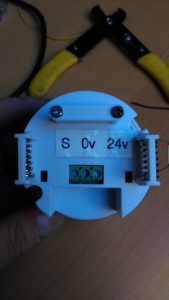
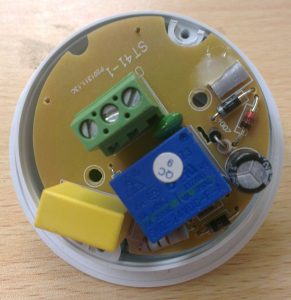
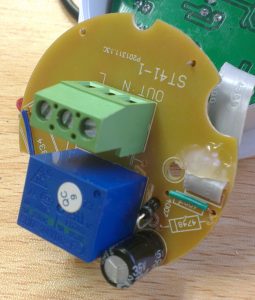
The design of this one is actually more complicated than we’ve seen previously making use of zenner diodes to drop the +24v DC to 5v for the front panel PCB.

pir3-2

Thanks once again to Malc who eventually gave up trying to make this design work and posted me three up to look at, I shall enjoy the beer on you mate πŸ˜‰

Hack on!

Ian

Presence sensors revisited

In my previous post I talked about 24v presence sensors for Loxone home automation:

Is there anybody there? Click once for yes!

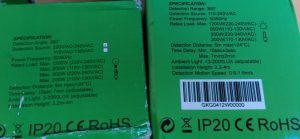
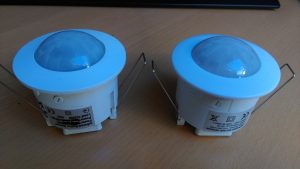
Shout out to Malc Crook (https://hackaday.io/mal8837) and Adam (https://hackaday.io/Bobbsta10) who both contacted me to say that the PIR linked to in the original post is no longer the one you get when you order the same item from the same seller πŸ™

Fear not, for I have hacked the new one this evening and it’s pretty straight forward πŸ™‚

2016-09-10-17-49-04

Well that mostly looks similar…

2016-09-10-17-49-45

Still looks similar…

2016-09-10-17-51-32

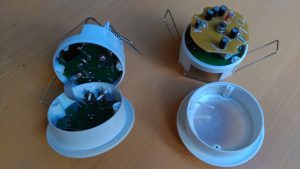
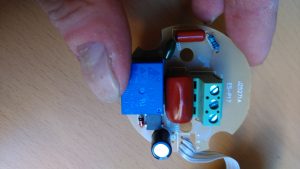
Well that’s different. The two boards are fixed together and the front board has to come away from the plastic shafts for altering the time and lux level

2016-09-10-17-53-30

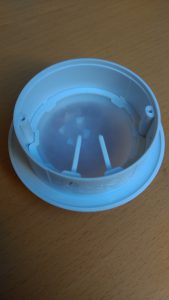
Those are really annoying to get back in but I’ll come back to that.

2016-09-10-17-54-47

Different AC supply board this time around. Let’s take a look see what’s going on..

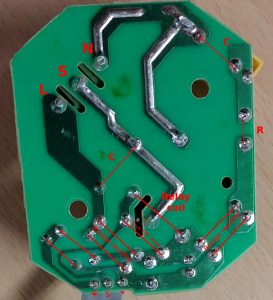
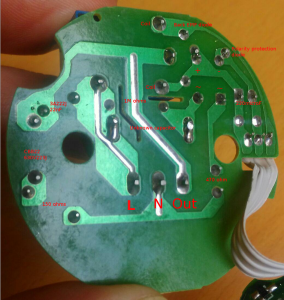
pir-ac-board-layout

So capacative dropper is driving an actual bridge rectifier this time rather than four discrete diodes. Seems like there’s a lot here we don’t need….

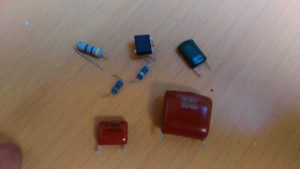
2016-09-10-18-24-24

I always end up with spare bits when I take things apart….

2016-09-10-18-48-00

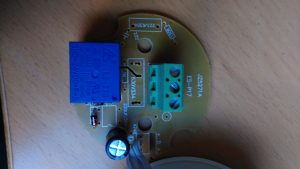
Right, so now we look like:

2016-09-10-18-33-06

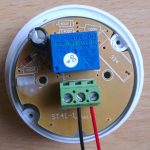
So having removed all but the diodes for protection and the capacitor for smoothing the supply, we’re left with +24v going in and a working automation PIR! I put the front board in place without screwing it in and put the spacers on the back board as it came but without the screws. We’re no longer dealing with mains voltage and the spacers keep everything sensibly… well… spaced… Best update the labelling…

2016-09-10-18-47-18

That’s a bit neater than the previous scribblings with a sharpie… πŸ™‚

I’m hoping that step by step pictures and the diagram will make it clear how this change works. The PIR module is 24v all along, all we did was remove the AC components and drive it directly.

There doesn’t seem to be an LED on this model. The relay is triggered by dropping the signal line from the front board to 0v. It floats at +24 otherwise so technically we could lose the relay completely and drive that back to an input. I’ve not tested that so your mileage may vary.

Hopefully that update will be useful to people!

Keep hacking, Ian.

PAD-03 laser control panel

Our Just Add Sharks Greyfin laser cutter is an awesome piece of kit supplied by a UK based company who really love to engage with their customers – in short Dominic and Martin are awesome community players who love the hackspace movement as much as we do.

But what happens when you want functionality that your machine doesn’t provide? Perhaps you want people to log in and record the timings for billing purposes.

Continue reading “PAD-03 laser control panel”

Is there anybody there? Click once for yes!

So following on from my previous post about switches,Β let’s talk about Passive Infra Red (PIR) sensors.

Loxone Presence Sensor

Cost: OMG HOW MUCH?!
Summary: No way in hell I’m buying one at that price
Supplier: Loxone

loxone-presence-sensor_0

Wow, the price of this is staggering. It’s got a light level sensor and a PIR in it. I’m not going to buy one, but I’m including it here without much comment.

Manufacturers site – http://shop.loxone.com/enuk/presence-sensor.html

Generic presence sensor

Cost: Low (Β£10)
Summary: Not quite what I’m after, but I can hack this.
Supplier: Low Energy Supermarket Ebay shop

generic-pir

I purchased this with the thought that I would place them in some rooms outside of the automation system like the toilet and possibly the kitchen. I ran it in the kitchen for a while until it finally started to annoy me. There’s an adjustable timer and light level sensor which means that once the light drops below a certain level the PIR will activate the light until no presence is detected and the timer runs down. It’s 240v mains, which isn’t great for working with, so having gotten annoyed with it and removed it (Claire nearly cut herself after the lights in the kitchen went out) I took it apart for a looksee.

generic-pir-insides01

So what’s the black tube? It’s a fuse, that’s a good thing. Otherwise not much of interest.

generic-pir-insides02

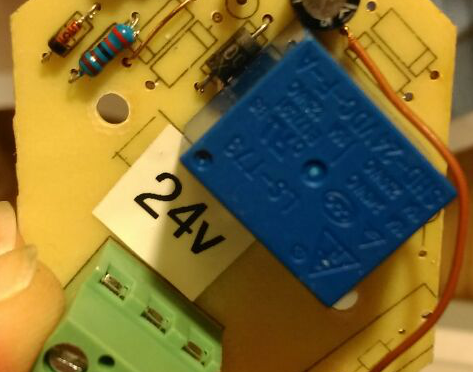
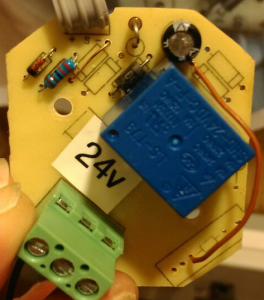
Oh hello! That’s a 24v relay. That means that we’re looking at a 24v DC supply. *grin* The Loxone kit is 24v DC, which I don’t think I’ve mentioned so far. The two circuit boards are a mains power supply and the combined PIR and logic board with the two variable resistors on. Removing or modifying the back board *should* give us a board that we can power with 24v and will trigger a 24v line when activity and suitable light level are detected.Β  We don’t actually care about the light level or the timer so we can turn both right down. Now we have something we can connect directly to a Loxone digital input and feed into a lighting controller block for a fraction of the cost of the official presence sensor.Β  This I like πŸ™‚

Purchased from Low Energy Supermarket Ebay Shop –http://www.ebay.co.uk/itm/230776895665

Hacking the generic PIR

Some time after writing the top half of this post, I got to the testing.Β  Tests on the generic PIR revealed that indeed it was 24v as expected. A simple full wave rectification circuit with four 1N4007 diodes, a couple of capacitors, a signal diode and a couple of resistors.

Turns out the signal diode was mostly redundant as far as I can tell, it’s included to eliminate back EMF but that’s actually dealt with by one of the power diodes without need for it. Eh, I put one of the power diodes back in and removed the signal diode.

2015-04-08-19-38-26_1

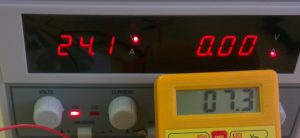
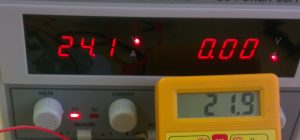
So testing! Lets see what the current consumption is like on this after the modification

generic-pir-current-off

generic-pir-current-on

Huzzah! 24v DC PIR with low current consumption and low cost. Our terminals are now switched 24v DC, 0v and +24v DC enabling us to use this on an input as suggested above. The input can then be mapped to the sensor input on the lighting controller and programming via the Loxone as documented.

I’m very happy with this money saving hack and will be buying a few more of these sensors in the very near future!

Hacking the space – March 2015

So this weekend on Saturday 7th and Sunday 8th of March we had our first major hack the space day, and much was achieved!

  • Workshop area now has a chip board flooring to prevent us causing damage to the laminate flooring in Unit 5
  • Kitchen worktops are cut to length and fixed to the units
  • Big shelving units are screwed to the walls
  • Donated equipment and parts were moved from the Shadowcat offices to the space
  • Laser was moved location along with the PC (including some comedy moments of Bob discovering how thin the metal was and bending it)
  • Laser modified to replace the USB cabling so the software licence dongle lives inside connected to a USB hub all nice and neat
  • Laser usage counter box purchased and wired up at one end. We worked out where to connect it in the cutter but didn’t quite get to connecting it due to lack of ferrels
  • Tested issue with datum button for Just Add Sharks – don’t press the datum button in Z mode with the honeycomb and slotted beds in as it will crash the head. The limit switch now needs moving
  • TV donated by Graham as spares or repair was mounted on the wall and the first signs of issue started to show with it. Percussive maintenance fixed this so there’s probably a dry or loose joint that we need to find
  • Blew up the new board for the 3d printer that Bob brought with him (whoops – looks like the power connector was soldered to the board the wrong way around)
  • Got the chip from the new board to work on the old Gen7 3d printer board gaining a working board out of two not working boards
  • PAT tested the pillar drill, which passed!
  • PAT tested a PSU from Ian’s house, which failed and went back home with him in disgrace
  • Realised that we can’t run the extractor past 21:00 in the evening as it’s too noisy for the surrounding houses – sorry to the people who rang up to point this out. Noted and we will stop at 21:00 in future.

So all in all a very productive couple of days! Massive thanks to Bob Clough from Hackspace Manchester (Hackman) who came up to see us to use the laser cutter and and help out. The A-Maze-Balls project is looking very exciting in the flesh (that’s what Bob was cutting out).

Come and see for yourself at our open evening this and every Wednesday from 18:00 onwards!

A-Maze-Balls box being cut:

t7el4b1

Laser cutter in new location on top of chipboard flooring:

7qatwr8