The new RFID system is almost fully operational, so now is the time to get your RFID key sorted!
We should be turning it on this Wednesday (26th July) So after this date you will need an RFID key to get in the upstairs door.
‘But I dont have one yet!’ I hear you cry. Well, if you come along this Wednesday Open Evening, we will be setting up anyone who does not have a key yet, with one!
If you are unable to make it down on Wednesday, then let us know! I (Tom) work only round the corner and so during office hours will be available to let you in and sort out your RFID Key.
If you are unable to do it during Office hours, let us know and we can organise a time to let you in and sort out a key.
To contact us, either message us on Facebook, in Telegram, or email the board at board@lamm.space and we will get back to you!
For a while now, I have been trying to make a dry box for storing 3D printer filament, having had problems with a reel of ASA filament becoming damp and the prints made from it coming out pitted and fragile. The first idea I tried was to use silica crystal cat litter as a dessicant in a sealed box. I bought a transparent storage box with a rubber seal and a packet of silica cat litter, as well as a cheap digital hygrometer / thermometer. Then I burned some holes in the lid of a plastic fast food tray with a heated skewer, and put the cat litter in the tray. Finally I put the tray, the hygrometer and the filament into the storage box and sealed the lid.
I left the cat litter in the box for a full day, and the humidity reading actually increased slightly from 55% Relative Humidity (RH) to 59% RH. This was at a nearly constant temperature varying from 24 °C to 23.7°C. The increase was within the error range of the meter but not the significant drop I had been hoping for.
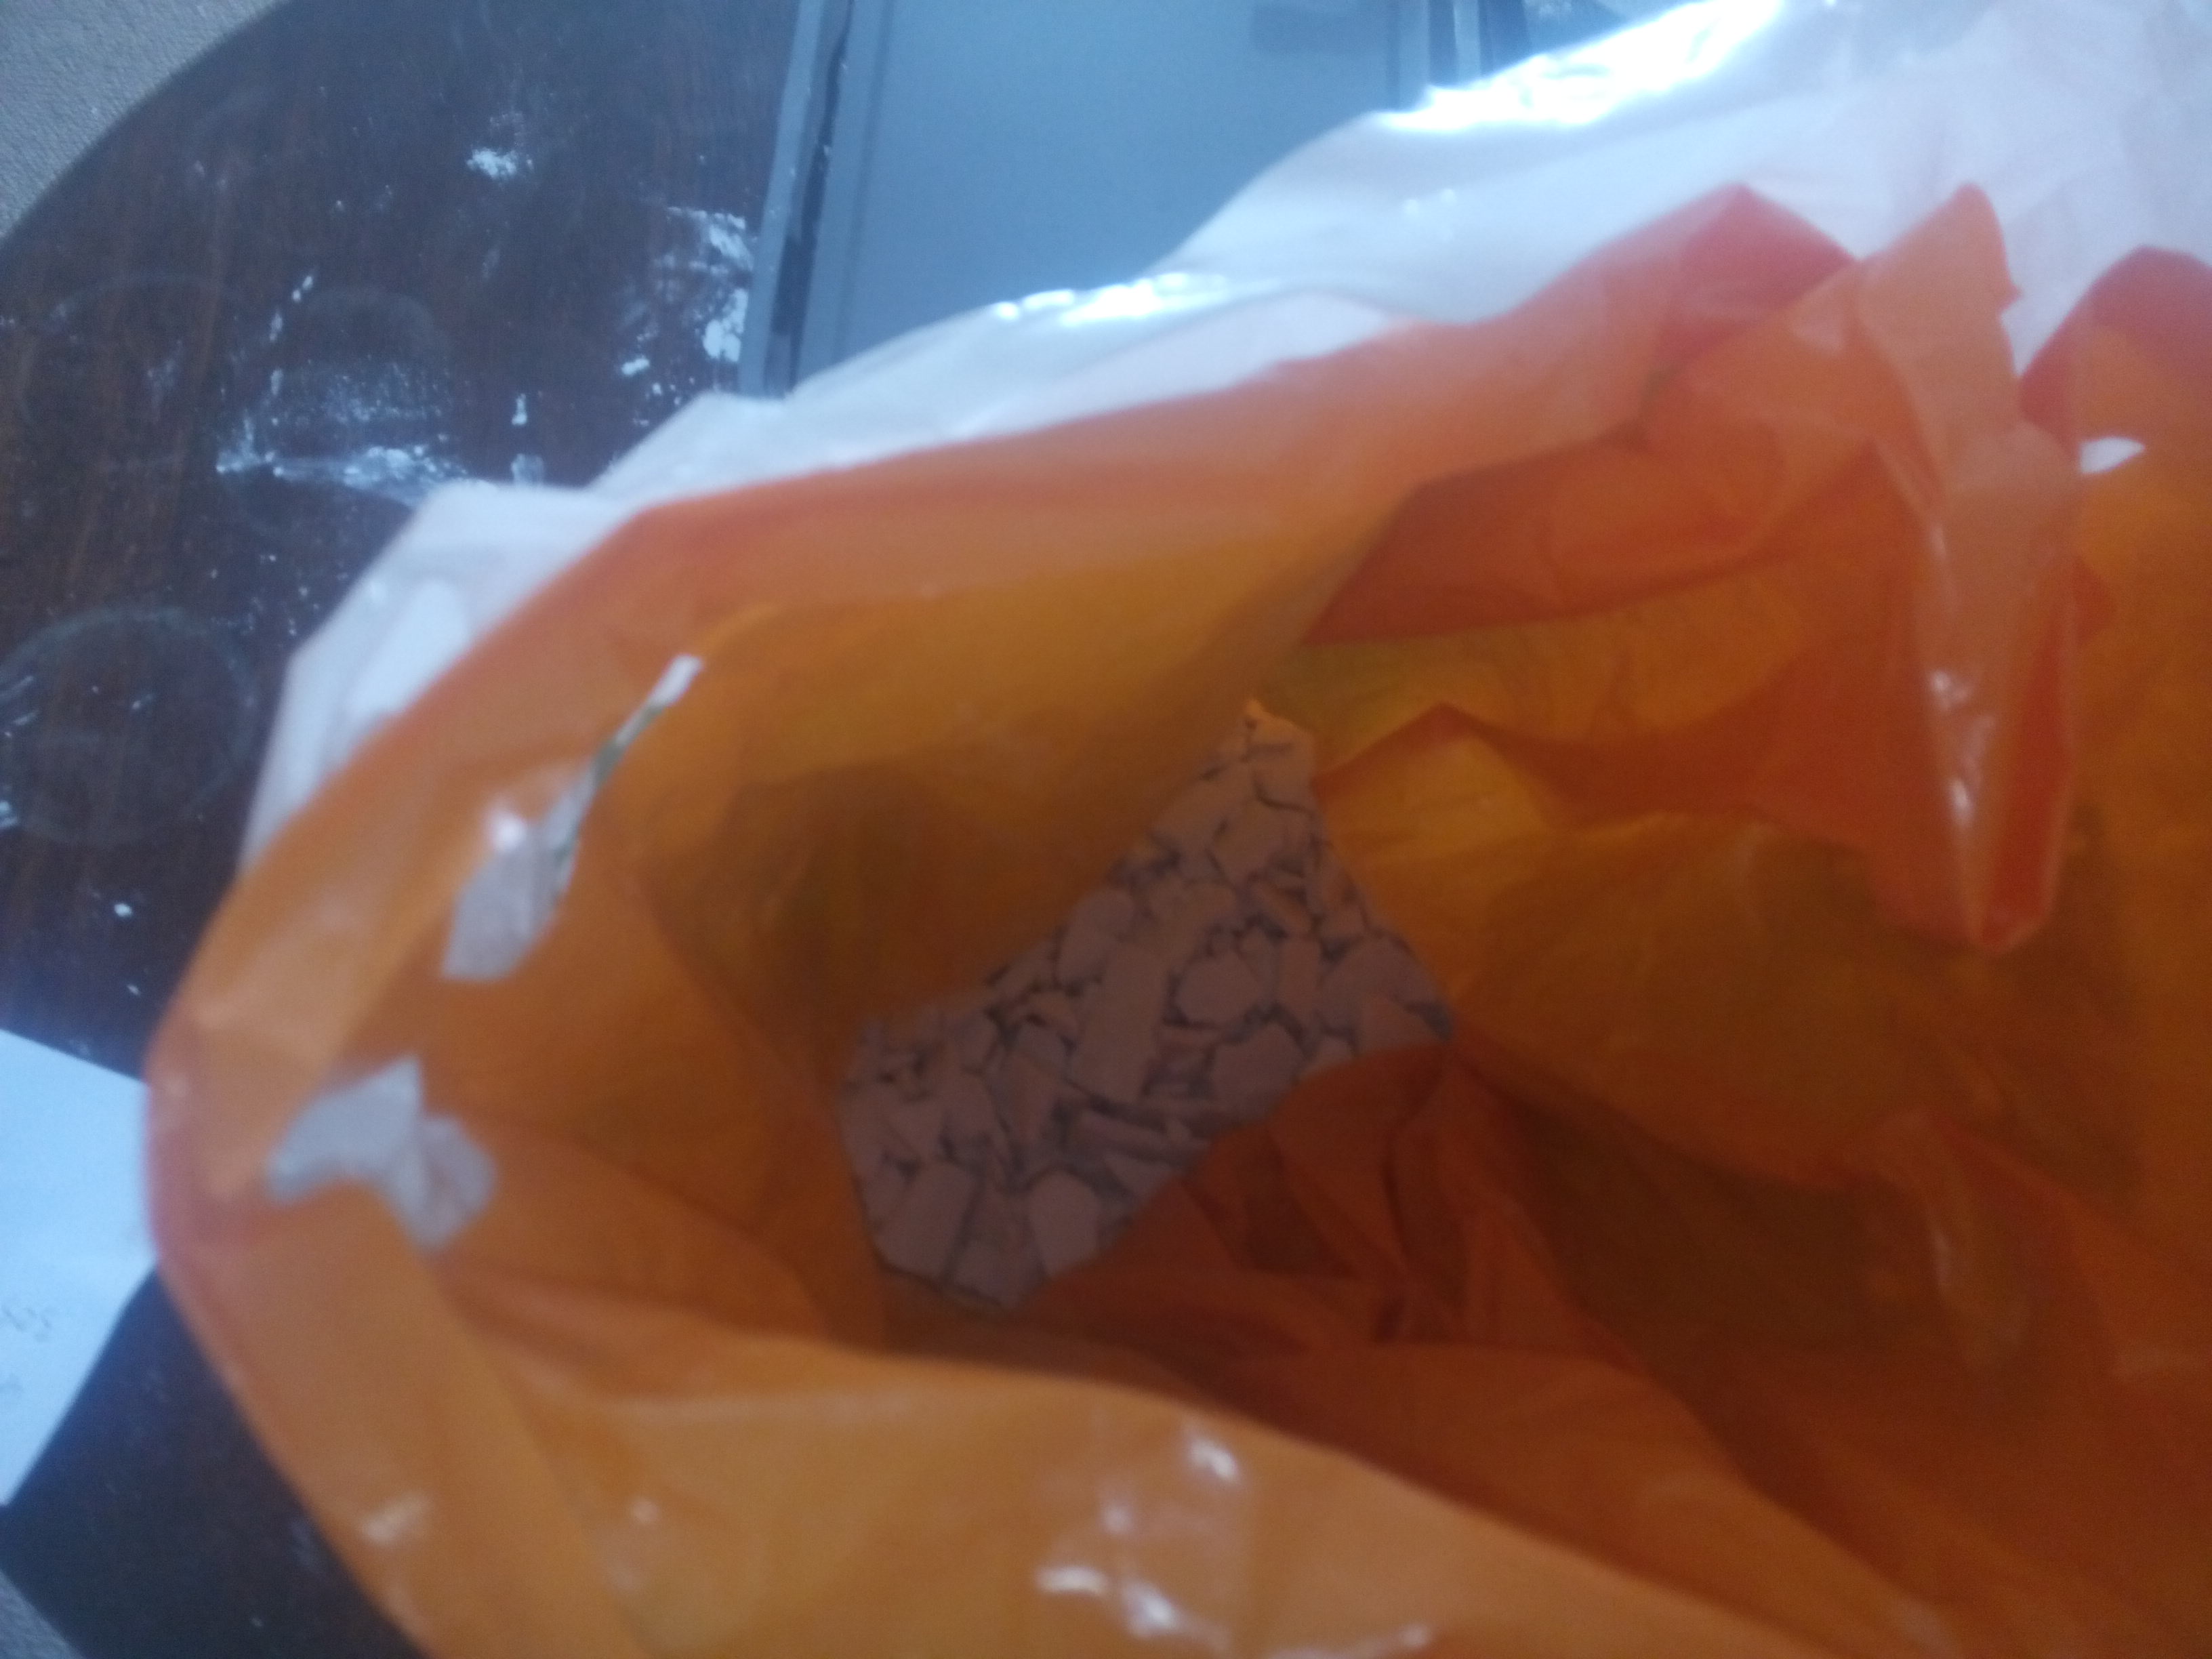
The next thing I tried was to crush the crystals using the somewhat crude method of wrapping them in a strong piece of cloth and bashing them with the end of a brick, to see if this would increase the surface area of the crystals and make them absorb water better. This didn’t work so well as silica crystals are quite hard, and it also didn’t make them any better at drying the air in the box.
I suspect that the reason the cat litter didn’t work is that even though silica does absorb water, the granules you get in the sachets that come with electronic devices are prepared in a way that makes them highly porous and able to absorb atmospheric moisture, whereas the silica that is used as cat litter is designed to absorb liquid water so they make it out of solid crystals.
At this point I did a bit of research online and found this web page about drying mushrooms. It has a pretty good summary of the three main substances used as dessicants, how effective they are, and how to use them. In order of increasing effectiveness, they are silica gel, which will bring the humidity down to about 40% RH, calcium chloride, which is what is found in home dehumidifiers and can bring the humidity down to below 25% RH, and calcium sulphate, which is the strongest of the three and according to that page can lower the humidity to a few percent RH.
As it says on that page, calcium sulphate is the same chemical substance as plaster of Paris. This is a substance which attracts water strongly into its crystal structure, and can come in several forms depending on how much water it has absorbed: hydrated (fully saturated with water), hemi-hydrated (partly saturated), and anhydrated (no water at all). Plaster of Paris is the hemi-hydrated form and can be bought quite cheaply from craft shops.
The simplest way to make powdered plaster of Paris into a dessicant would be just to heat it in an oven to drive the water out of it, let it cool in a sealed heatproof container, and then put it into the dry box. This would probably work okay, but it would have the problem that air wouldn’t be able to percolate through the powder easily so it might take a long time to dry the air in the box.
I decided instead to try to make it into granules, thinking that they might absorb the water vapour better. The rest of this post describes how I did this.
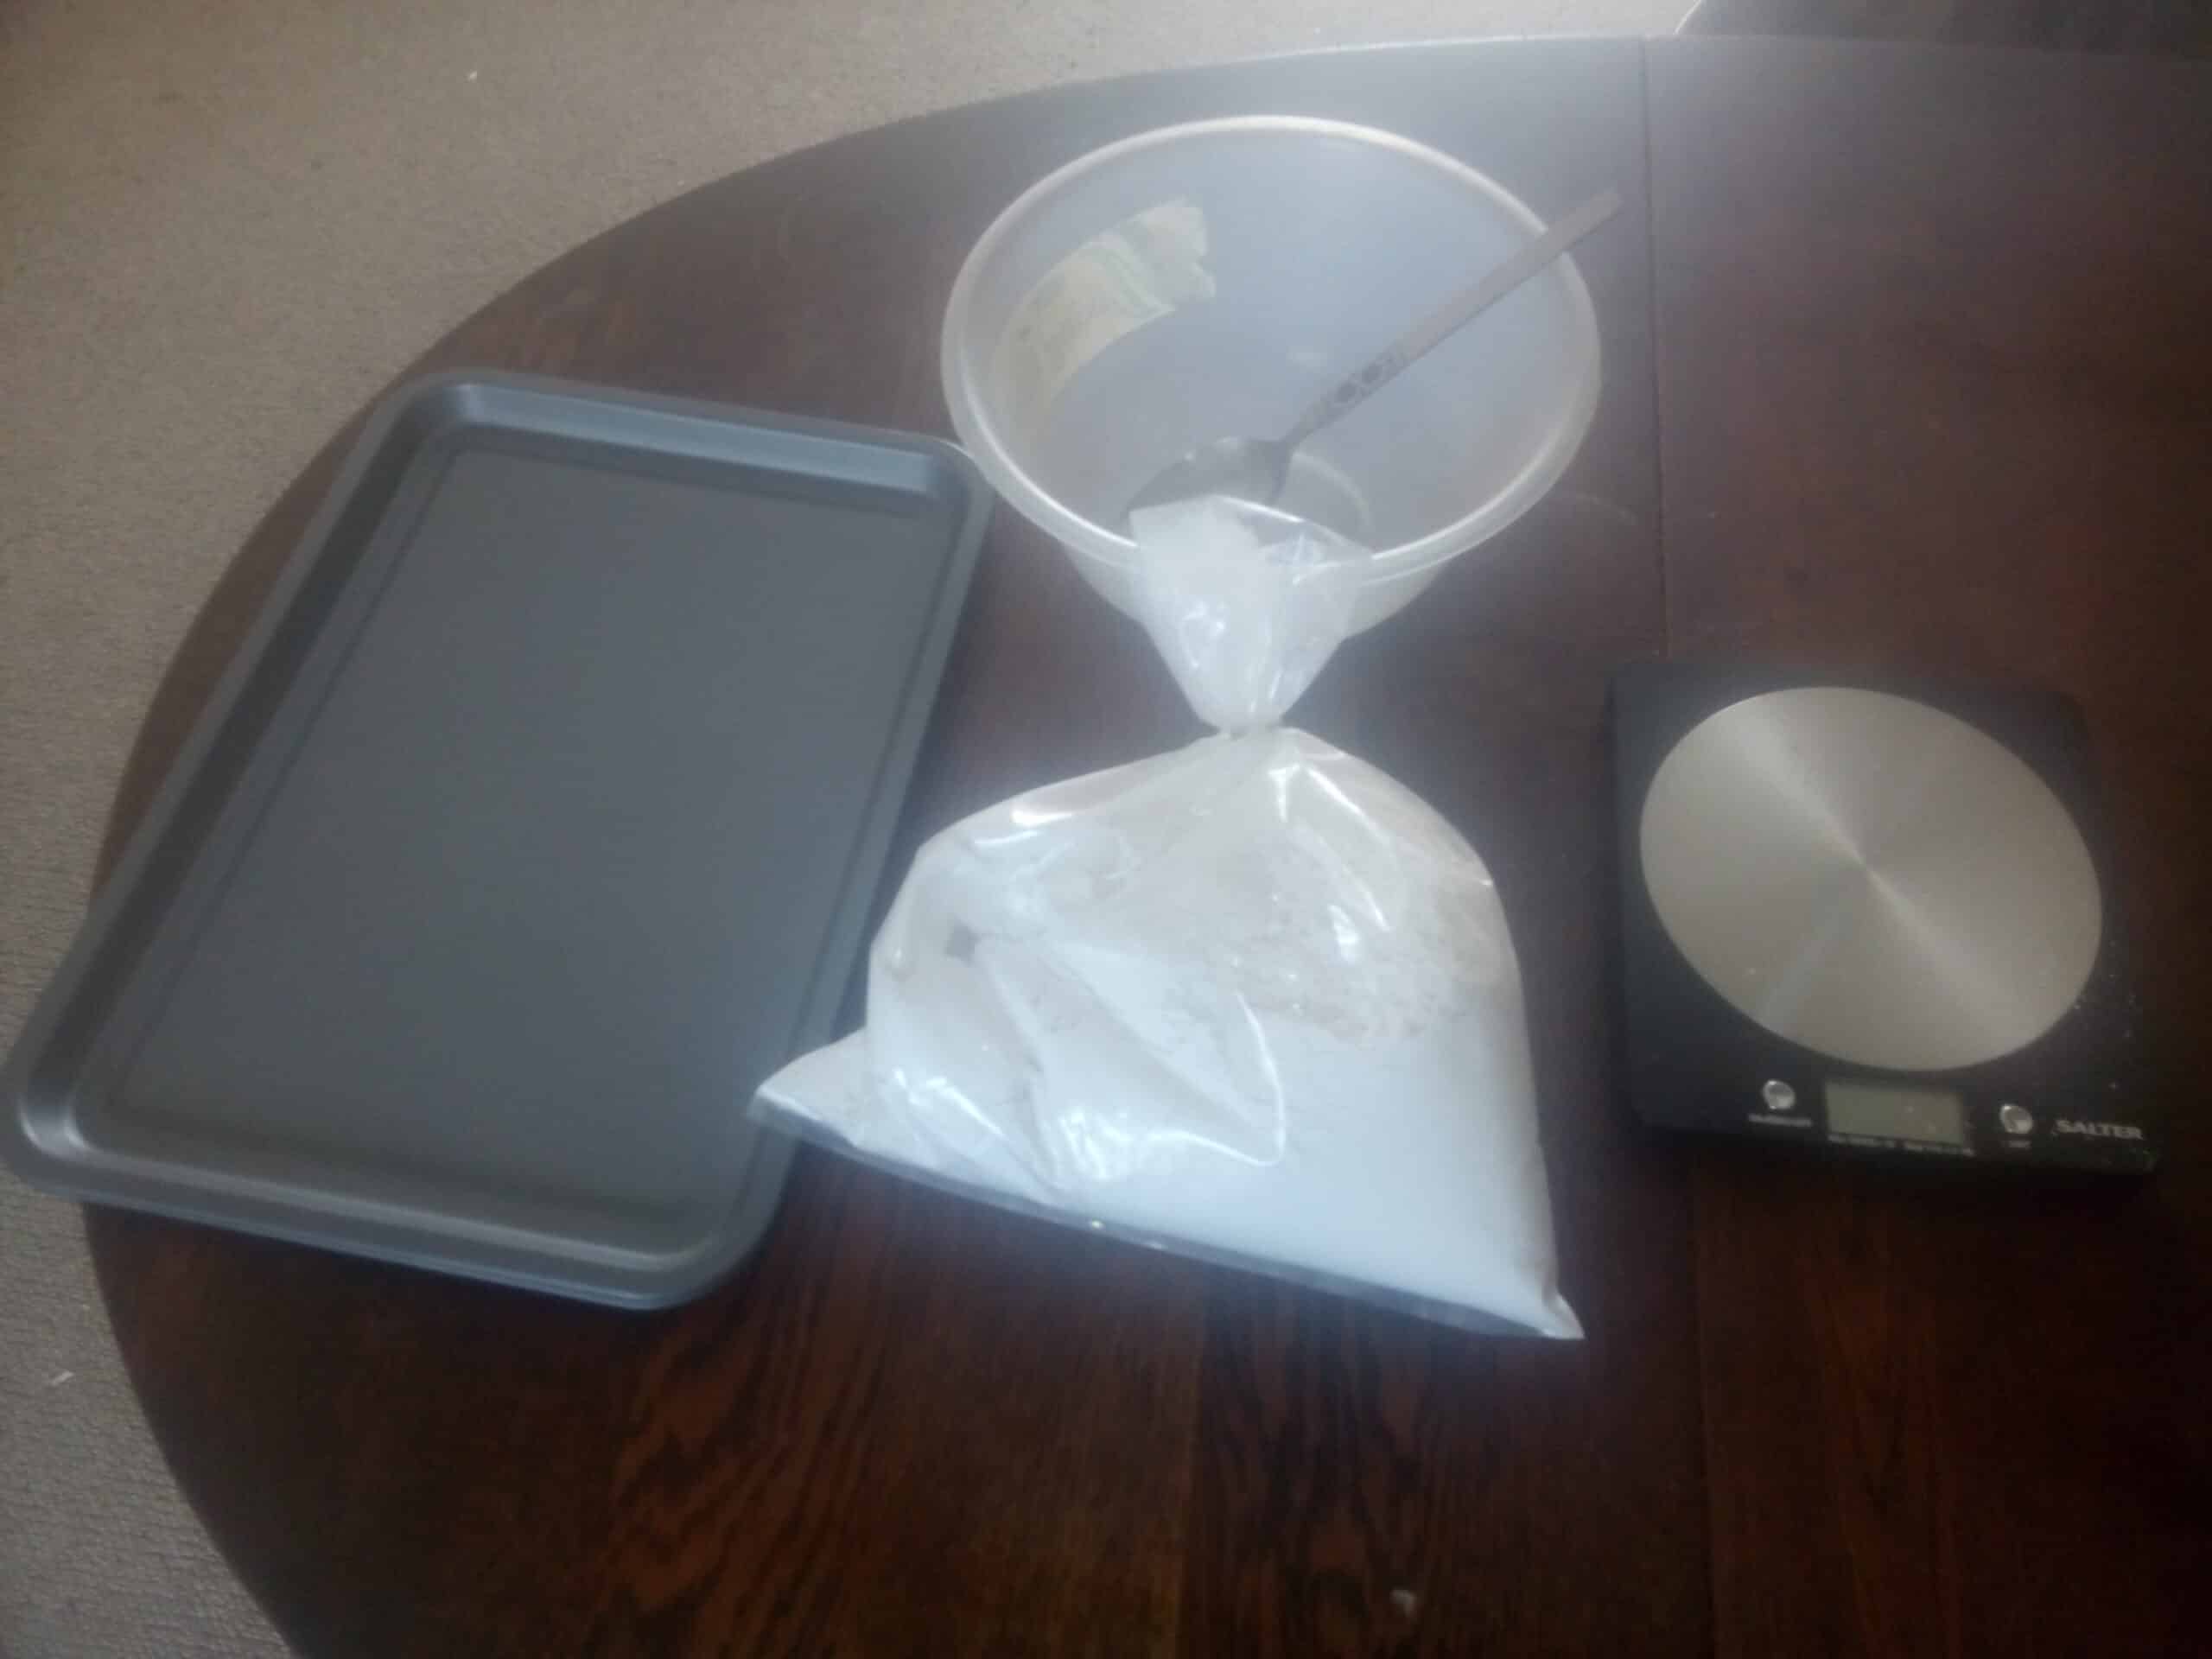
Some of the equipment I used to make the granules.
The photo above shows some of the equipment I used to make the granules – two non stick baking trays, a bag of plaster of Paris, a mixing bowl and metal spoon, and a kitchen weighing scale. I also ended up using a couple of large glass jars, some rubber gloves, two plastic bags, a piece of heavy cloth about 40 cm square, some string, a pint glass of water, and a brick.
The first thing to do was to measure out enough plaster to fill the baking trays in a thin layer. You may want to wear rubber gloves for this as plaster is slightly irritant. I did this by just spreading it out in the trays to what looked like a reasonable depth to be able to break it easily once it had set.
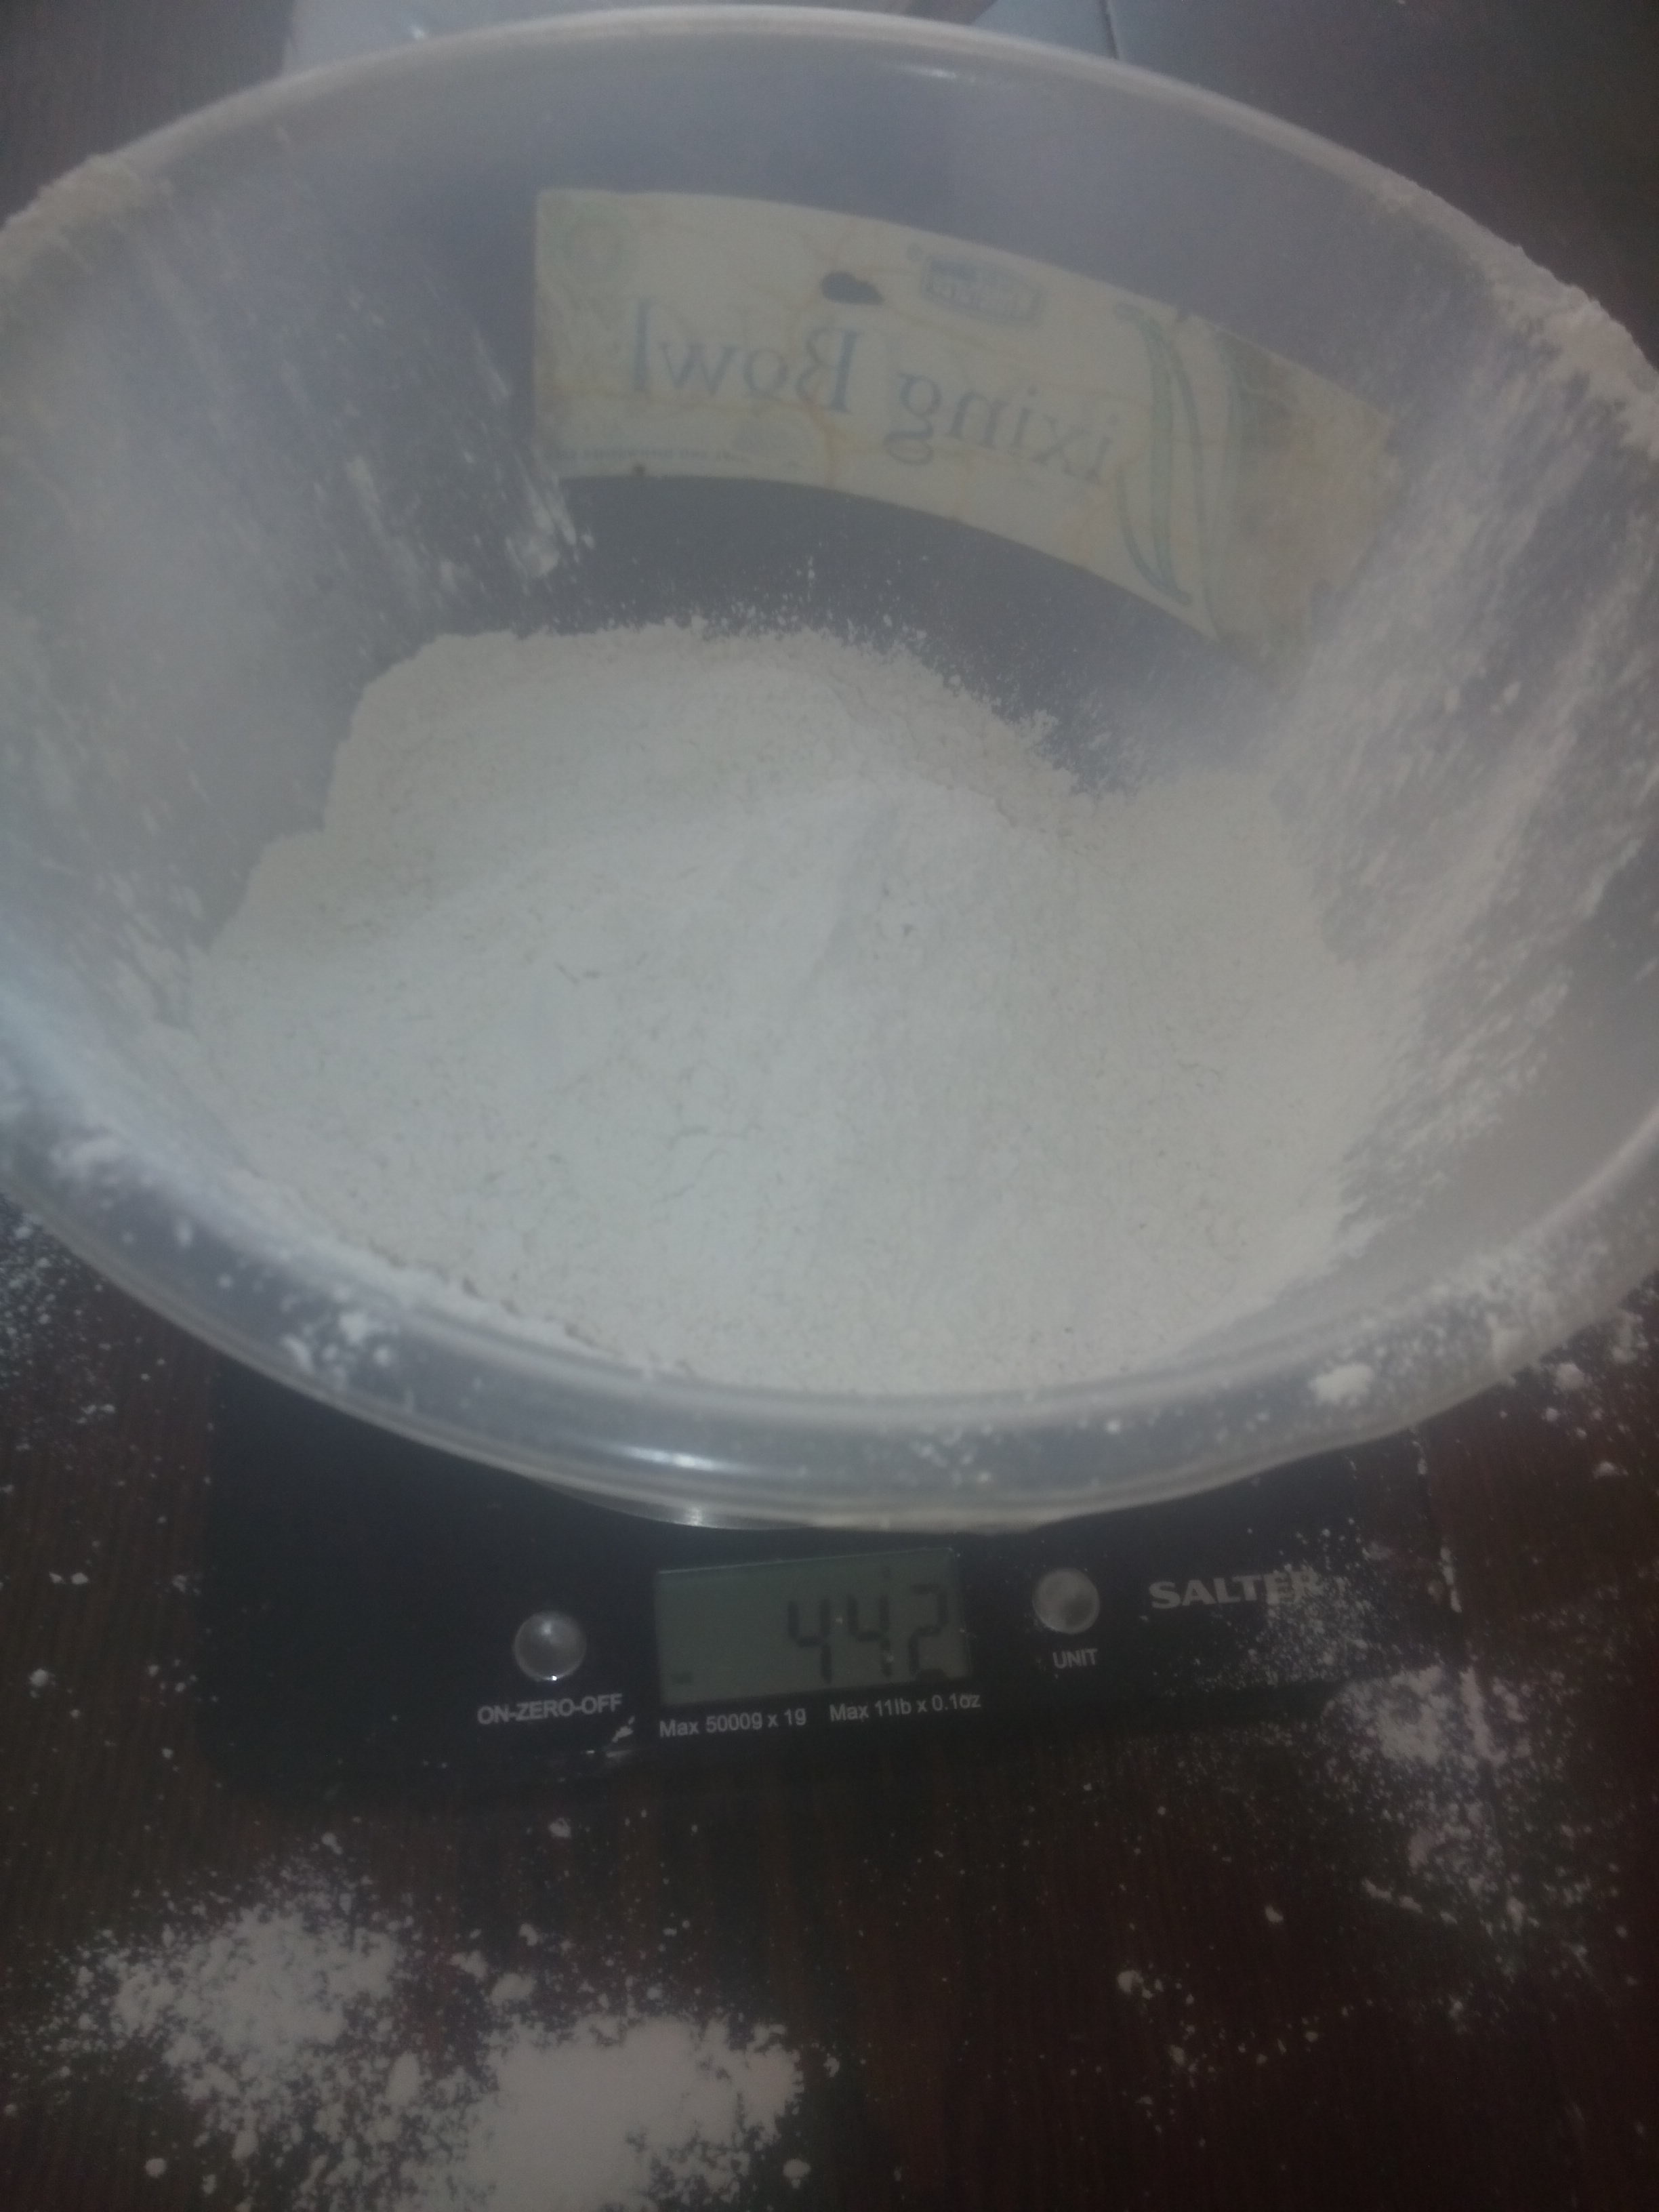
Then I put the mixing bowl on the scales, zeroed them, poured the plaster into the bowl and wrote down the weight – 442 g.
Weighing the plaster of Paris
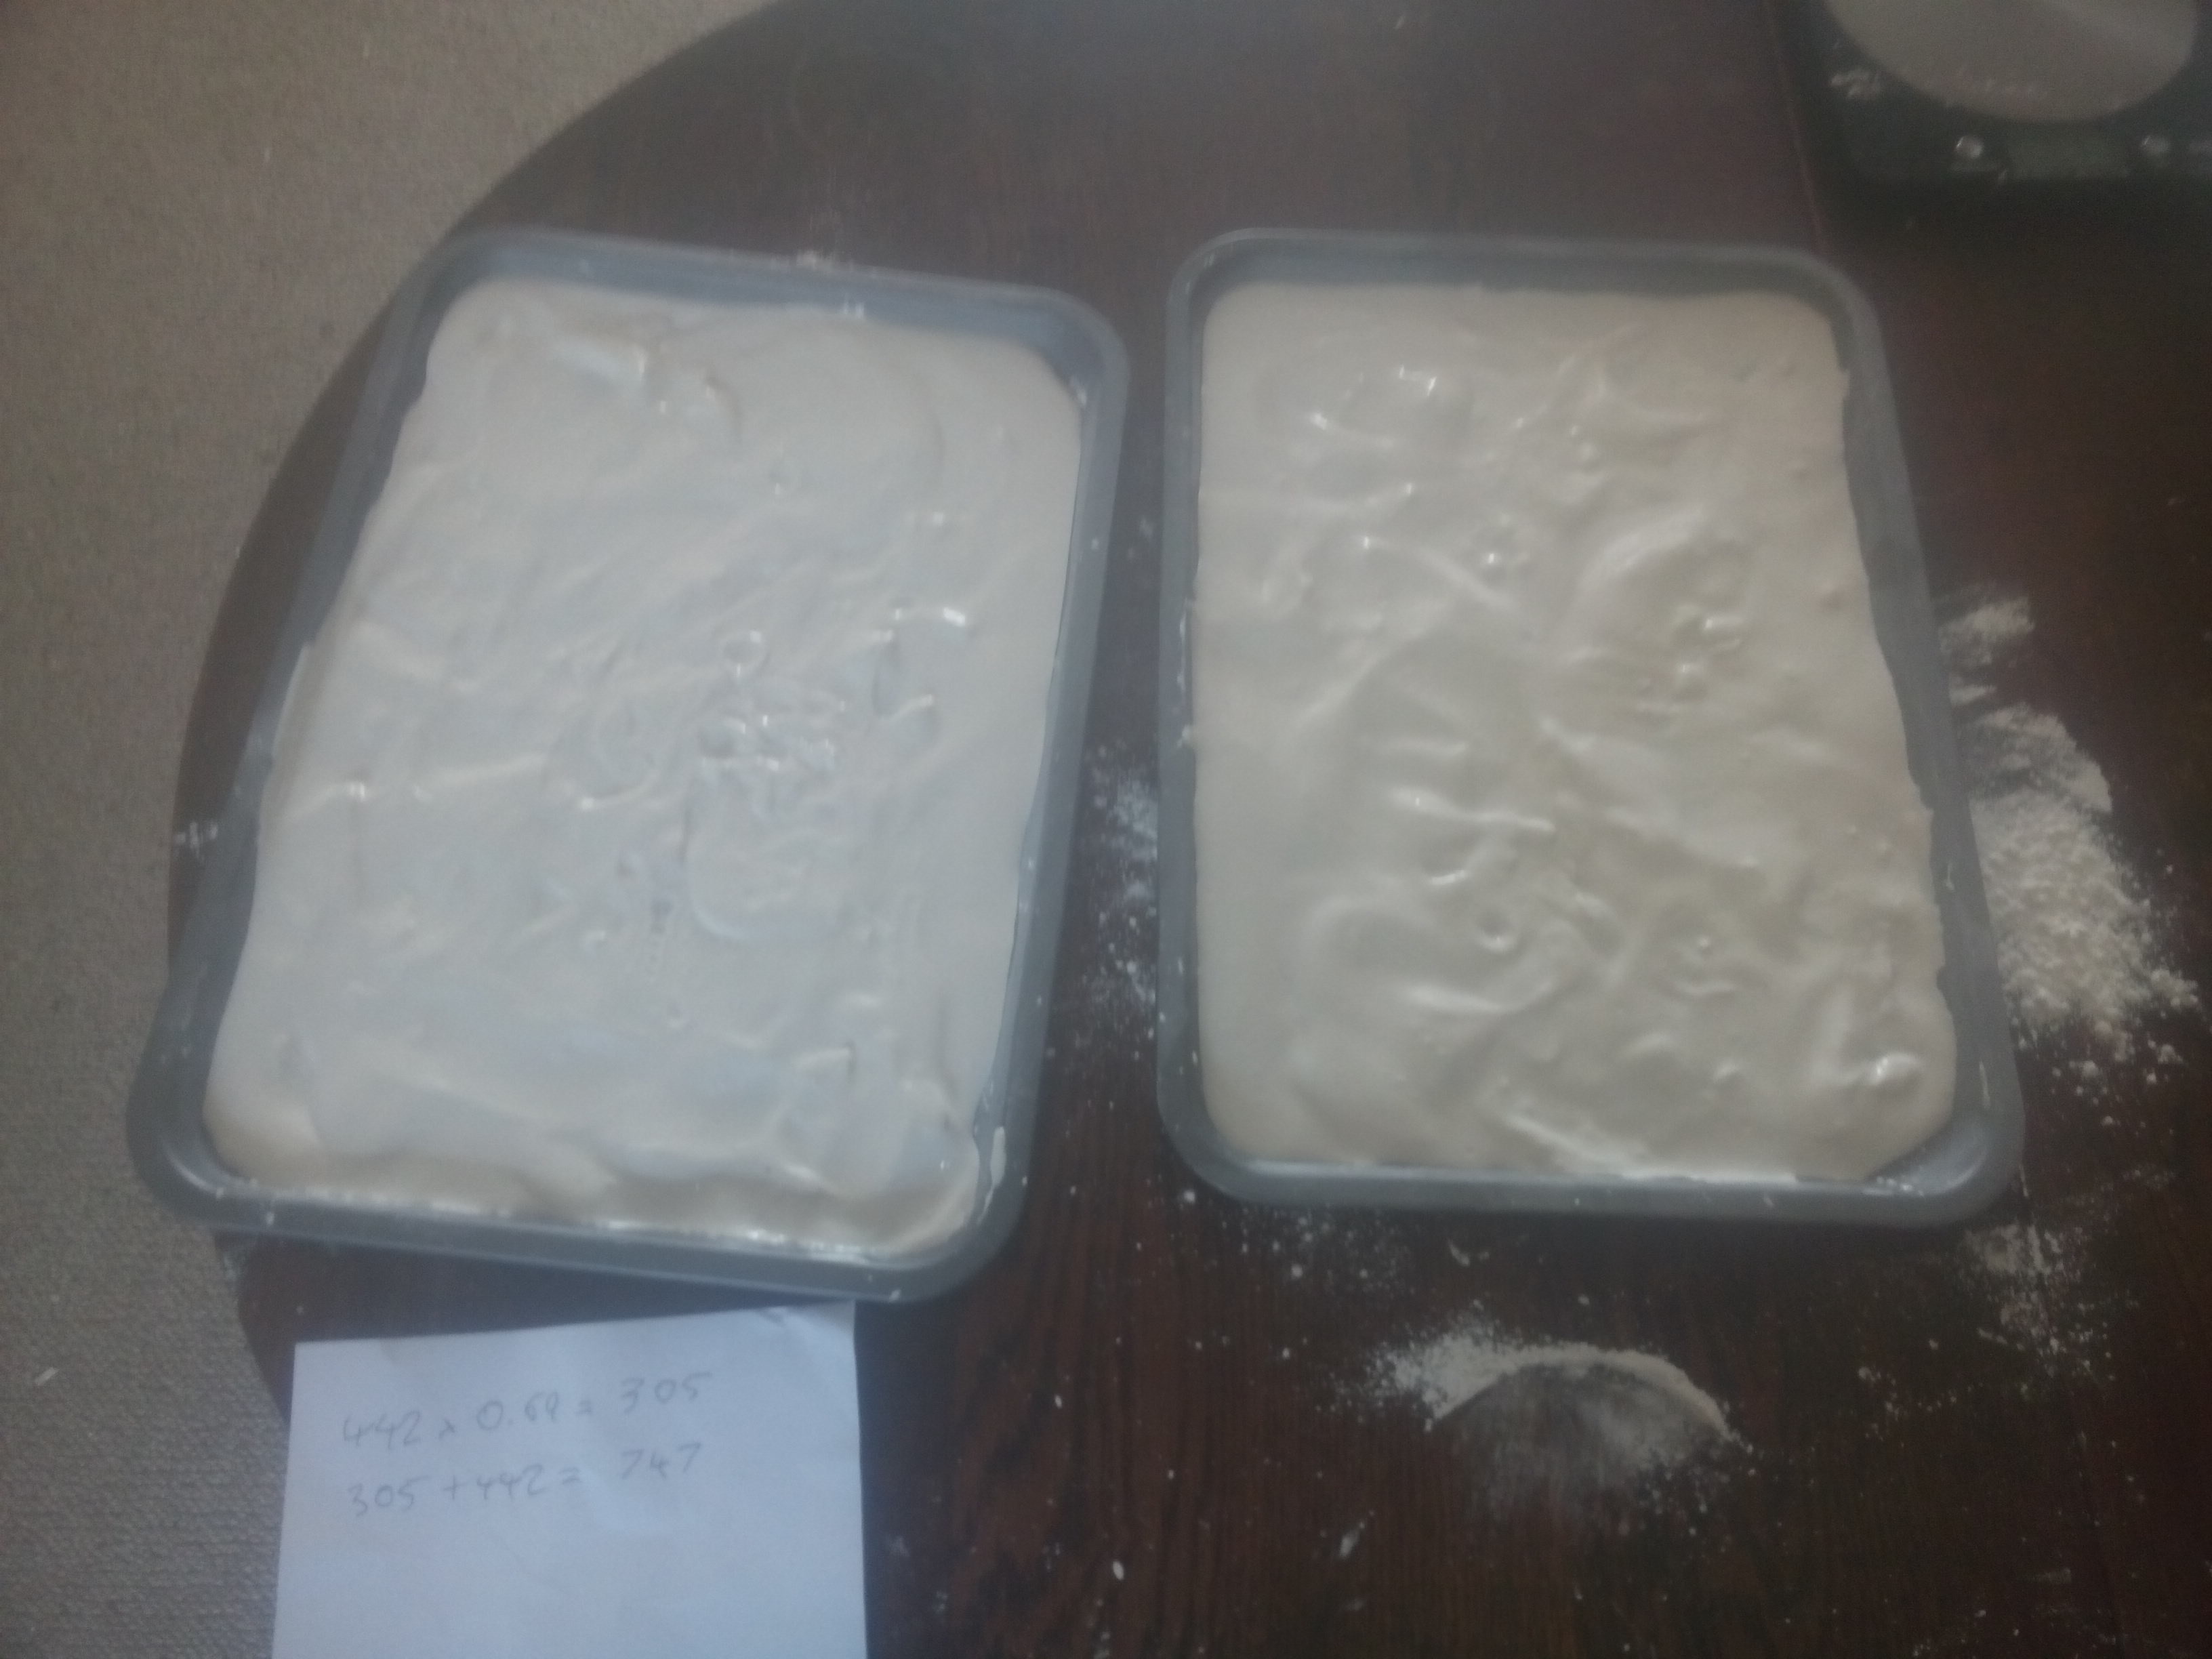
You make up plaster by mixing it with water in a ratio of 100 : 69 by weight. This makes 305 g of water, which makes a total of 747 g in the bowl. I then made a bit of a hole in the middle of the plaster and poured water in until the weight was (about) 747 g. Then I mixed it with the spoon until it was smooth, and poured it into the two trays in roughly equal amounts.
Liquid plaster in baking trays
I then allowed this to dry for a while (the instructions on the plaster say 6 – 10 minutes). The next thing was to take the plaster out of the trays and break it into granules.
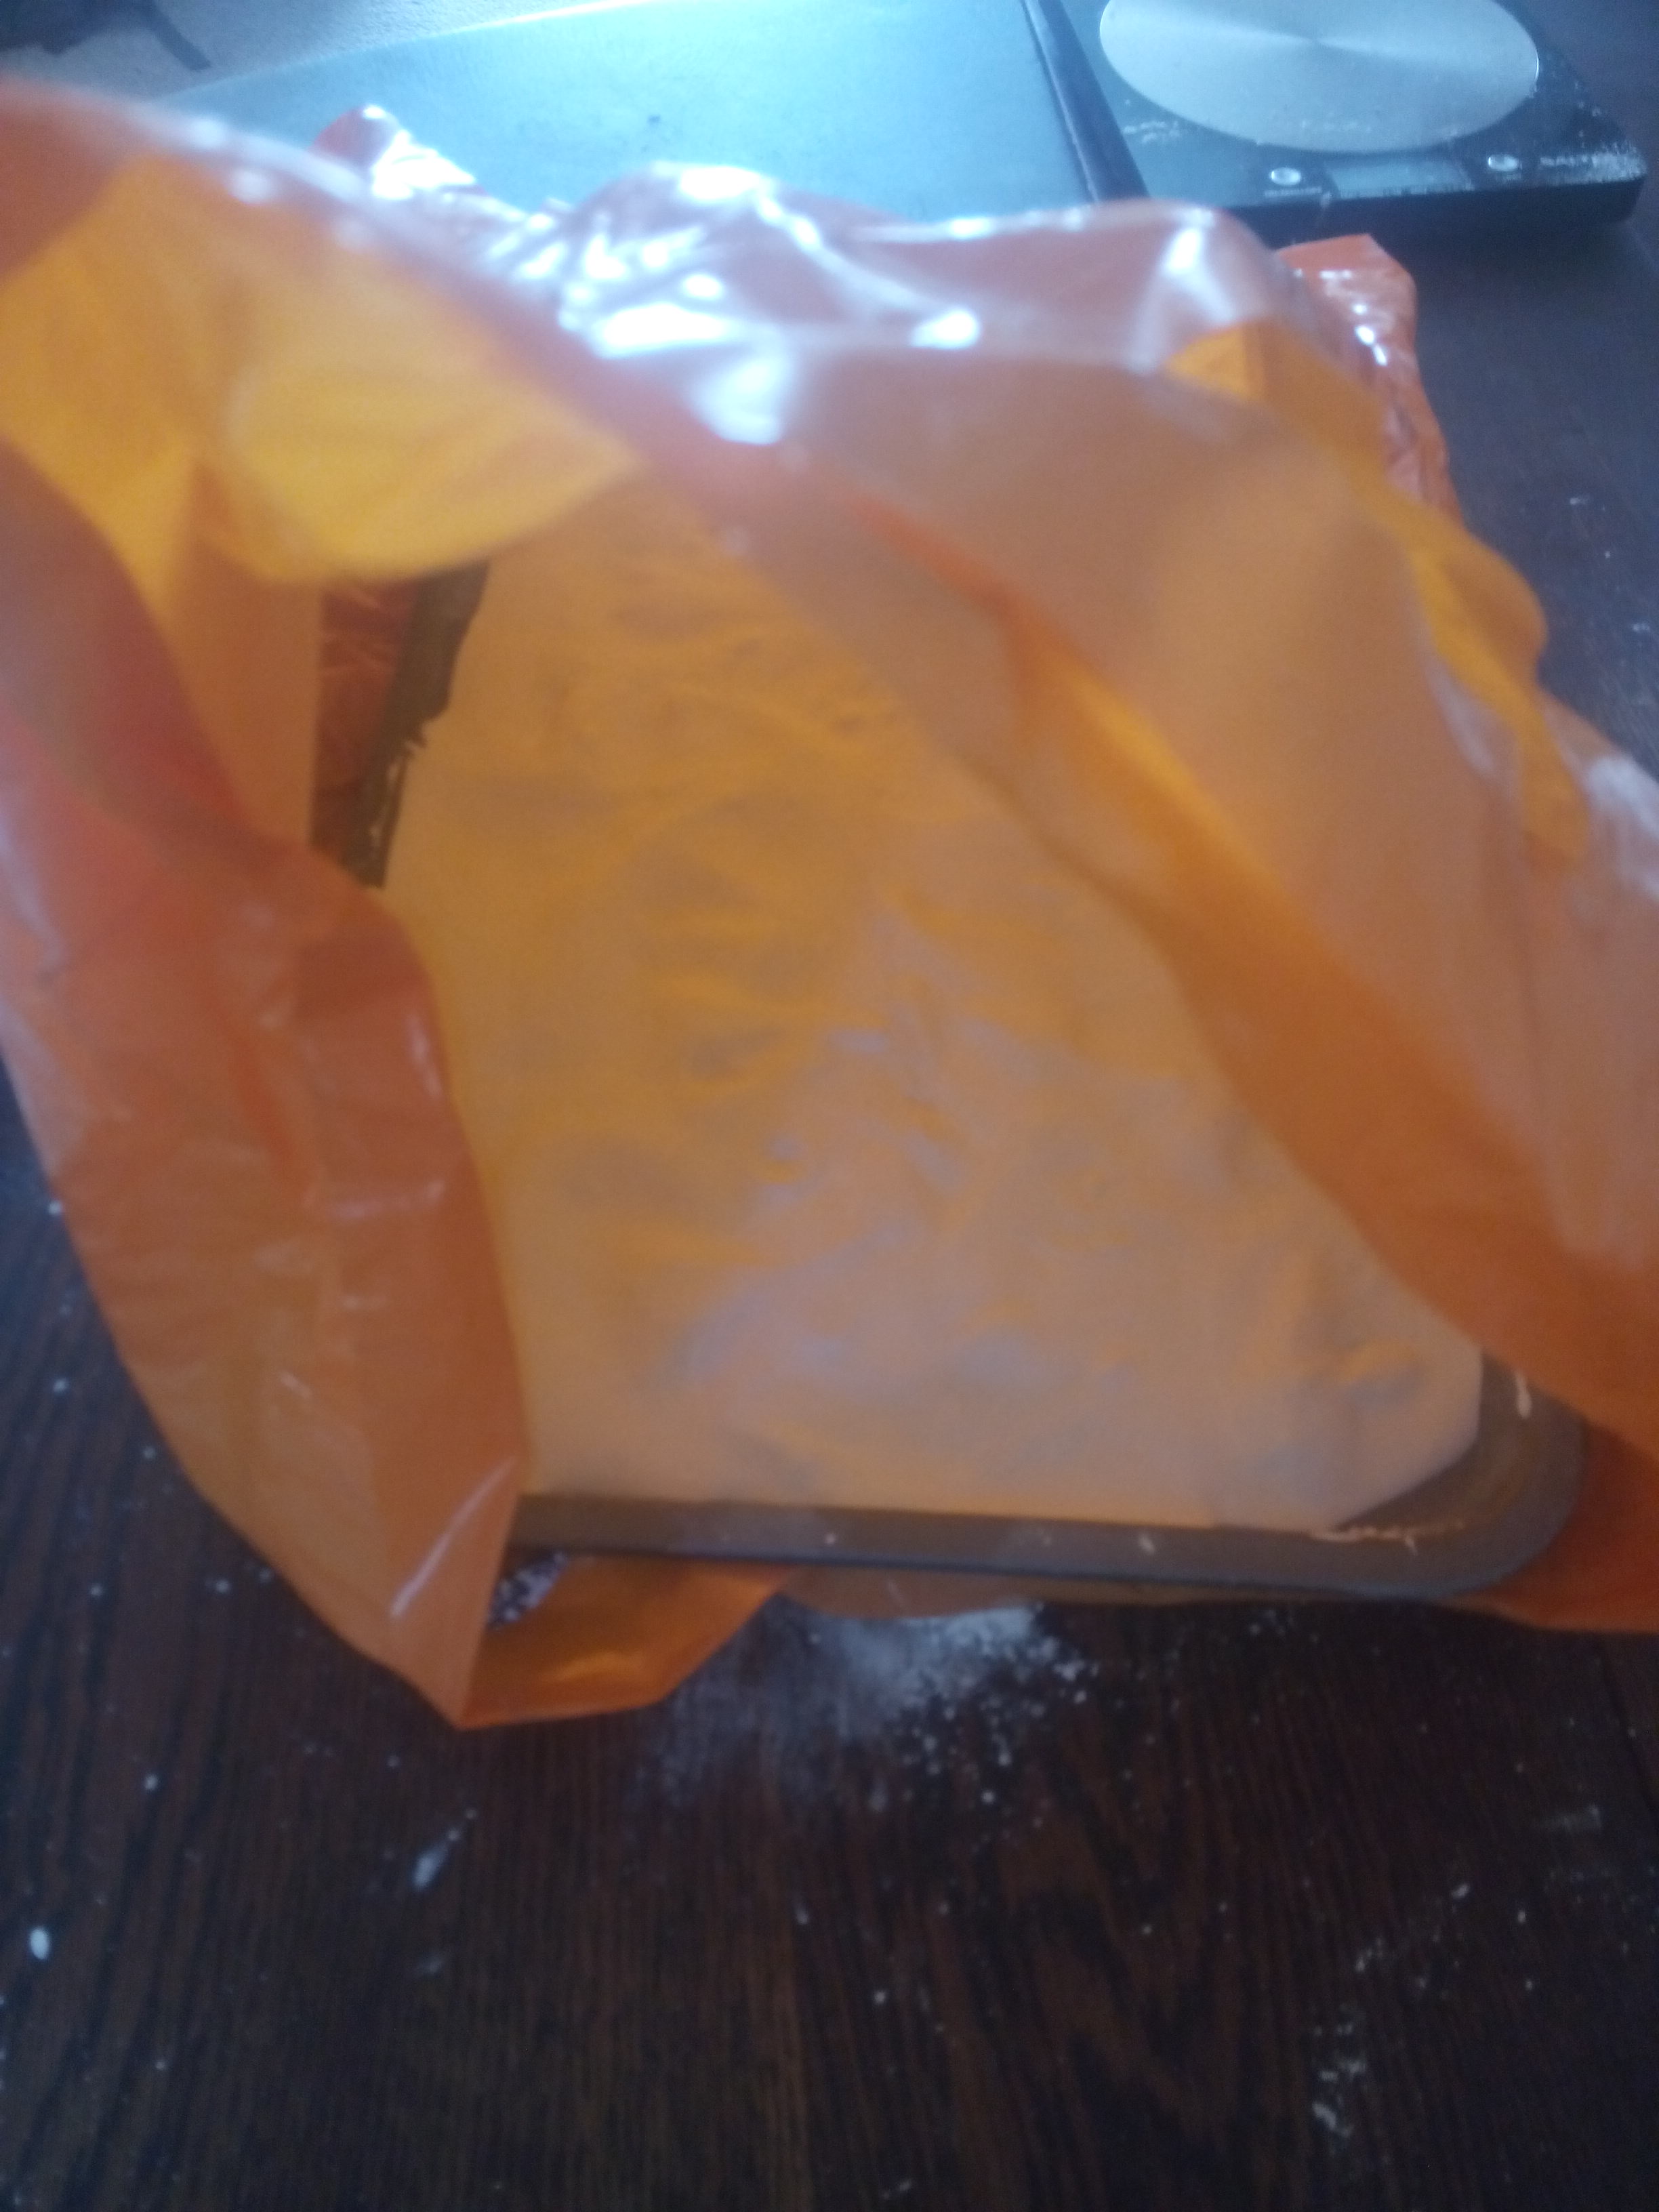
To do this, I first put the trays inside a large plastic bag and turned out the sheets of plaster. These came out quite easily.
Turning the plaster out of the trays
Having done that, I then put the bag inside another bag, broke up the plaster sheets a little bit by hand and then wrapped the bags inside the cloth square with a piece of string.
Plaster fragments inside bags
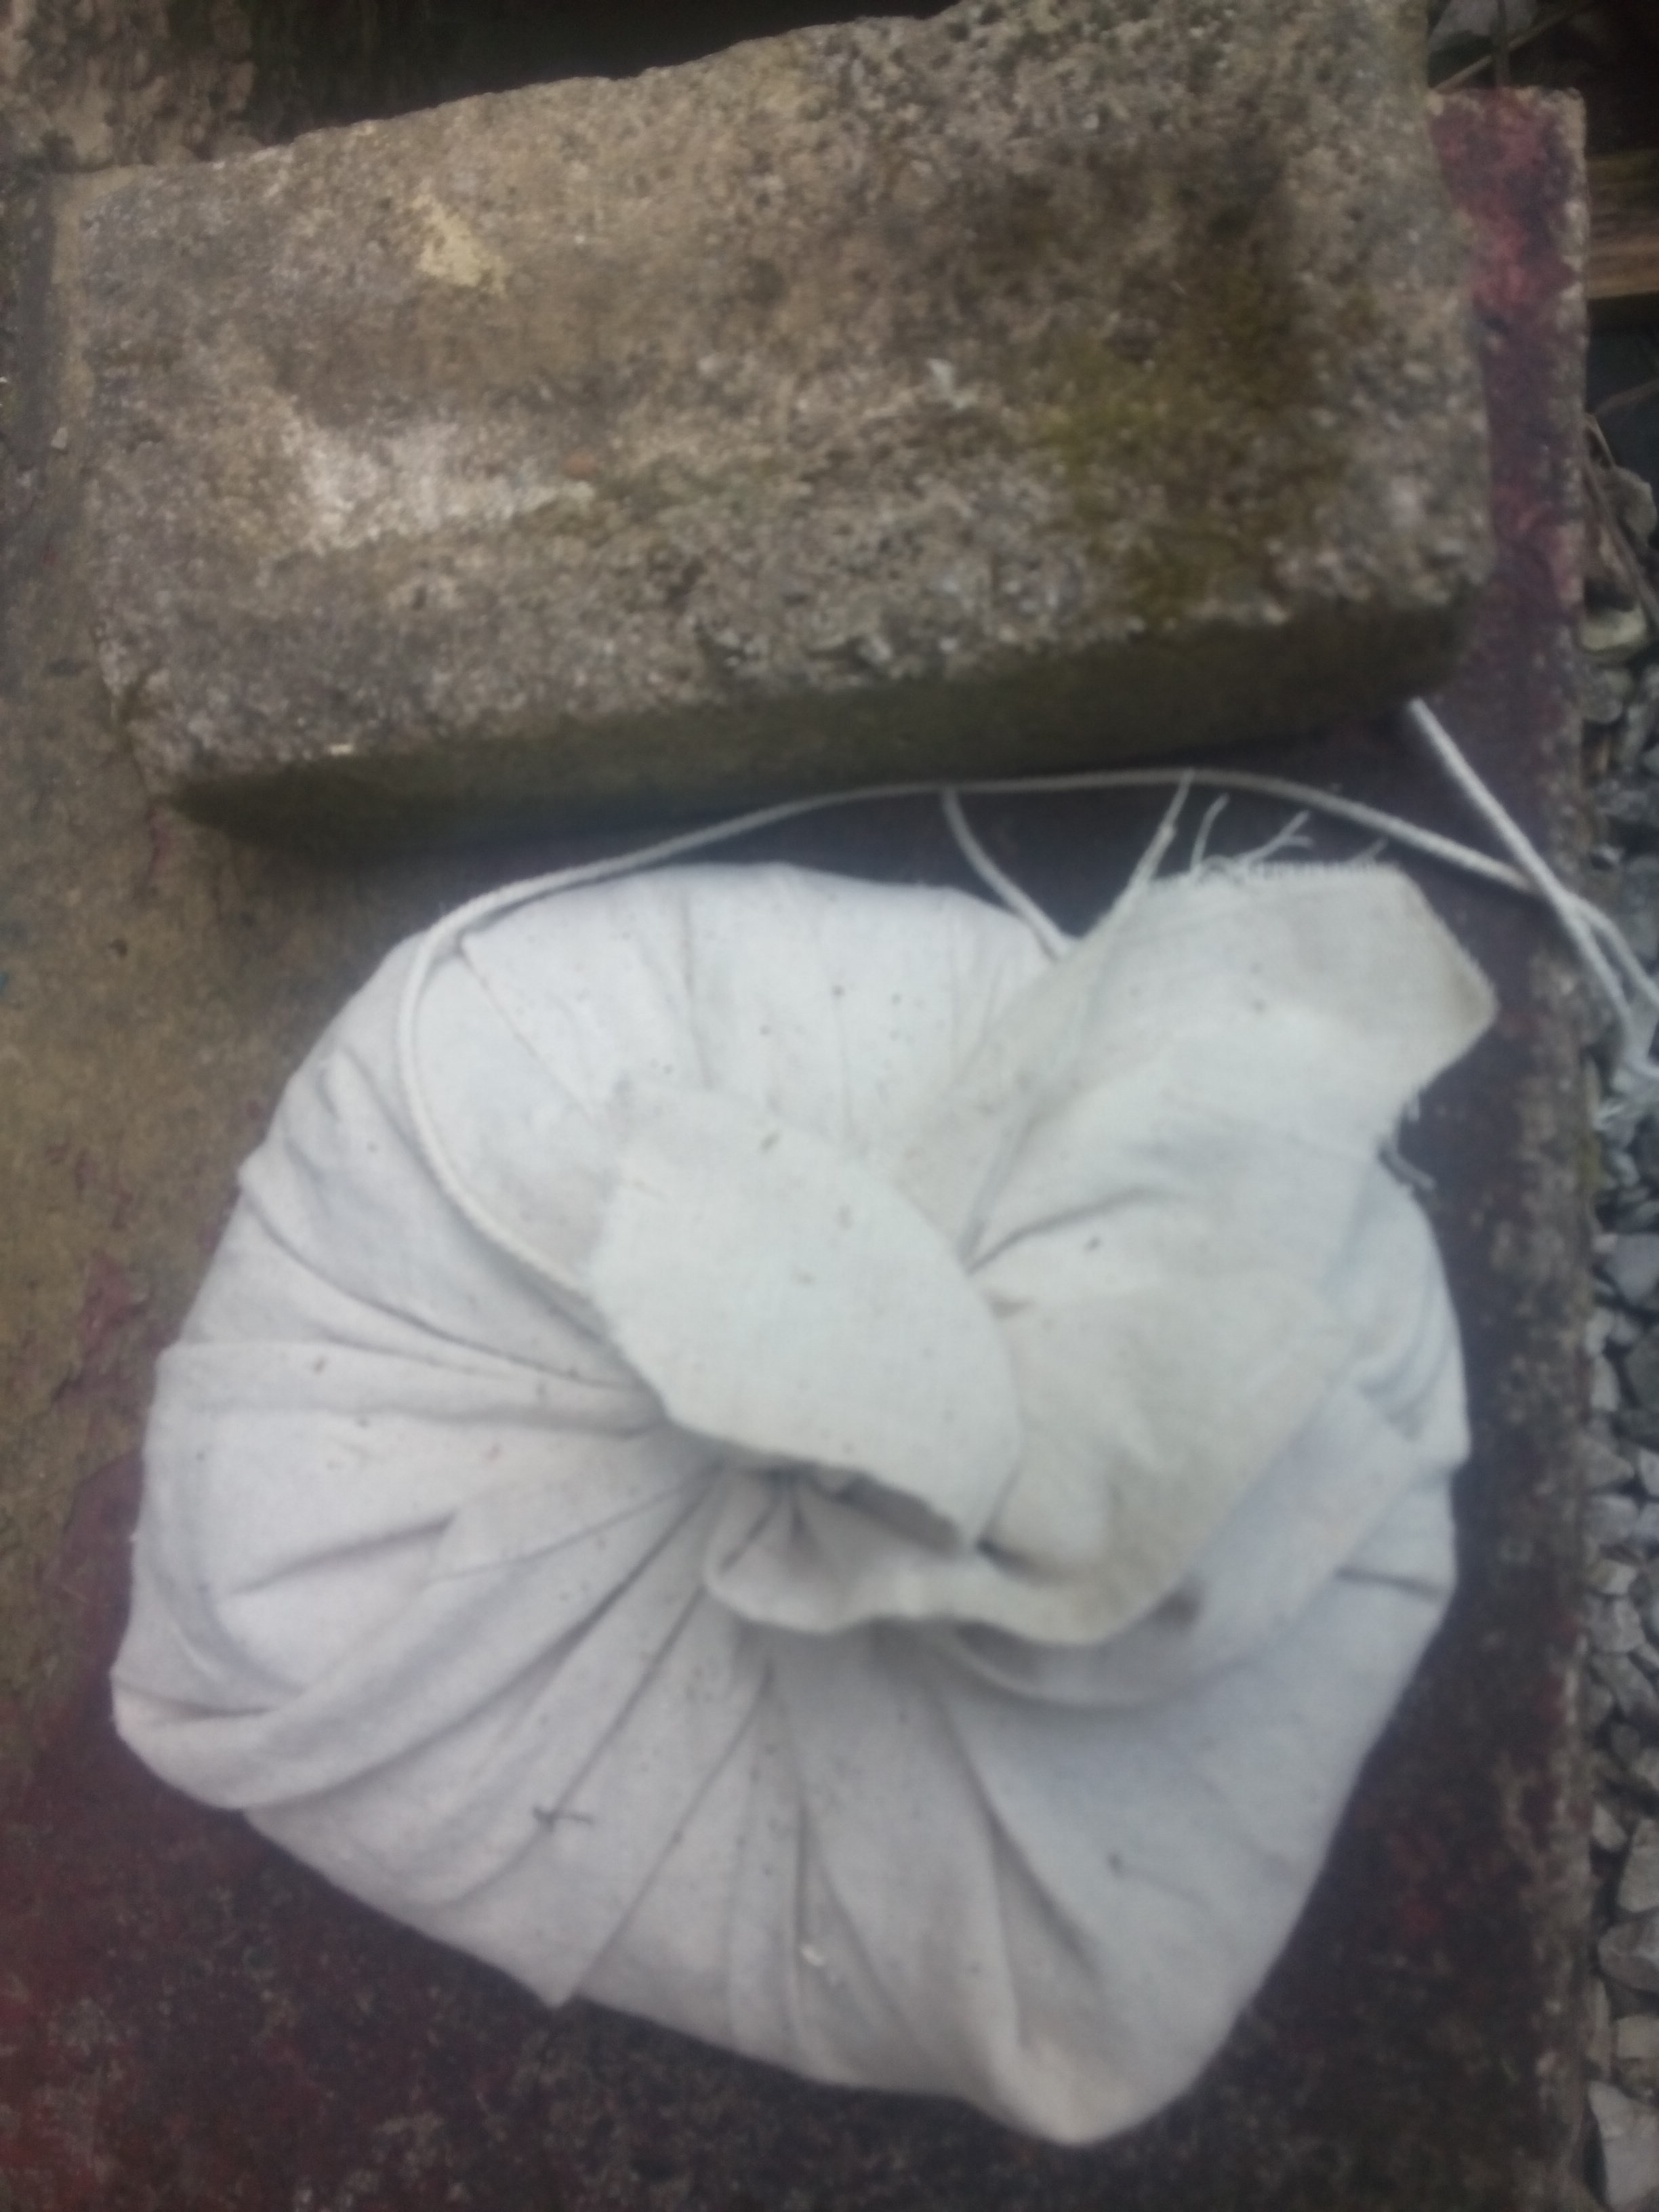
Plaster and bags wrapped in cloth
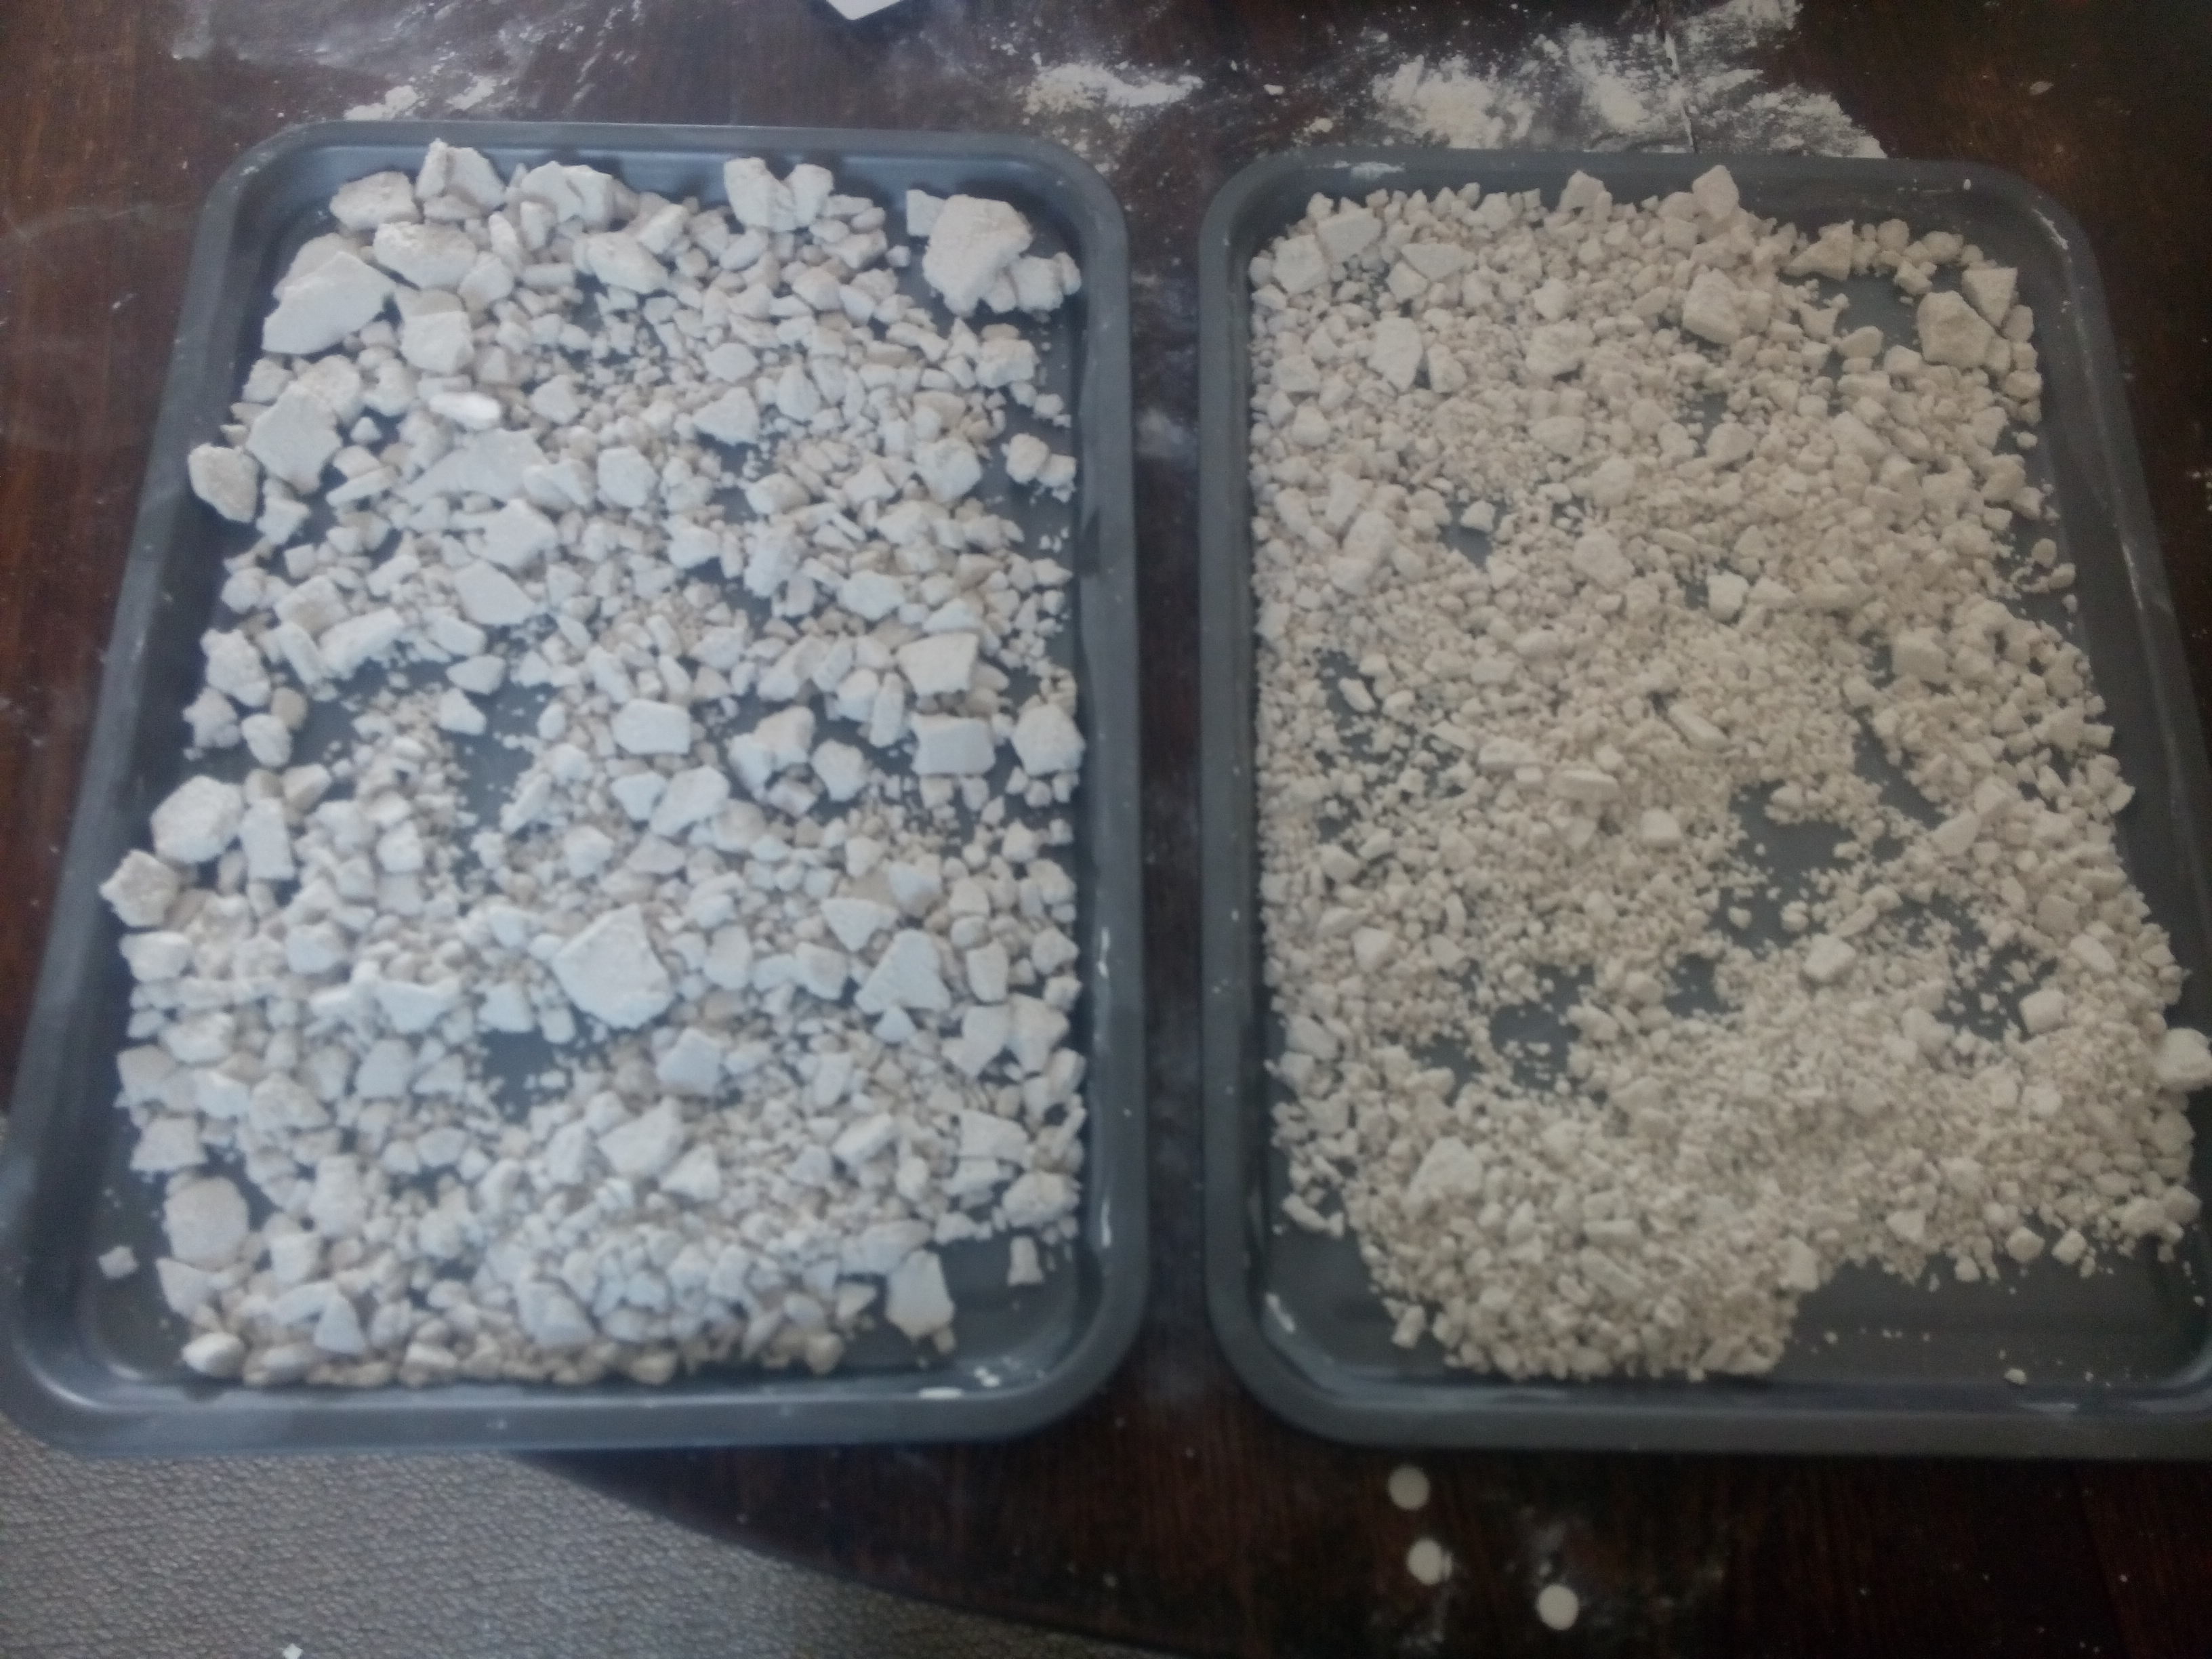
The next thing was to bash the bag with the end of a brick until it seemed like the plaster sheets were all broken up. Then I took the newly broken granules out of the bag, laid them out in the baking trays, and baked them in the oven at 230°C for two hours.
Plaster granules ready for baking
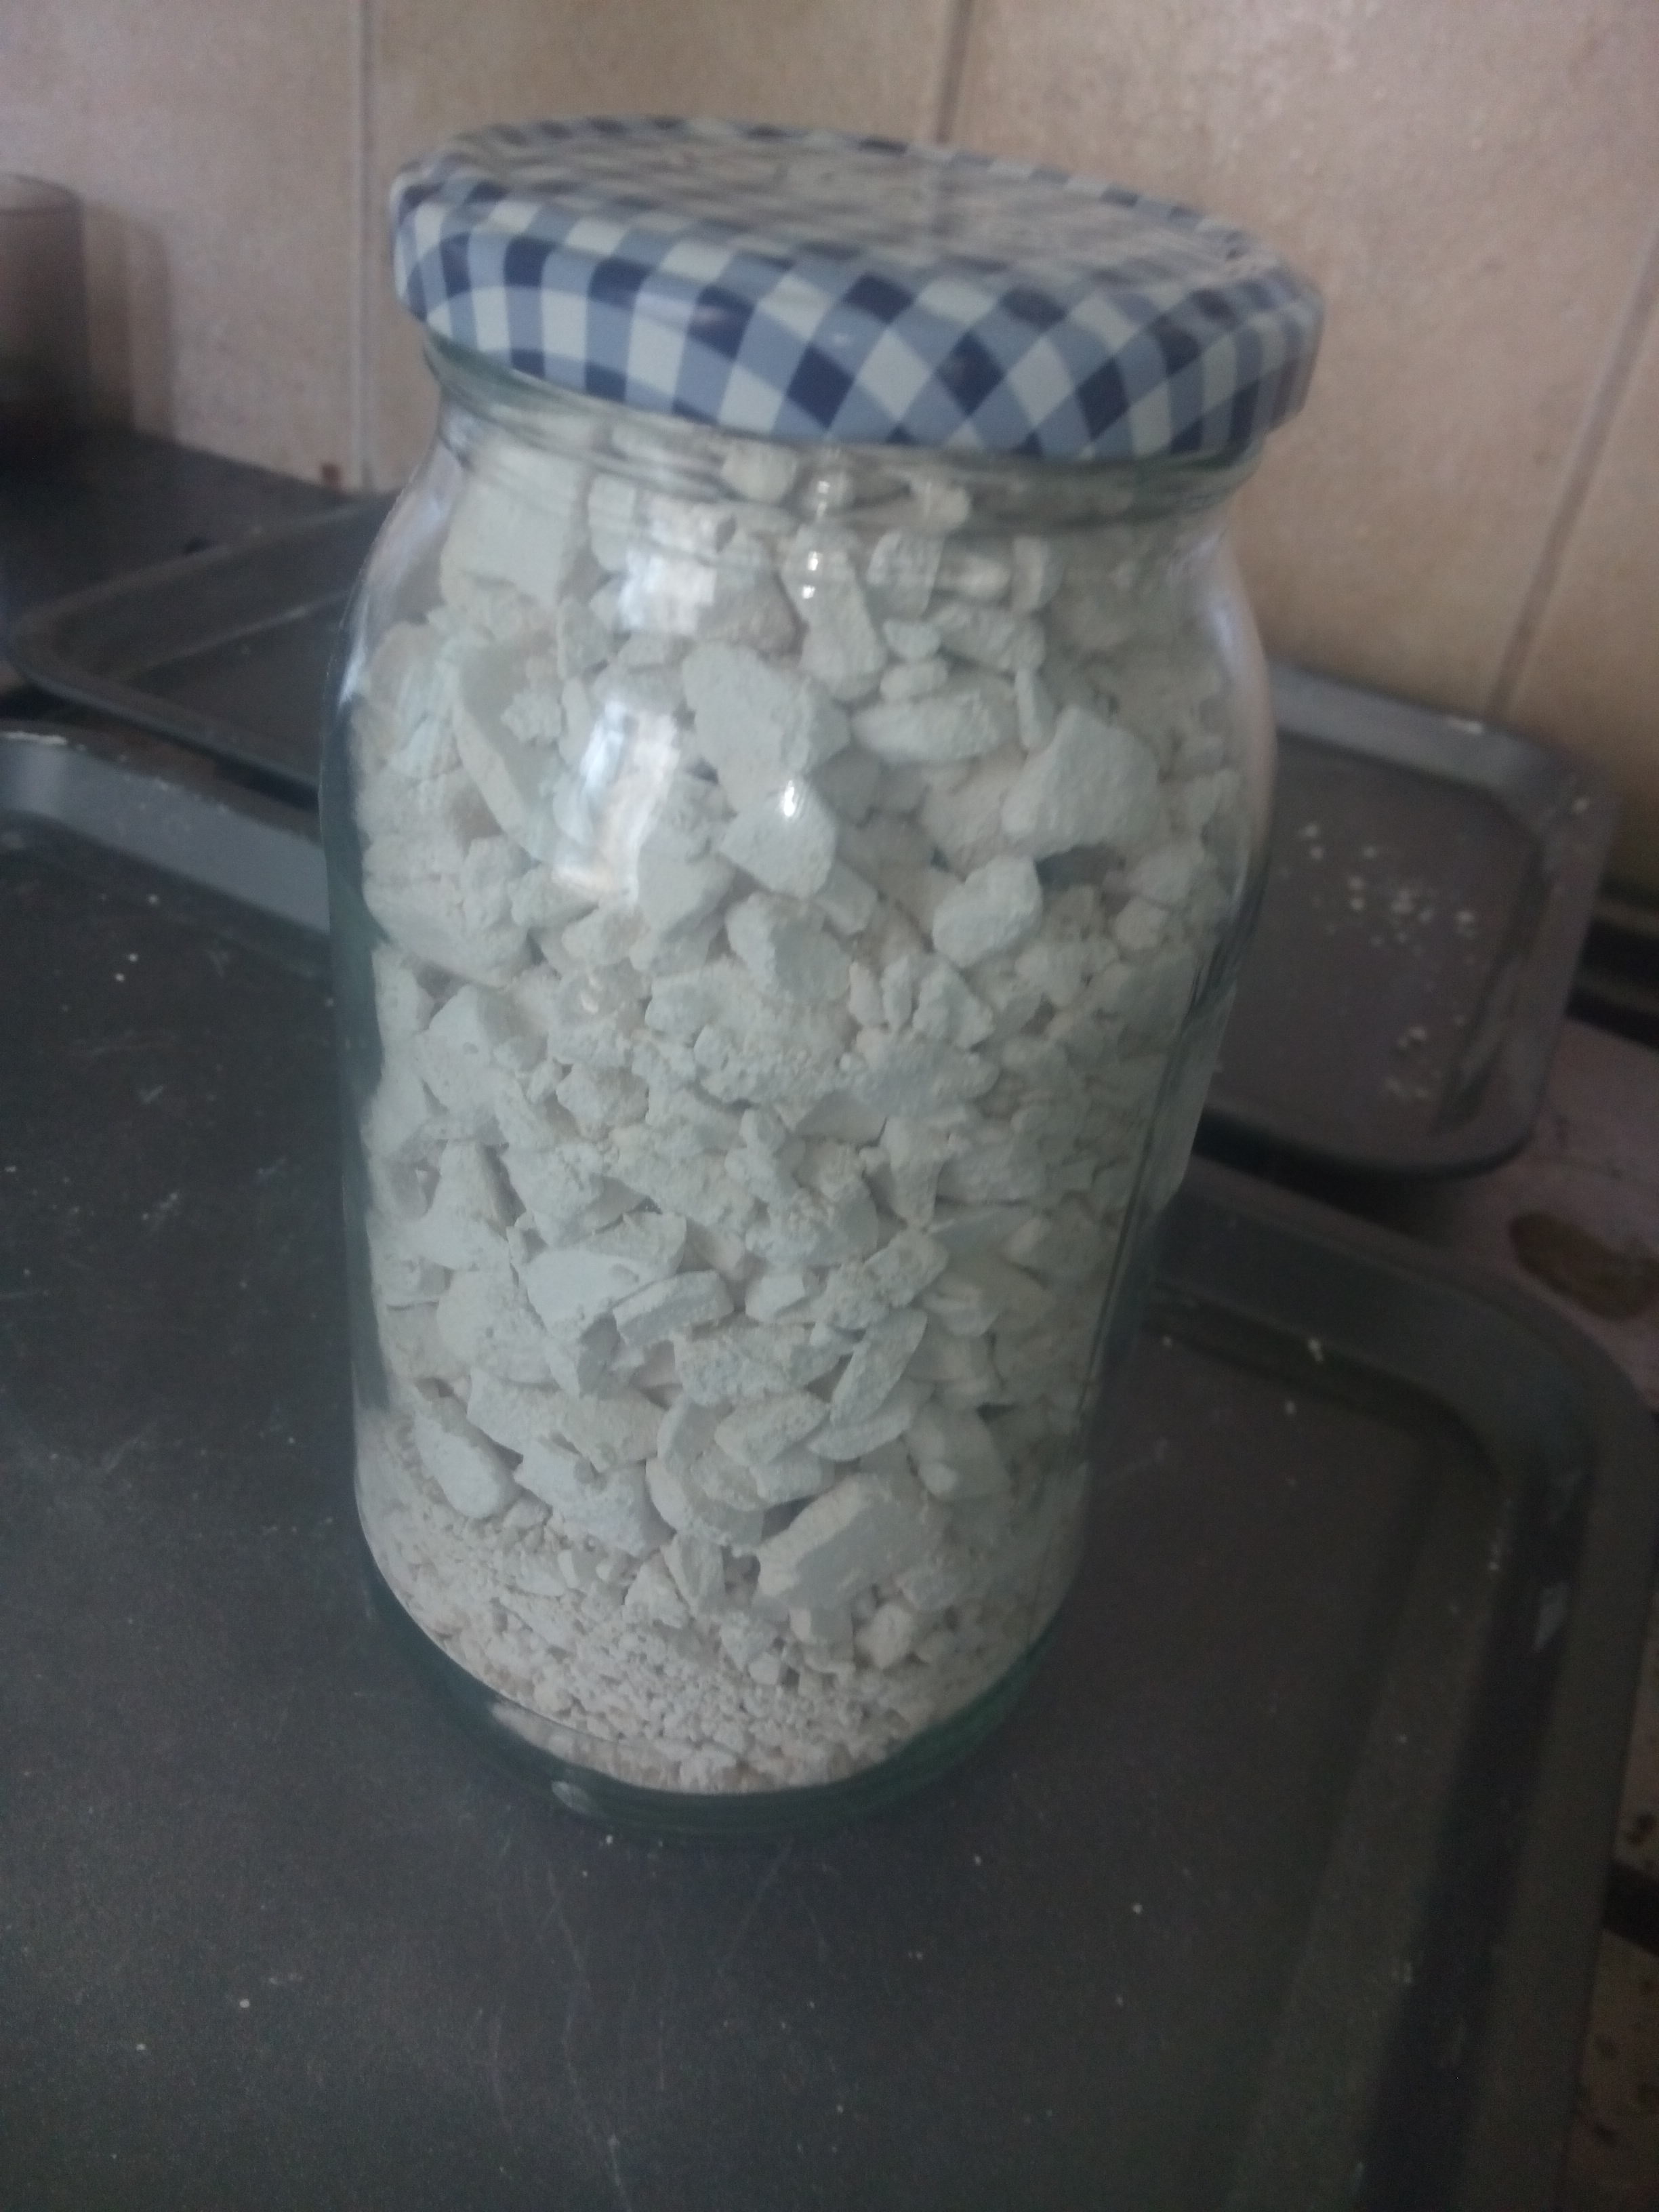
I left the trays on the hob for a couple of minutes to cool down a little, then poured the granules into the large glass jars to cool properly.
Plaster granules cooling in jar
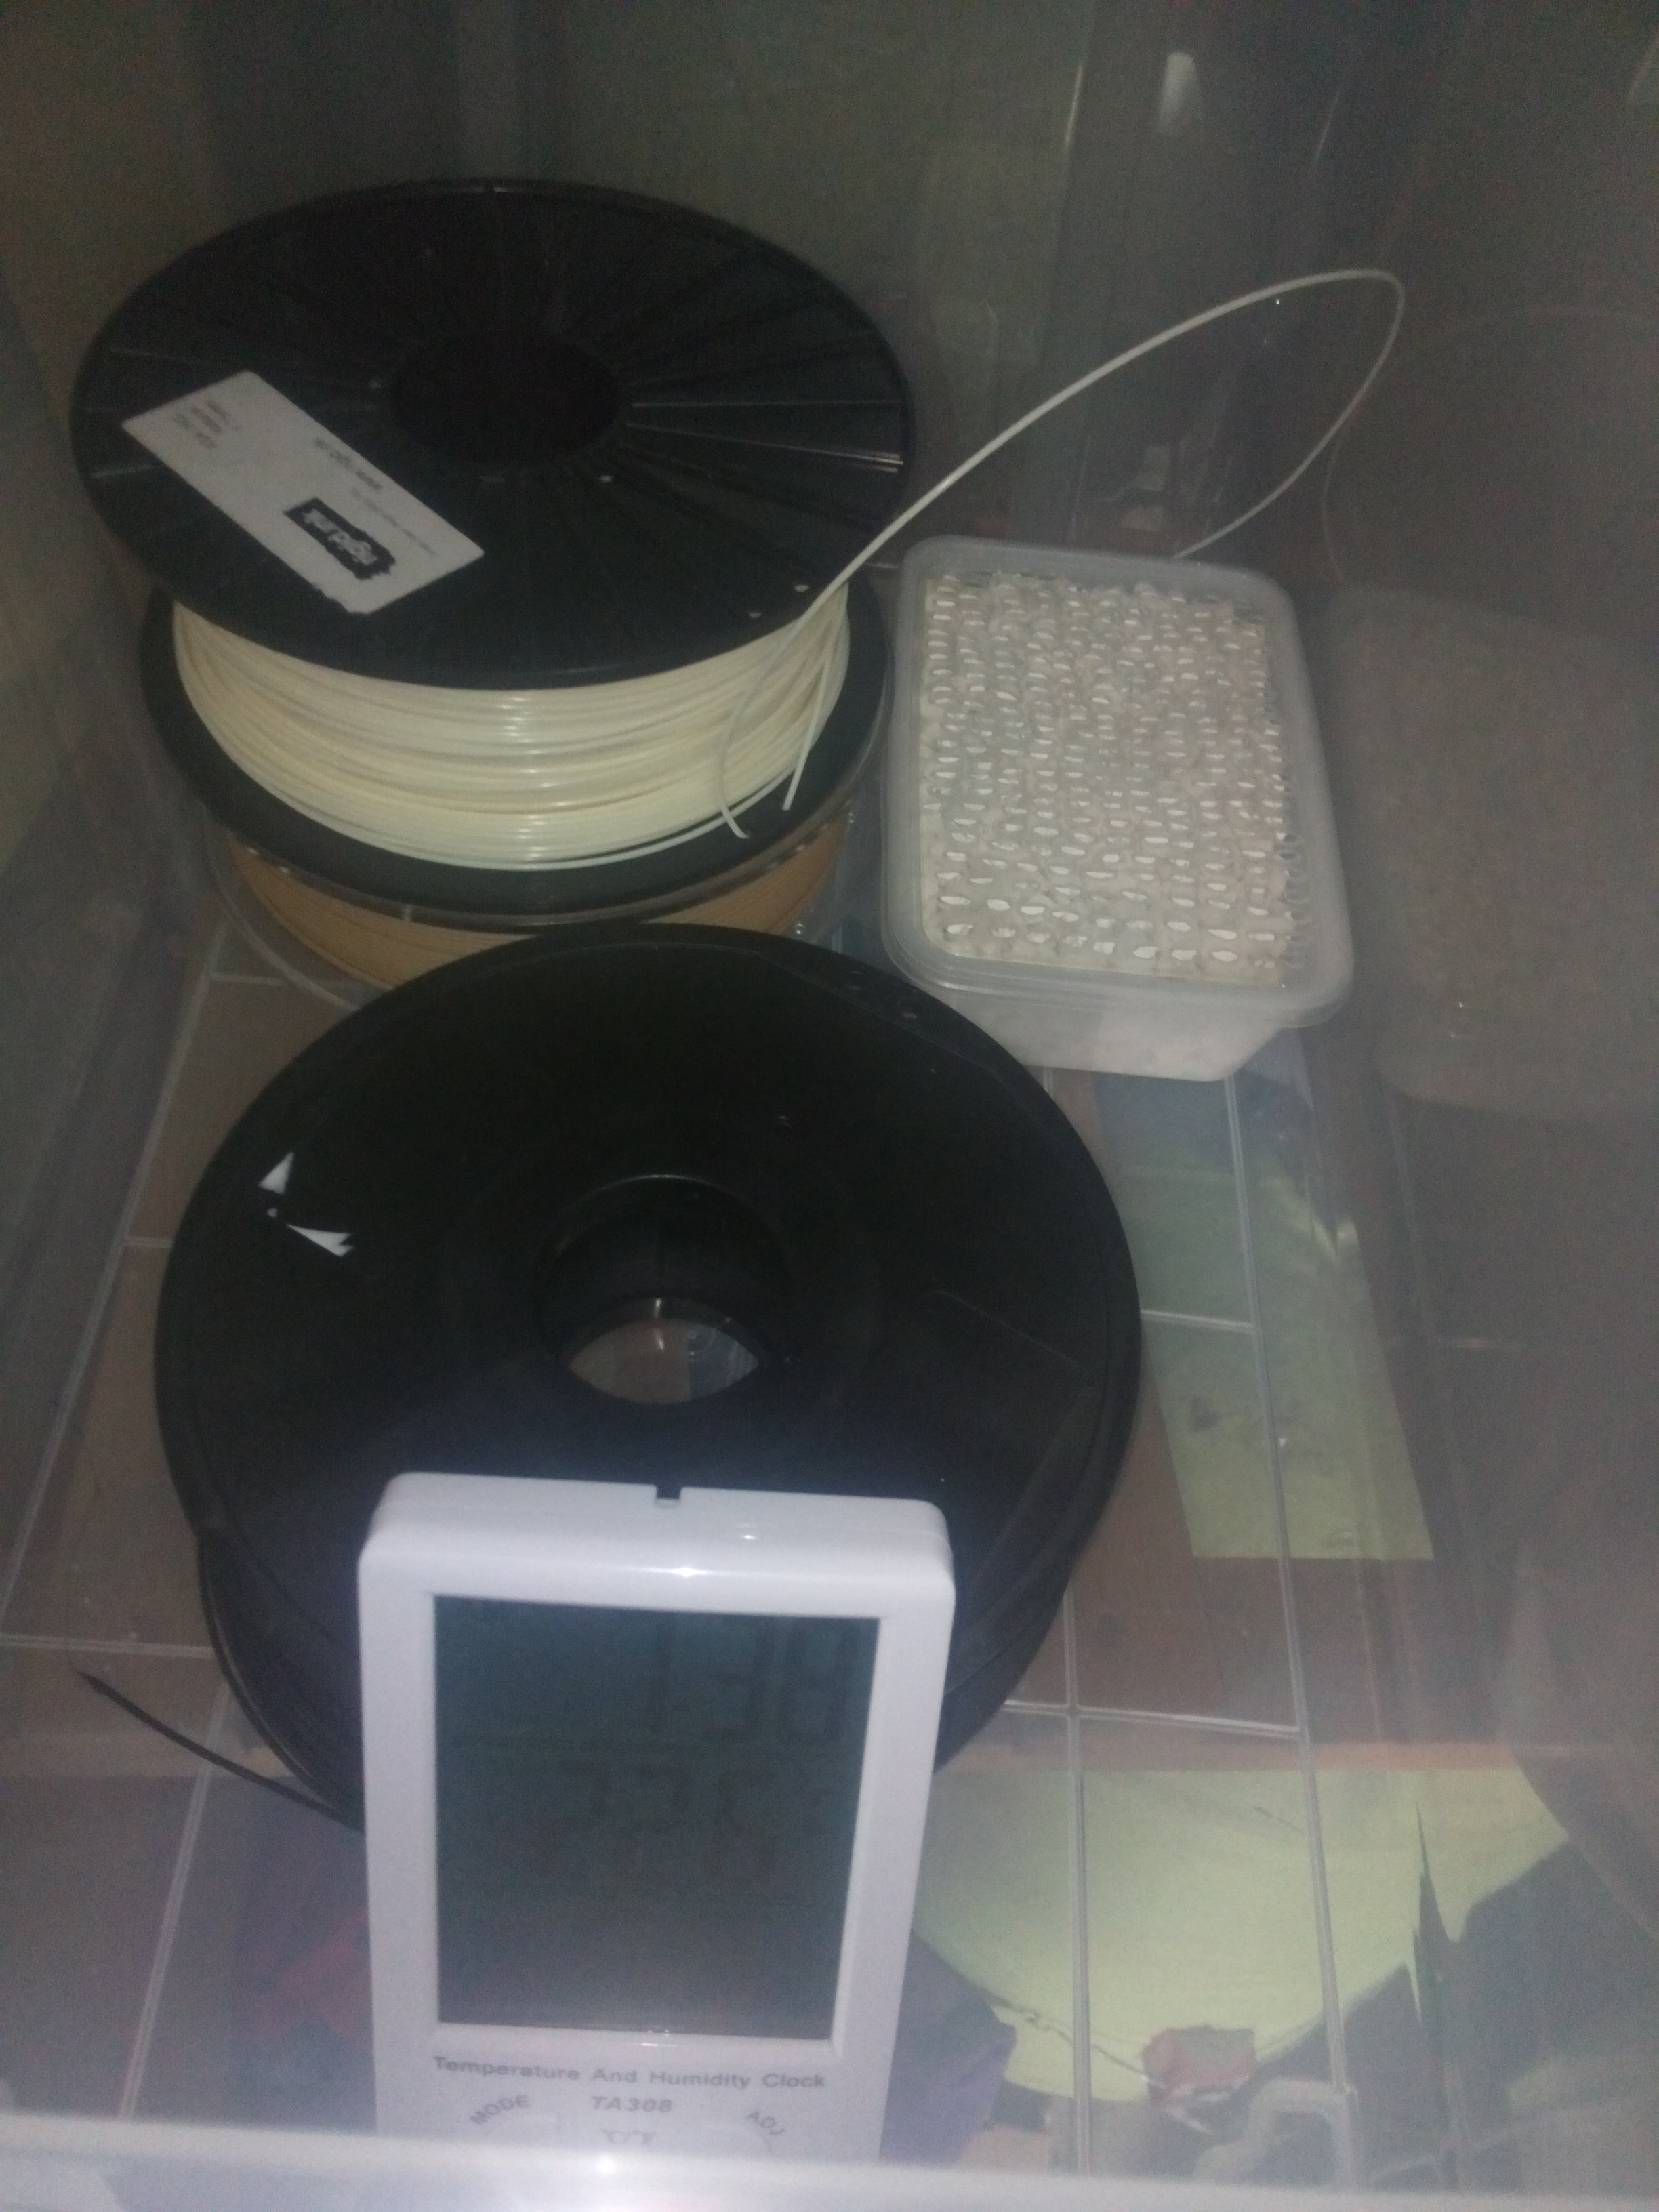
Once they were cool, I put them into the plastic tray with the holes in the lid and sealed this in the storage box with the hygrometer reading visible through the plastic sides.
Plaster granules, hygrometer and filament spools inside the dry box
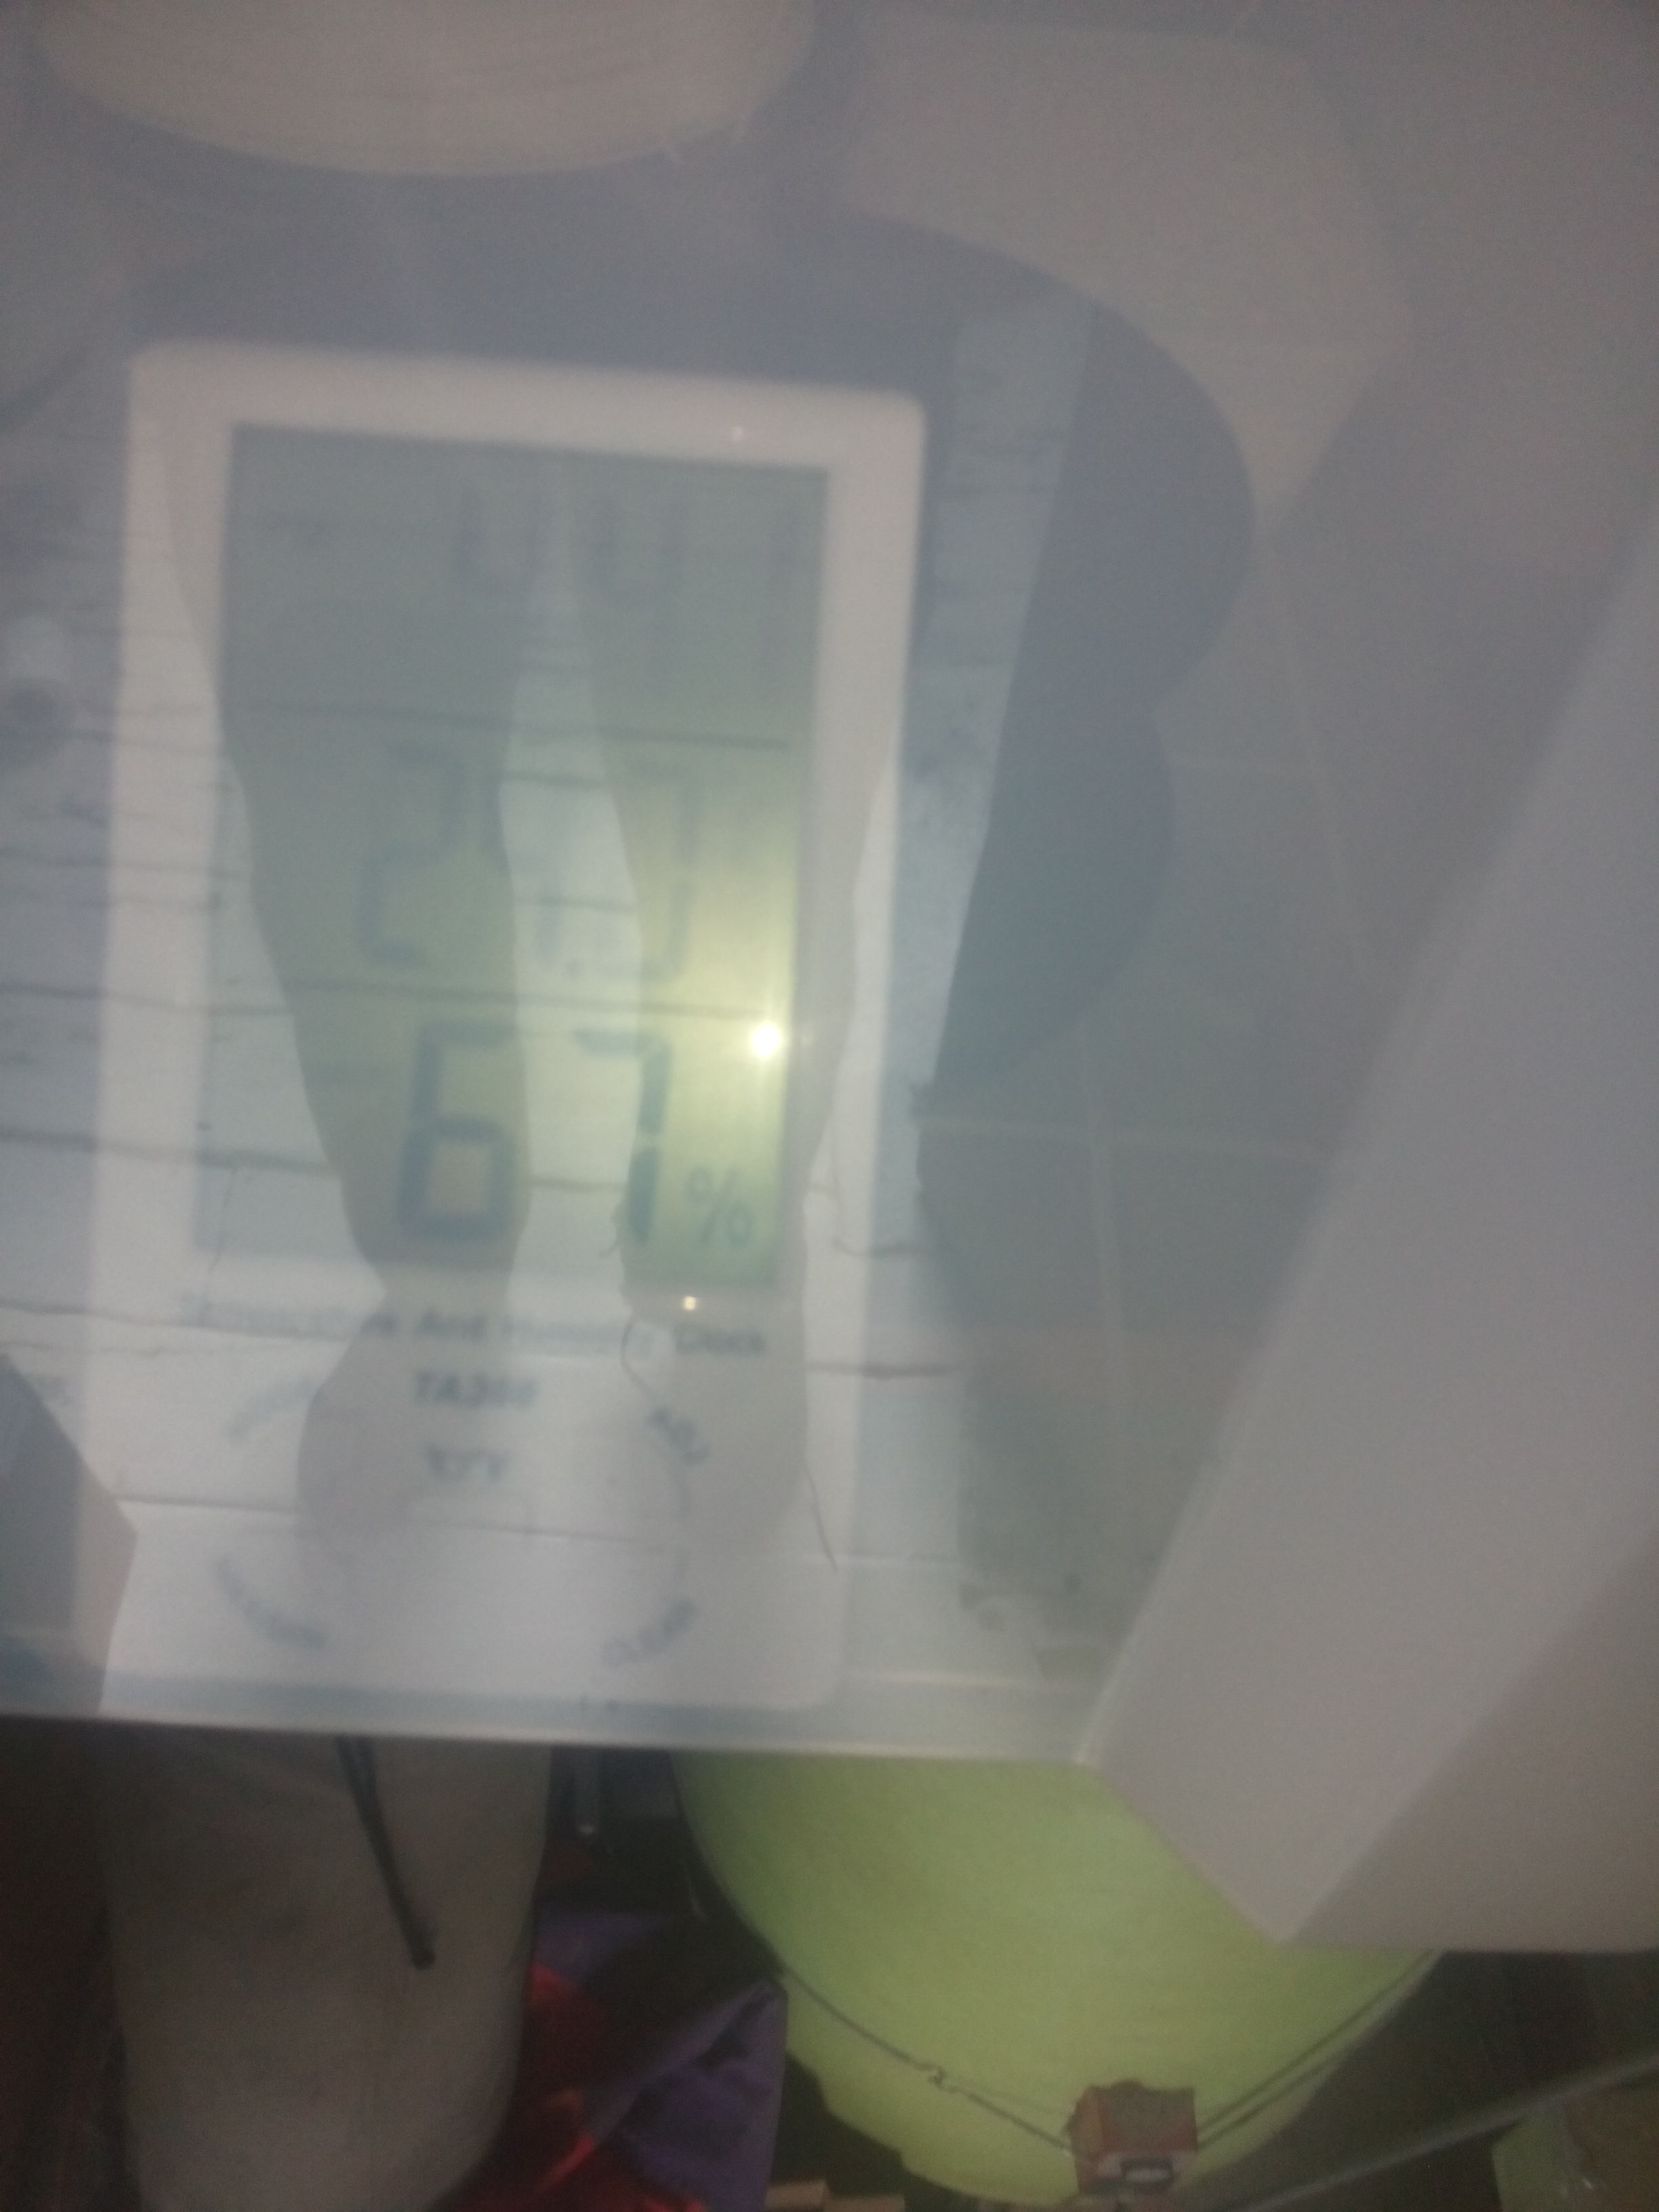
The box sealed with the hygrometer reading showing
Finally it was time to see if the granules were going to work. I wrote down the time and relative humidity for the next few hours, and watched the humidity fall from 62 % RH at 16:42 to 27 % RH at 23:04. It fell quite fast at first, going down to 38% by 18:03, and then slower after that. Whether it will get all the way down to the level of a few percent that the web page I referred to above says you can acheive using calcium sulphate, I’m not sure yet, but I’m pretty pleased with this result, as it is below the level that is supposed to be acheivable using silica gel.
One test I would like to do is to open the box again in a day or two, let the air mix, and then see if the humidity drops as fast the second time, to get an idea of how much drying capacity this amount of dessicant has. If I get around to this I’ll post an update in a comment.