Prusa Control

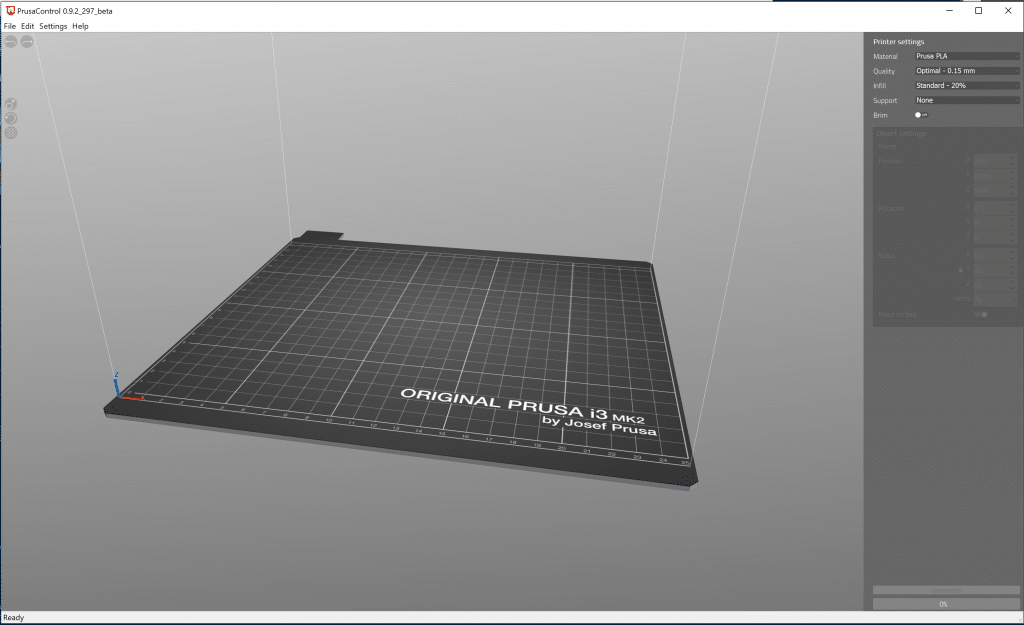
In the third post of the month/night after a cabinet and a Google hat I wanted to quickly talk about Prusa Control. Prusa Control, for the uninitiated, is a cut down version of the, very useful and powerful, Slic3r software for the Prusa printers.

Prusa love Slic3r and there is no reason to doubt it. They build a custom profile for the software and make sure it is shipped and linked across their brand. however they note that it can be over-whelming for beginners. That’s where Prusa Control comes in.

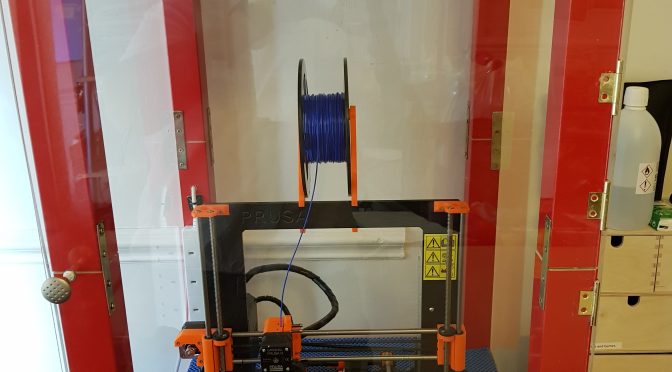
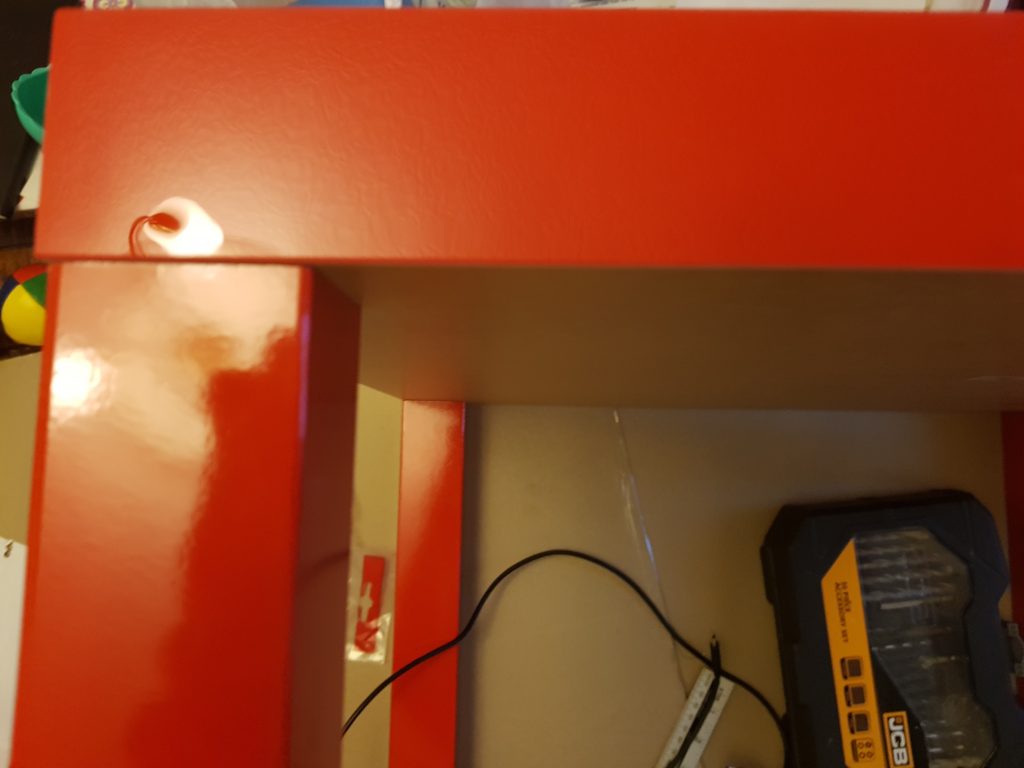
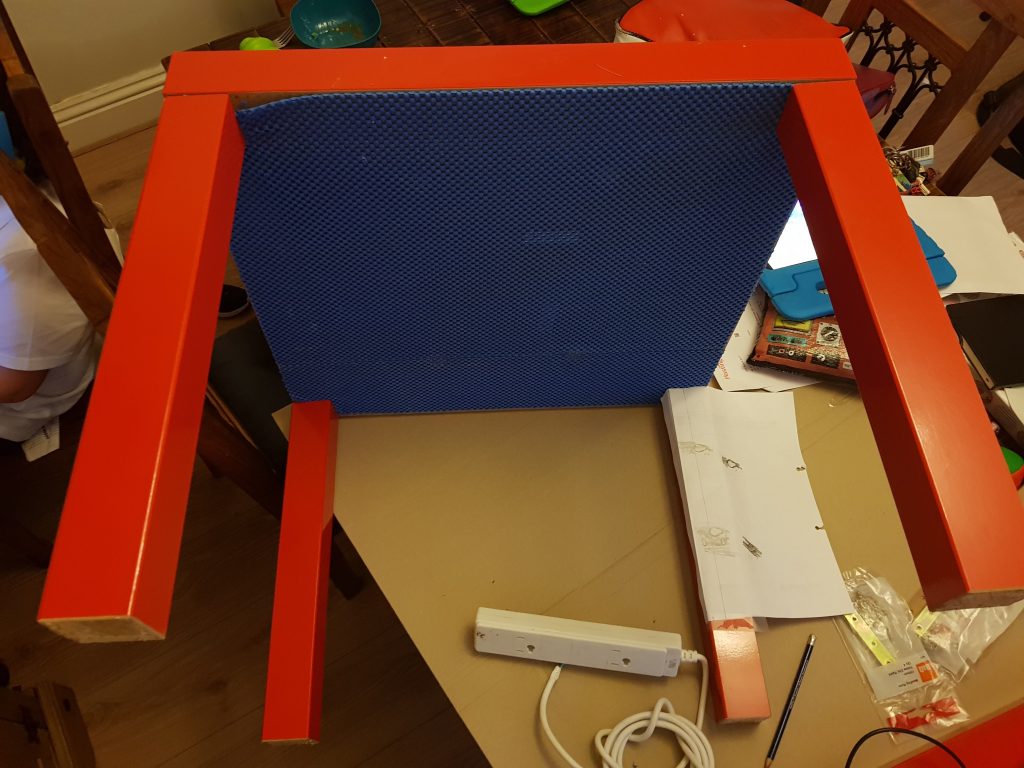
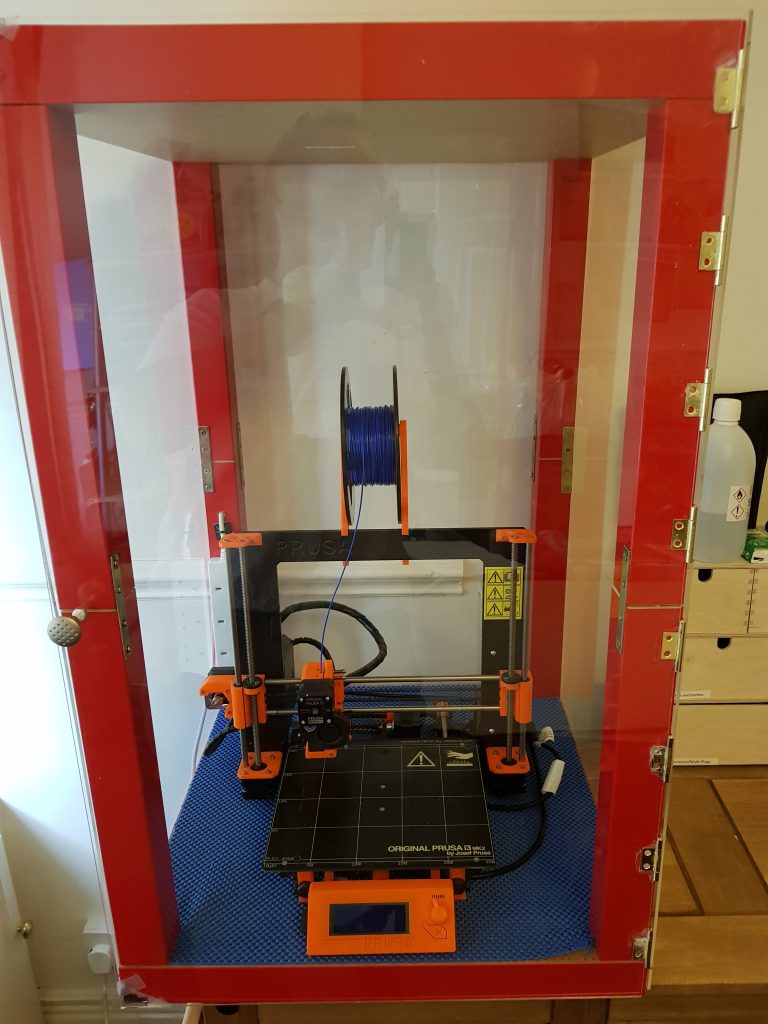
Prusa Control is aimed at ease and speed and with just settings for the Prusa 3D printers and there is something lovely about that. I have installed the beta and used it for a first print in my new cabinet.

It worked really well.

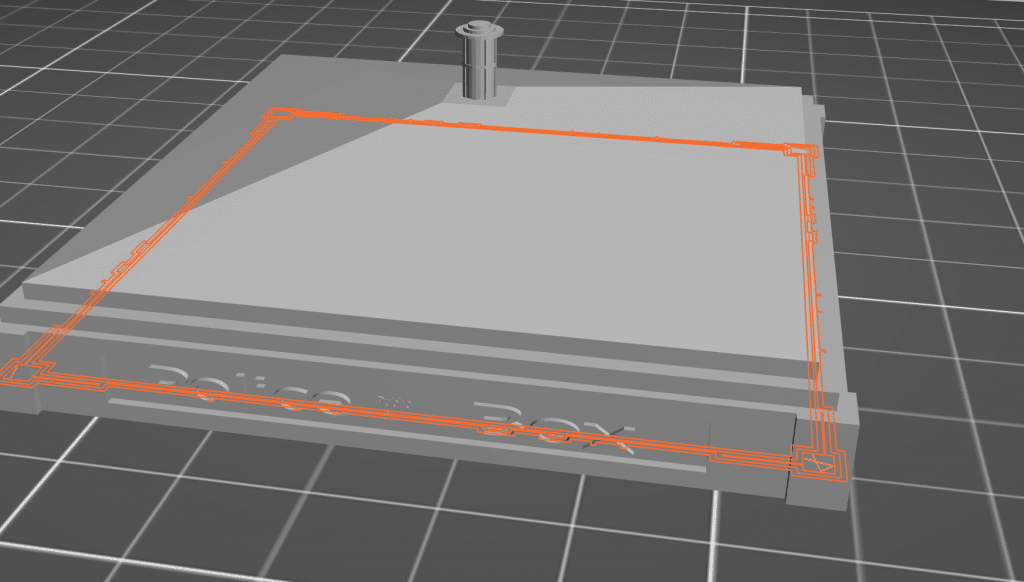
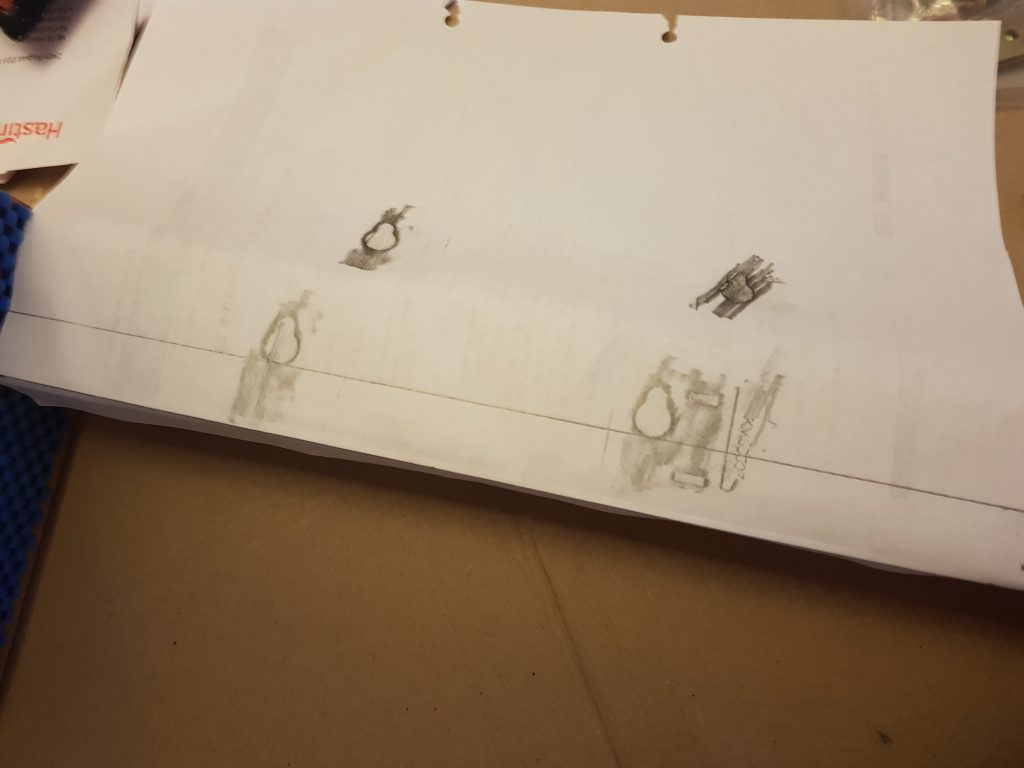
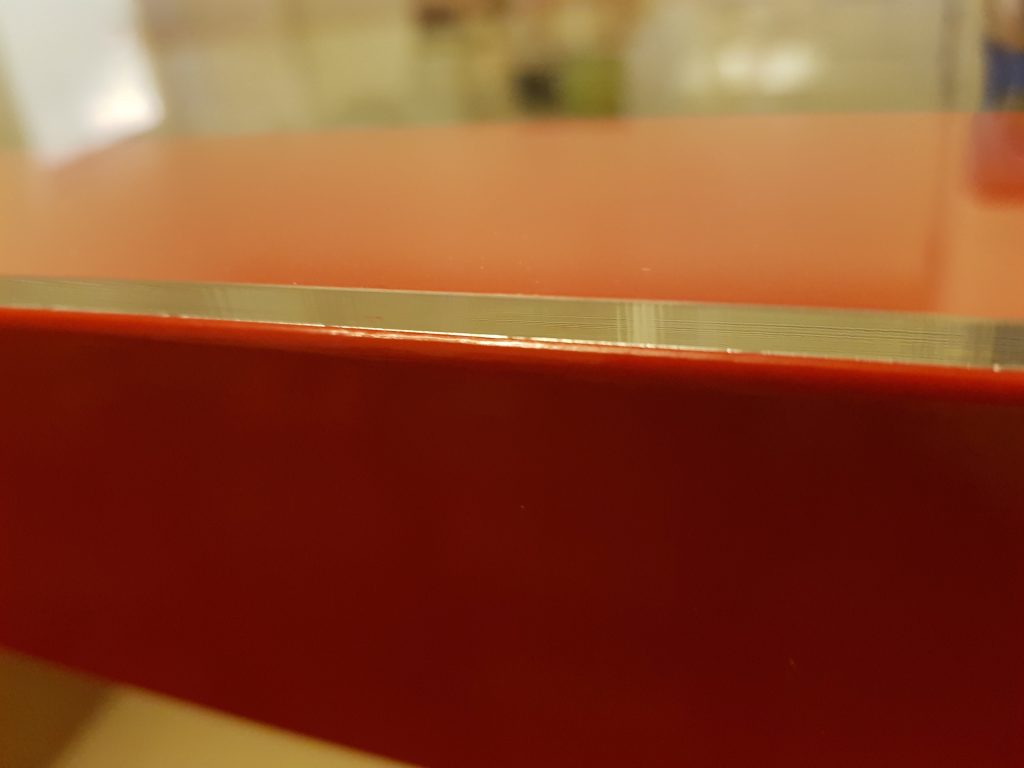
In fact I would say close to perfect. I printed with a brim and with loose settings (.2 at 15% infil for speed and ease) and I got a near perfect print with good bridging and detail and a wonderful layer height that is regular with no breaks or interrupts. The brim was light and they clearly had taken care to make sure it was a well printed but easy to remove printing support.

So for new users and for experienced users wanting to cut out the interface and get straight to the printing then it is worthwhile having Prusa Control next to Slic3r in your toolkit.

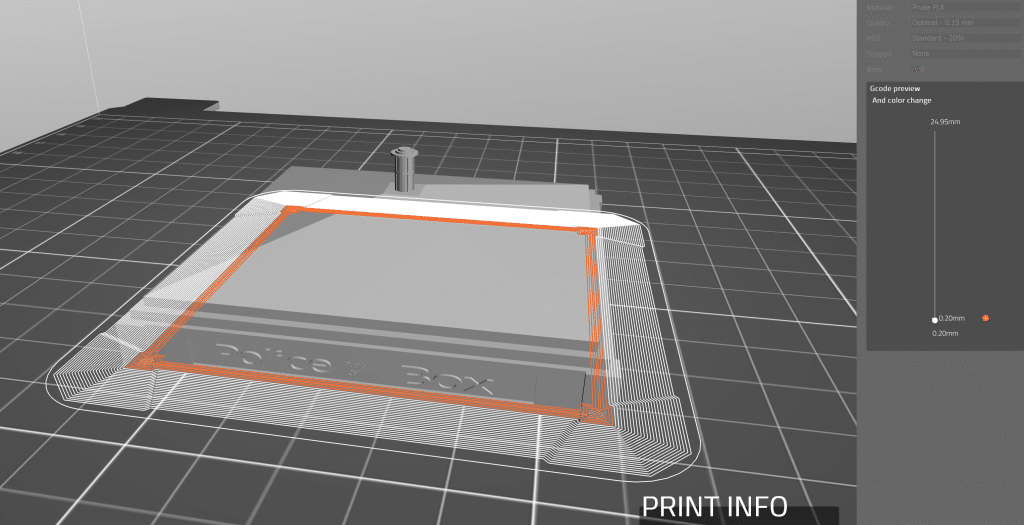
I also liked how smooth the layer height display worked after generating which is very quick and efficient.

A very clean and easy to understand interface greets you on opening, seriously the controls on the side are all you have to deal with, this is minimal and almost perfect


Easy to understand layer height control


One of the prettiest and nicely printed brims I have ever worked with

Building the Google AIY

The second blog post of September, and actually the second of this evening, concerns a recent build of an electronic item I did with my son (#1Son, Ben).

I managed to pick up the Google AIY Hat for the Raspberry Pi with MagPi for a very affordable £5 and Ben and I decided to build it together and to video it for our YouTube channel.

The build was complemented by printing a box from a design on Thingiverse instead of using the cardboard one. Rather than say too much more I have copied the video link* (and you can also play the video below) so you can view it without leaving this page.

If you like the video please give us a thumbs up, and if you have constructive criticism then please feel free to comment.**

The build was super easy to do and they are accepting advance requests for contact if they release a future version of the hat, I recommend you get one as they are well built and fun to play with and have a lot more applications than the standard one we put it to.

As always I wouldn’t be doing this if I didn’t have so much support and encouragement from my LAMM peeps, thanks guys, and especially, as always, to TBSliver who is always there with advice and support. He gets a big shout out and lots of free dinners at my house ;P.

* https://www.youtube.com/watch?v=ewaQNu_3Mys&t=38s

** A part of me says that if you have negative or destructive personal criticism then I should probably know what it is or alternatively you can write it on a piece of paper and place it under a rock on Mars for me to find when I decide to be a Spaceman in some alternate reality :). I really would like to hear any good criticism, positive or negative that helps me in the future.***

*** Obviously, and I shouldn’t need to say this but a small part of me realises this goes to YT and Twitter as well so has to add this caveat, if you have any criticism of Ben then do the decent thing and keep it to yourself, children have far more impressionable egos :P.

3D Printing Cabinet

I haven’t managed to get to the Space much in the last couple of months (again! – though at least I did my duties as a director, such as making some posters (see another blog to come soon) and attending meetings doing admin etc.) mostly due to summer holidays and the pressures of family life. However home projects haven’t stopped and I have a couple of blogs to talk about what I have been up to on the home front.

The first of these is all about my 3D printing cabinet. I was gifted a 3D printer (Prusa i3 Mk2 that I constructed with the affable TBSliver) detailed in a video to come soon. It has been working well but I often have prints that lift on one side.

After some discussion, with the amiable (and affable and affordable) TBSliver we decided it could be the drafts in the room. So again from a suggestion by the amazing TBSliver I decided to build a cabinet to hold my printer. To do this I used:

  • Two tables from IKEA – the well known LACK tables at £5 each (£10)
  • Two packs of cabinet hinges from B&Q at £4 each (£8)
  • One pack of straight braces from B&Q at £4 (£4)
  • One small knob from Wilkinsons (£2)
  • Some grip surface – spare piece that I had in my workshop
  • Screws, Superglue – all from other projects
  • Two magnets recovered from a hard drive that was dismantled
  • One 4 bar extension from Wilkinsons (£3)
  • Cut sheets of 3mm clear perspex with holes in three pieces for fixing (£60 including all cutting and delivery from the Plastic Man).
  • Total cost: £87

This might seem like a high sum, especially the perspex, but they are large sheets at 890mm by 550mm x 4 – and close to £12 for delivery. The actual sheets were £12 or so each and were delivered on time and well cut and transported so a bargain if compared to similar online retailers. I heartily recommend the service.

Construction was simple:

  1. Glue down some non-slip matting
  2. Align the two tables and fix together with straight braces (2 on each leg)
  3. Align the pre-drilled screw holes of the perspex and carefully screw down (do not over-tighten as perspex will crack
  4. Glue hinges to the perspex door and leave to cure for 24 hours
  5. Screw door to frame.
  6. Forget that you need a hole for the knob!**

My only issue is that the tables were a little flimsy and not very accurately made (a <1mm difference in legs from the cut and glazing process) which coupled with some slight inacuracies of the angle of screw holes can give ever so slight deviance in the build. However for £5 it is a small price and easily correctable once we bolted the whole frame together.

The finished box is quite pretty (IMO) and site nicely on the side dresser where I have my specialist tools and electronic knick knacks. in the utility room of the house.

Once again a big thanks to the wonderful chap who is TBSliver for all of his help, advice, support and praise, greatly appreciated. LAMM members are wonderful creatures.

Pictures below.

(** I solved this issue with the careful use of a soldering iron)


Lining up with a steel ruler and drilling holes with my drill
Non slip matting in place and using a quick template for the mounting of the internal power strip
Close up of non-slip matting
Here’s that template again, who needs expensive tools when a pencil and paper trick is shown to you
EU made card tables that are firmer than the price warrants
The bracing of the legs
Fitting the power internally so the cabinet has internal source.
Carefully tighten down the corners – so brightly reflective
Close up of the fit – nice and snug
The finished cabinet – I should be able to fit some tool and equipment bays at the top next