So following on from my previous post about switches, let’s talk about Passive Infra Red (PIR) sensors.
Loxone Presence Sensor
Cost: OMG HOW MUCH?!
Summary: No way in hell I’m buying one at that price
Supplier: Loxone

Wow, the price of this is staggering. It’s got a light level sensor and a PIR in it. I’m not going to buy one, but I’m including it here without much comment.
Manufacturers site – http://shop.loxone.com/enuk/presence-sensor.html
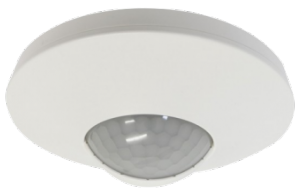
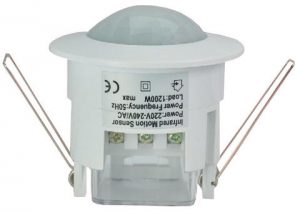
Generic presence sensor
Cost: Low (£10)
Summary: Not quite what I’m after, but I can hack this.
Supplier: Low Energy Supermarket Ebay shop

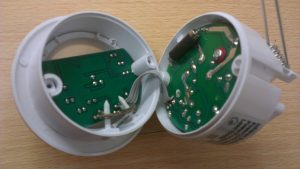
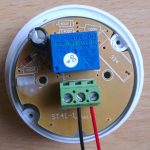
I purchased this with the thought that I would place them in some rooms outside of the automation system like the toilet and possibly the kitchen. I ran it in the kitchen for a while until it finally started to annoy me. There’s an adjustable timer and light level sensor which means that once the light drops below a certain level the PIR will activate the light until no presence is detected and the timer runs down. It’s 240v mains, which isn’t great for working with, so having gotten annoyed with it and removed it (Claire nearly cut herself after the lights in the kitchen went out) I took it apart for a looksee.

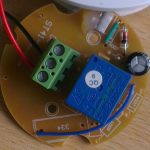
So what’s the black tube? It’s a fuse, that’s a good thing. Otherwise not much of interest.

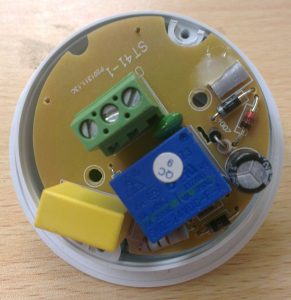
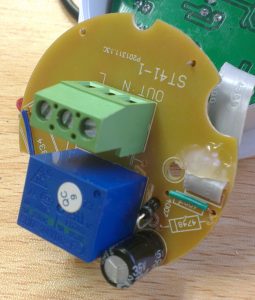
Oh hello! That’s a 24v relay. That means that we’re looking at a 24v DC supply. *grin* The Loxone kit is 24v DC, which I don’t think I’ve mentioned so far. The two circuit boards are a mains power supply and the combined PIR and logic board with the two variable resistors on. Removing or modifying the back board *should* give us a board that we can power with 24v and will trigger a 24v line when activity and suitable light level are detected. We don’t actually care about the light level or the timer so we can turn both right down. Now we have something we can connect directly to a Loxone digital input and feed into a lighting controller block for a fraction of the cost of the official presence sensor. This I like 🙂
Purchased from Low Energy Supermarket Ebay Shop –http://www.ebay.co.uk/itm/230776895665
Hacking the generic PIR
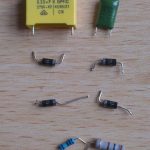
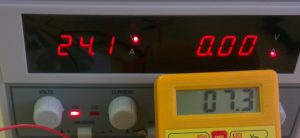
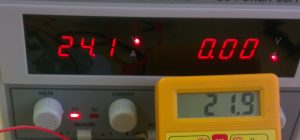
Some time after writing the top half of this post, I got to the testing. Tests on the generic PIR revealed that indeed it was 24v as expected. A simple full wave rectification circuit with four 1N4007 diodes, a couple of capacitors, a signal diode and a couple of resistors.
Turns out the signal diode was mostly redundant as far as I can tell, it’s included to eliminate back EMF but that’s actually dealt with by one of the power diodes without need for it. Eh, I put one of the power diodes back in and removed the signal diode.

So testing! Lets see what the current consumption is like on this after the modification


Huzzah! 24v DC PIR with low current consumption and low cost. Our terminals are now switched 24v DC, 0v and +24v DC enabling us to use this on an input as suggested above. The input can then be mapped to the sensor input on the lighting controller and programming via the Loxone as documented.
I’m very happy with this money saving hack and will be buying a few more of these sensors in the very near future!
Like this:
Like Loading...




 Starting a Hackspace is a daunting task, there is the finding of a space itself, the tools, members, and then the inevitable bills to pay. Hackspaces tend to be run as businesses, as such they are liable to pay rates, they usually have rent, there is power and then the associated costs. There is little left over for luxuries such as Internet, which is a shame as the Internet and connectivity is an essential need in the modern world.[1]