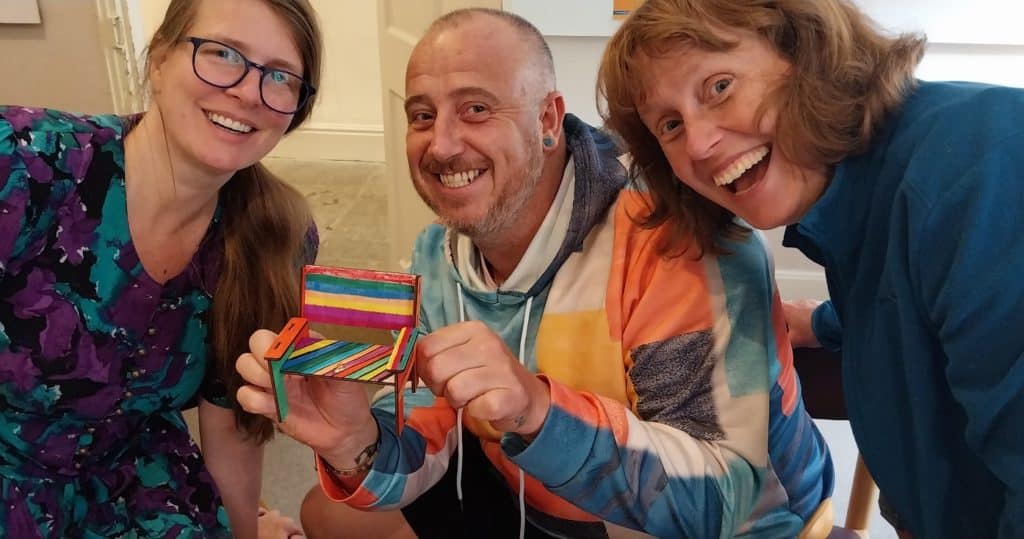
Yesterday, 27th July, 2024, we were part of a mini Fun Palace event, stationed at the Judges’ Lodgings in Lancaster town centre.
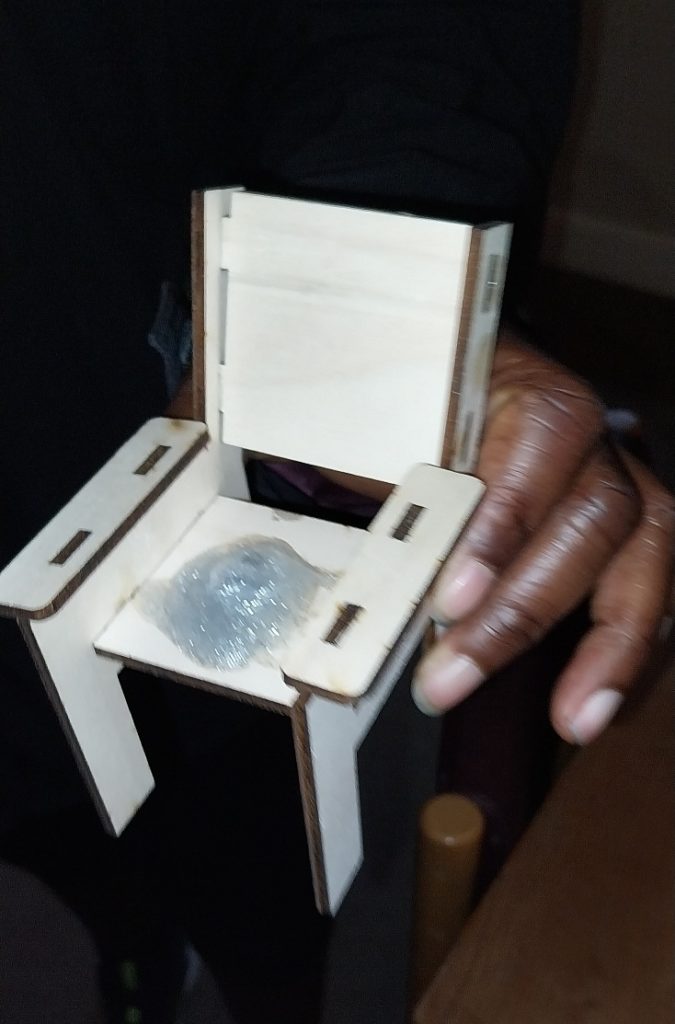
We brought parts for Sue’s laser-cut, doll’s size wooden dining chairs and park benches – the public was encouraged to decorate them, glue them together and take them home. We do creative, interactive events like this through the year and always need extra bodies to help out, if you are interested.
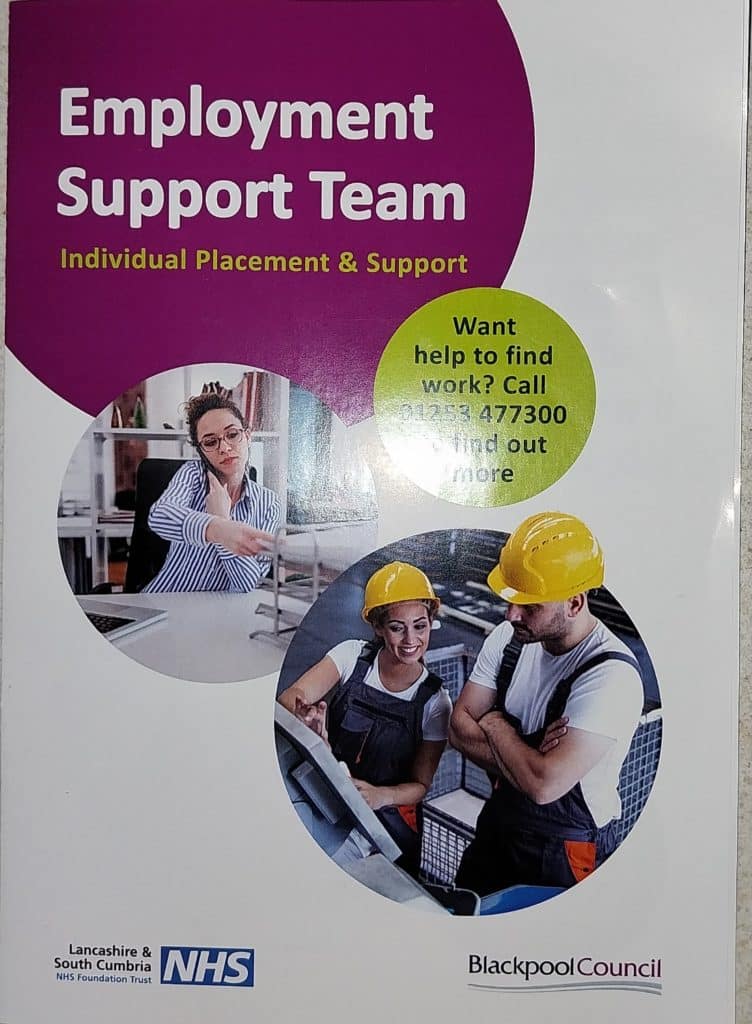
Today, we passed on a nice refurbished laptop to Grant, from the Employment Support Team. He took it to give to a vulnerable person, who is trying to get back to work – we wish them the best of luck!
If you have an old computer that you don’t need any more, why not drop it off with us and we can try to give it a good home!
Our last two wood events of the summer are near the beginning of July and on the bank holiday at the end of August. Both of these events are facilitated by Woodies Woodland Craft Training & Education.
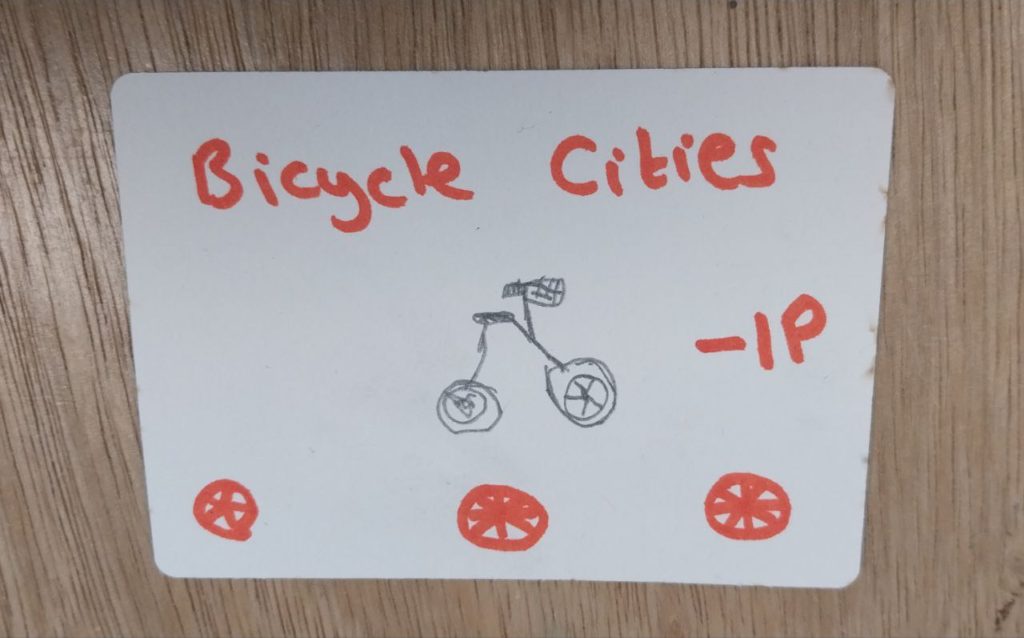
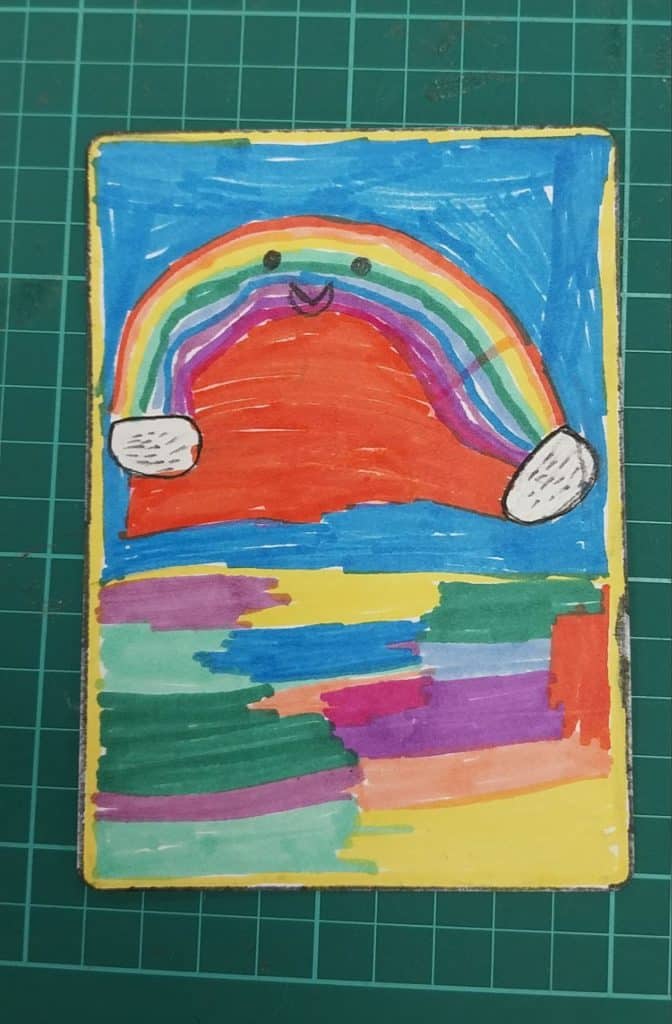
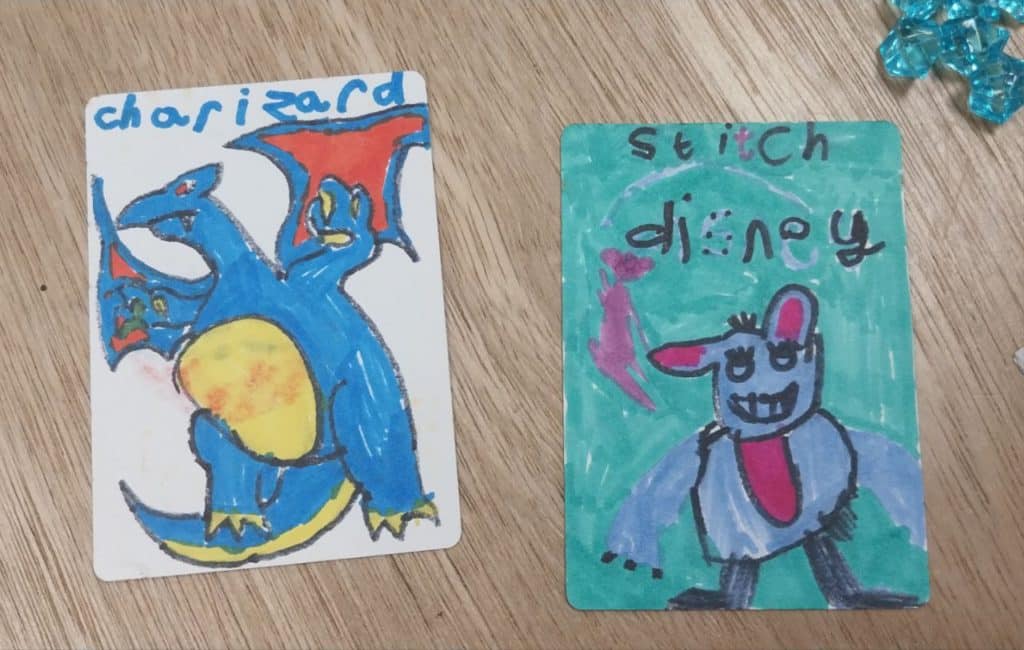
Yesterday, we were at Tabletop Republic Lancaster, running an event as part of a city-centre wide Lancaster Fun Palace. We try to get involved in local STEAM outreach as often as possible!
Visitor were able to design their own playing cards, using blank cards that we’d cut out with laser beams. They ended up making some very innovative and vibrant designs!
We also had the first playtest of a eco-themed card game that Bil is designing. This will become part of a secret project later in the year! The mechanics were a little off, because we got completely bogged down in pollution really early in the game. Thankfully, real life isn’t quite that punishing. The volunteers gave very useful constructive criticism – thanks!
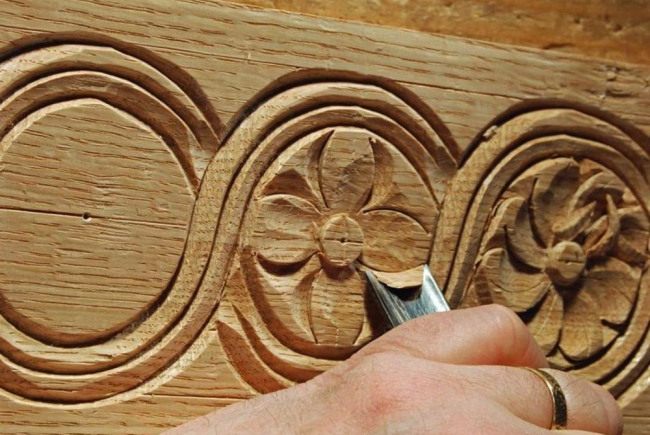
We have set up a crowdfunder at spacehive.com, to buy a variety wood carving equipment, which will be matched pound for pound by the Lancashire Sport and Culture fund. Our goal is to generate a total of £395, but if we can raise £200 ourselves, then it will be matched by the fund and we’ll get the new equipment paid for. The equipment will be accessible to all members of LAMM, but also the public when they are attending classes at our space.
Once we have the equipment, we will put on some courses in wood carving and whittling – any donation of at least £15 will get a place in one of these classes (they will be £5-20, pay-as-you-feel, should you want to pay later).
Set of 6 wood carving gouges (for use with a mallet for relief carving)
A brass headed carving chisel for use with the above
set of 10 wood carving knives (for whittling and spoon making)
2 “safety” wood carving knives, for use by kids or novices.
wood threading kit – essentially a large tap-and-die for making parts for vices and presses
Every donation, from a minimum of £2, is worthwhile and we are already up to £75 out of the £200 we need to raise ourselves! We do need at least 20 discrete donations, so small contributions are still very important!
We had a surge in membership, partly due to a grant from Lancaster University, allowing us to give out free or cheap memberships at different times!
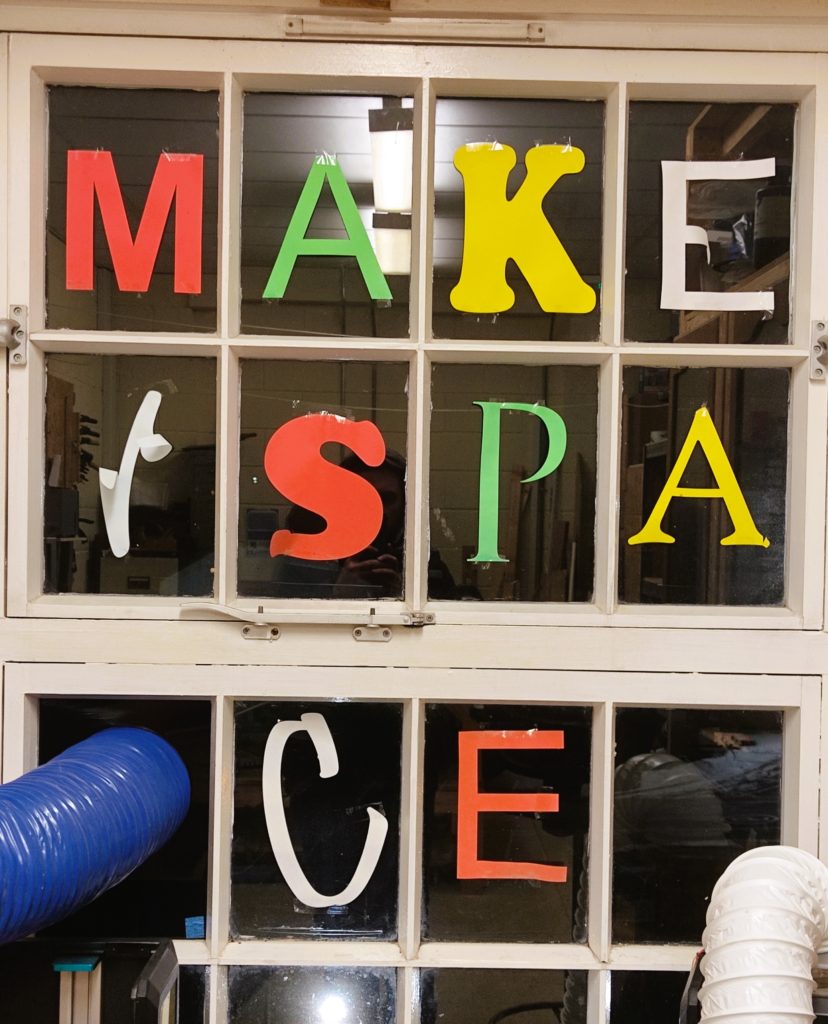
Window Sign
Number of members: 35 in December (best was 59 in June)
Total subscriptions: £447.12 in December (best was £468.67 in June)
85 unique human people were actually members at some time in the year!
We got a new, electronic kiosk to allow you to buy food, drink, laser time and materials… Finally without us having to handle cash and keeping manual records
Shop takings: £237 in December
Shop sales made: 33 in December (best was 42 in May)
Shop transaction fees we paid: £4.30 in December
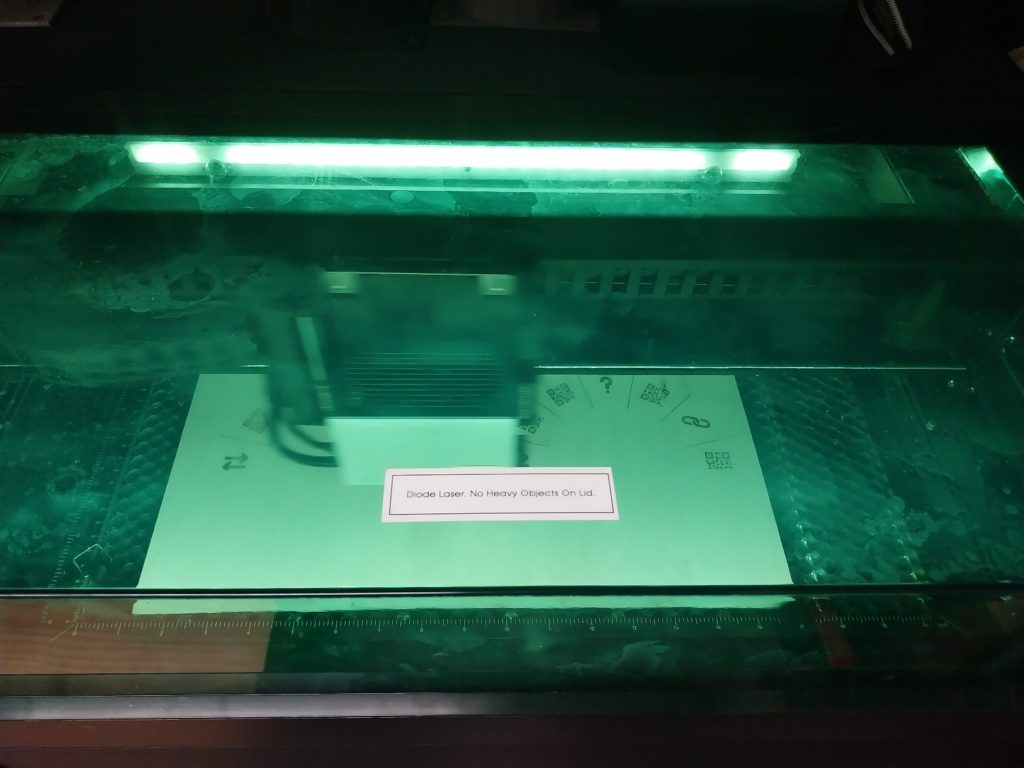
We got a new, easy to use, quiet diode laser, just in time for making xmas presents (thanks John!)
pew, pew, pew
Diode laser time in November: 192 minutes (3 hours 12 minutes)
Diode laser time in December: 766 minutes (12 hours, 46 minutes)
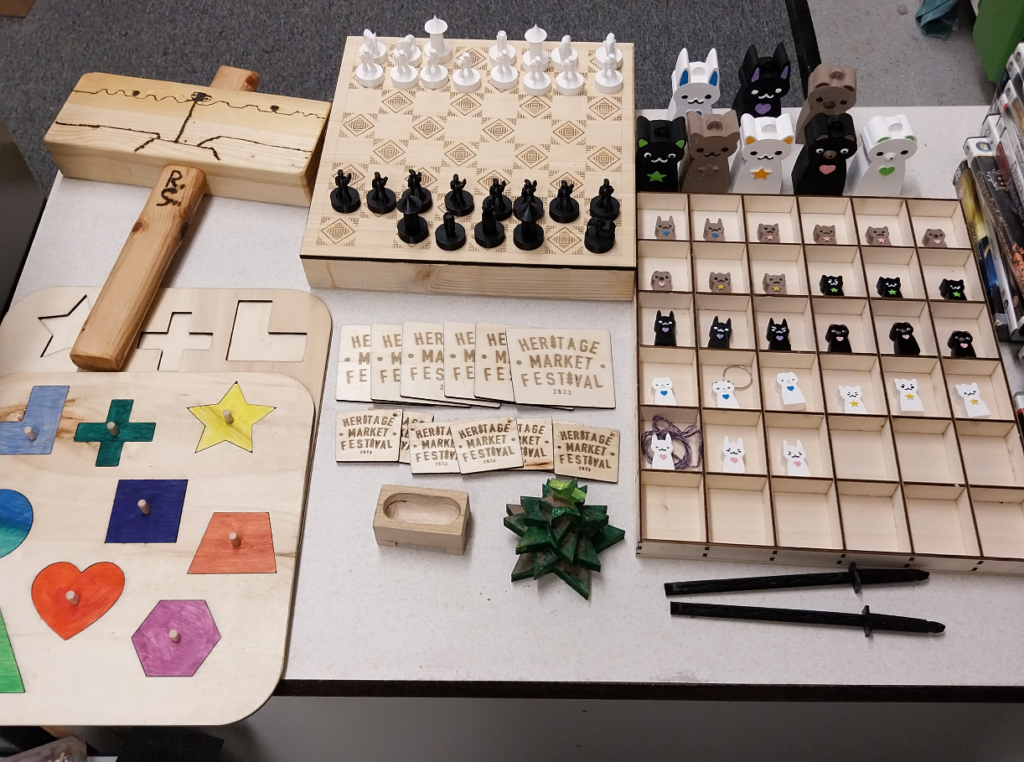
This raised a total of £192 for us!
We collaborated with a great local charity, Escape2Make, to design and create a myriad of fun items for sale at the heritage market in December
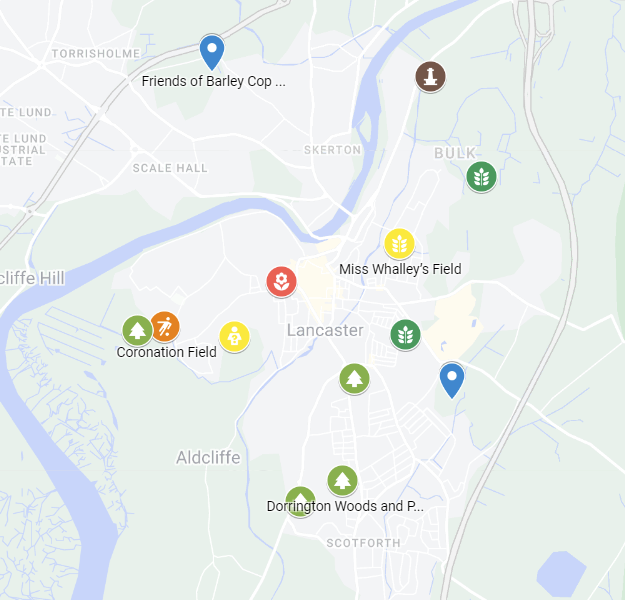
We ran over a dozen free activity stalls, all over the area
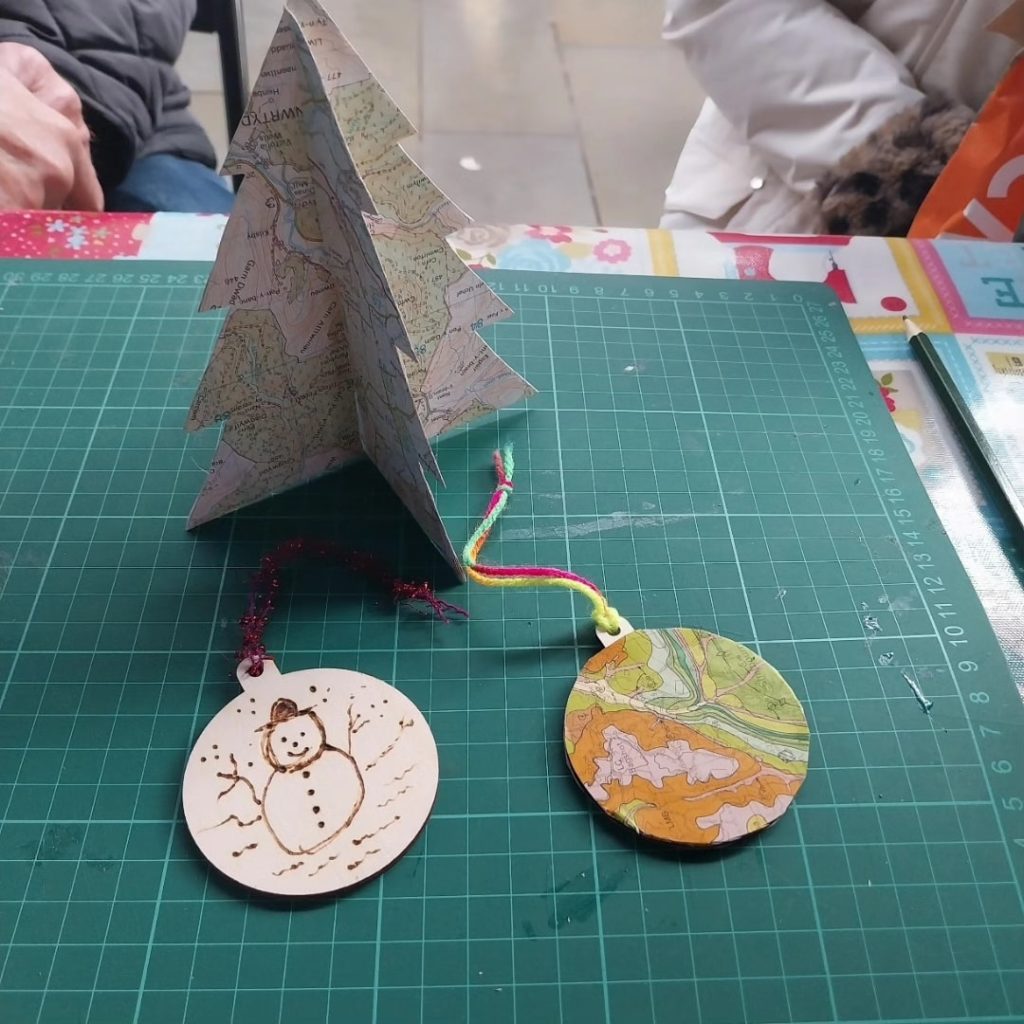
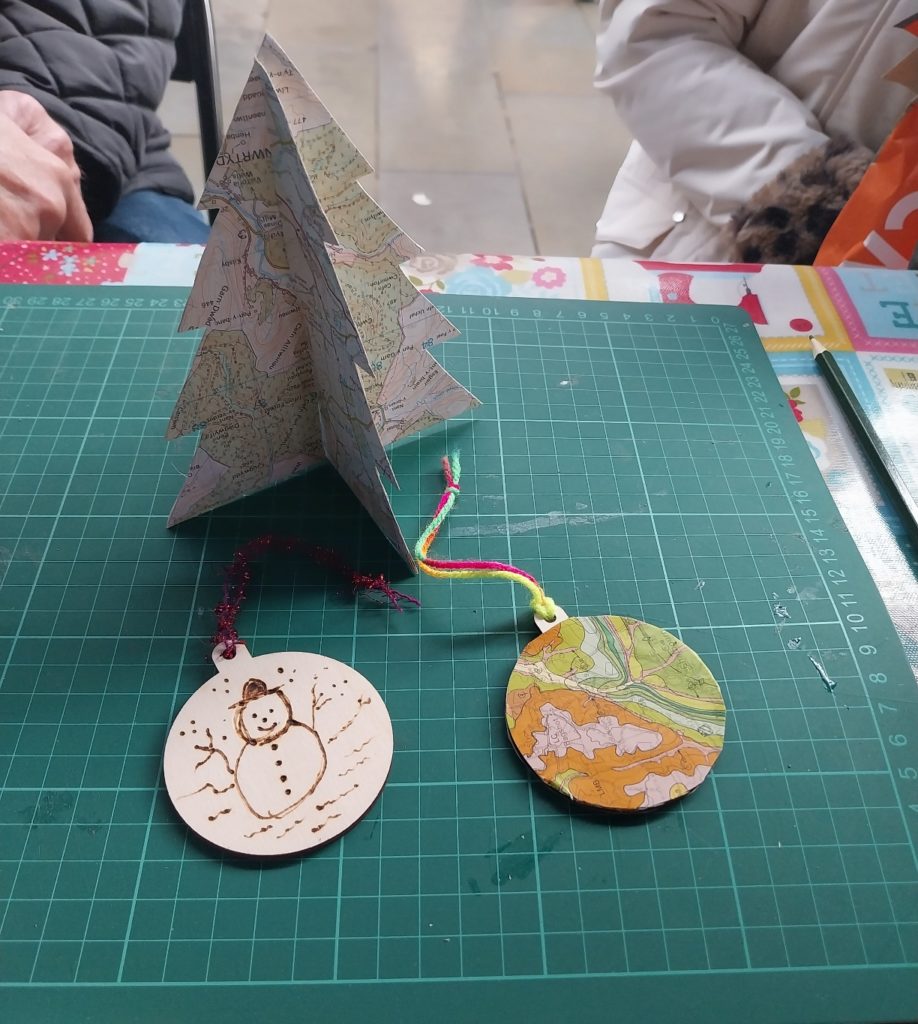
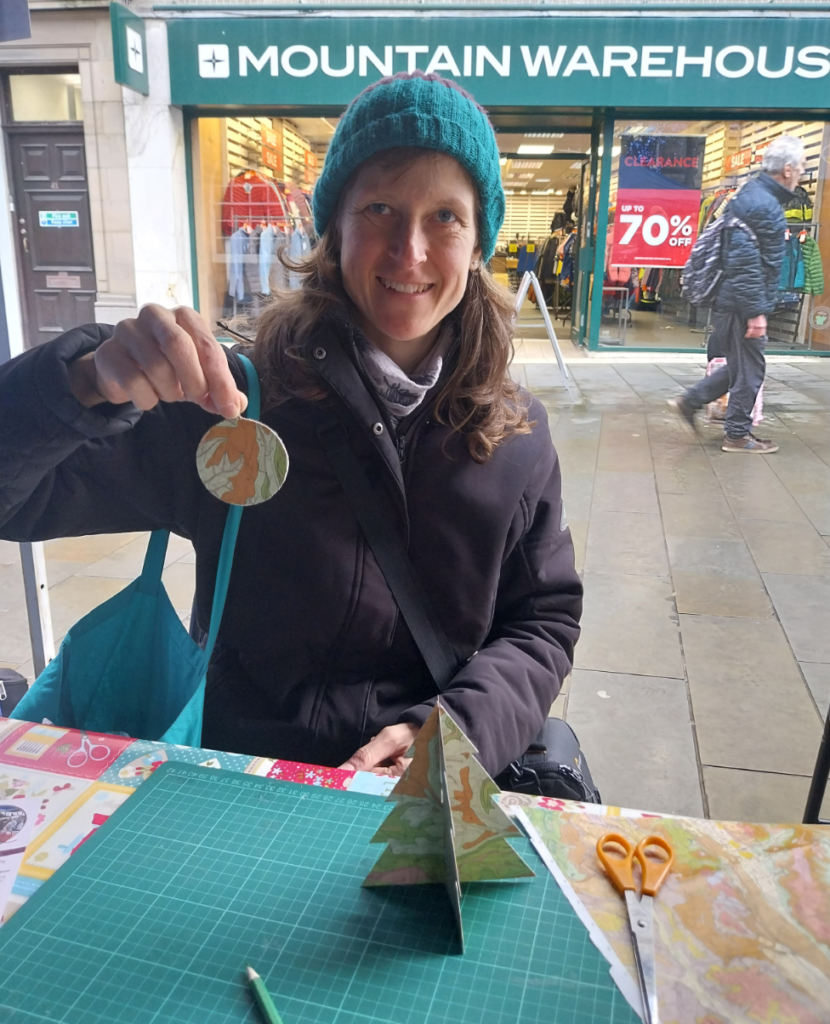
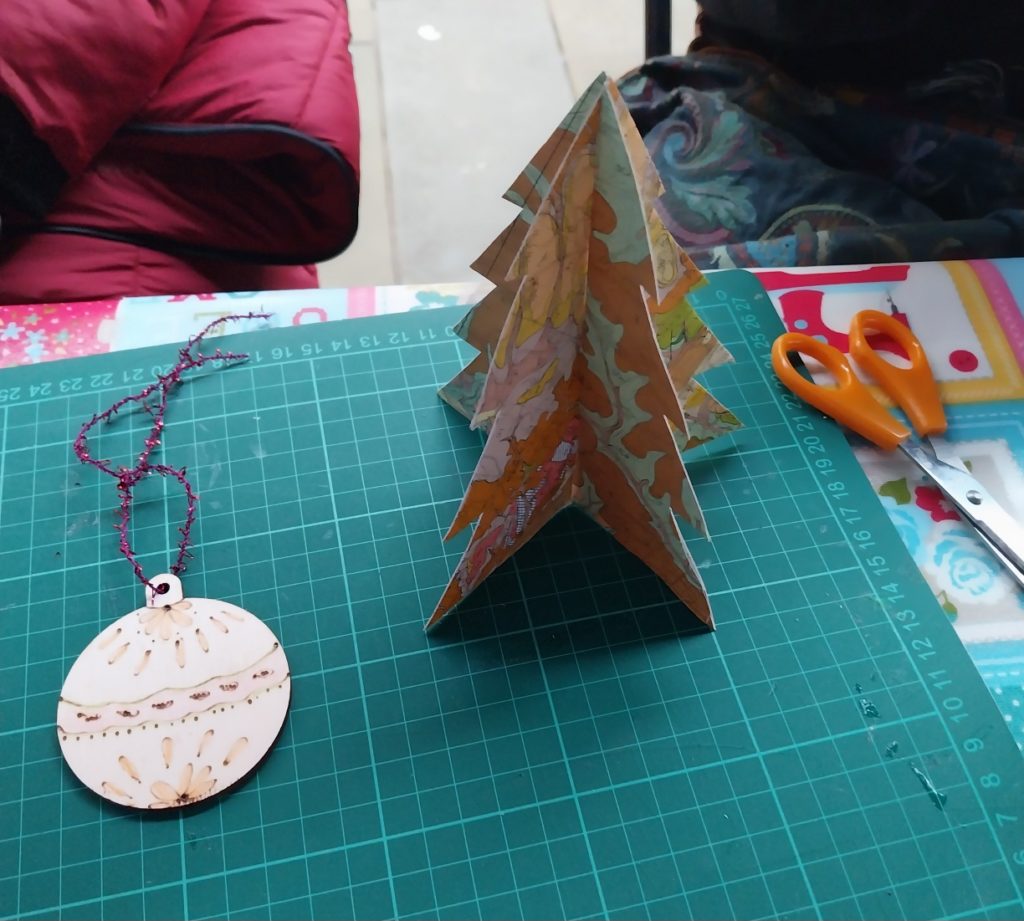
festive maps
West End Gardens, Morecambe (Creative West End): 2
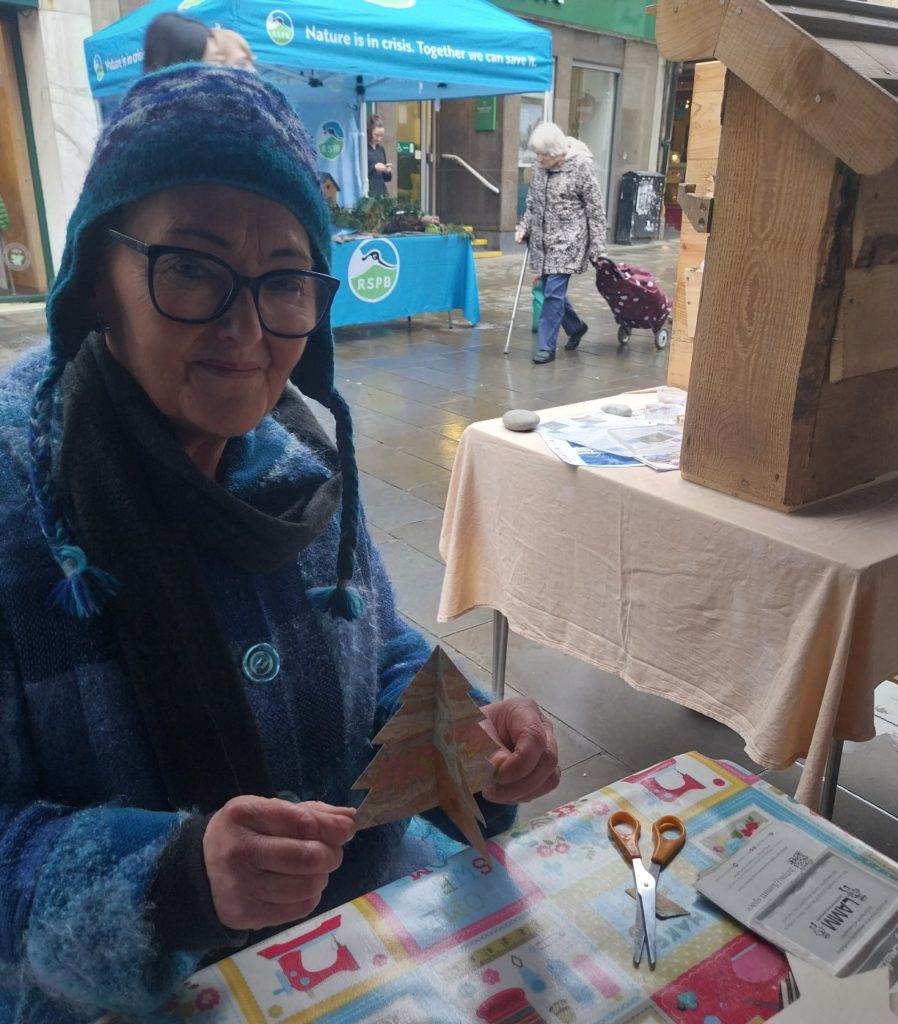
We were at the Food Futures winter market today, talking to members of the public about repairing items and offering to let them make some festive decorations from some discarded maps and laser cut baubles.
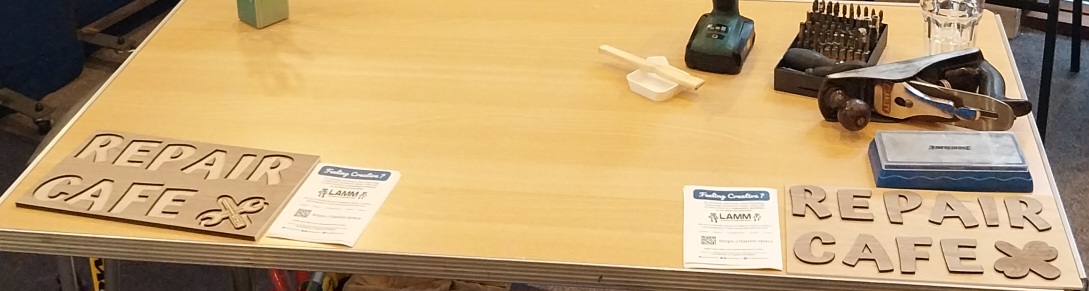
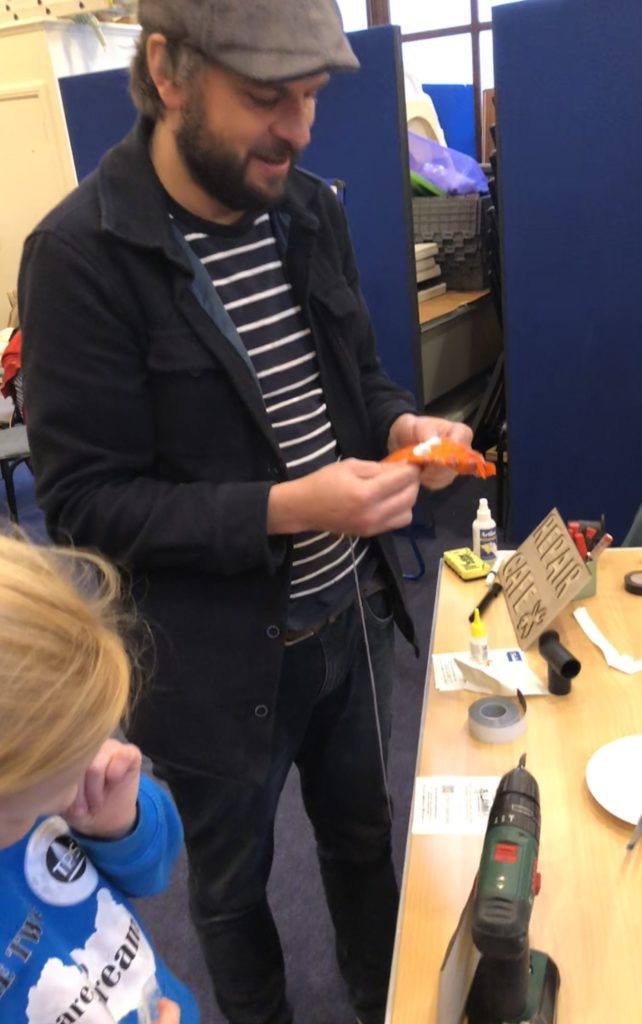
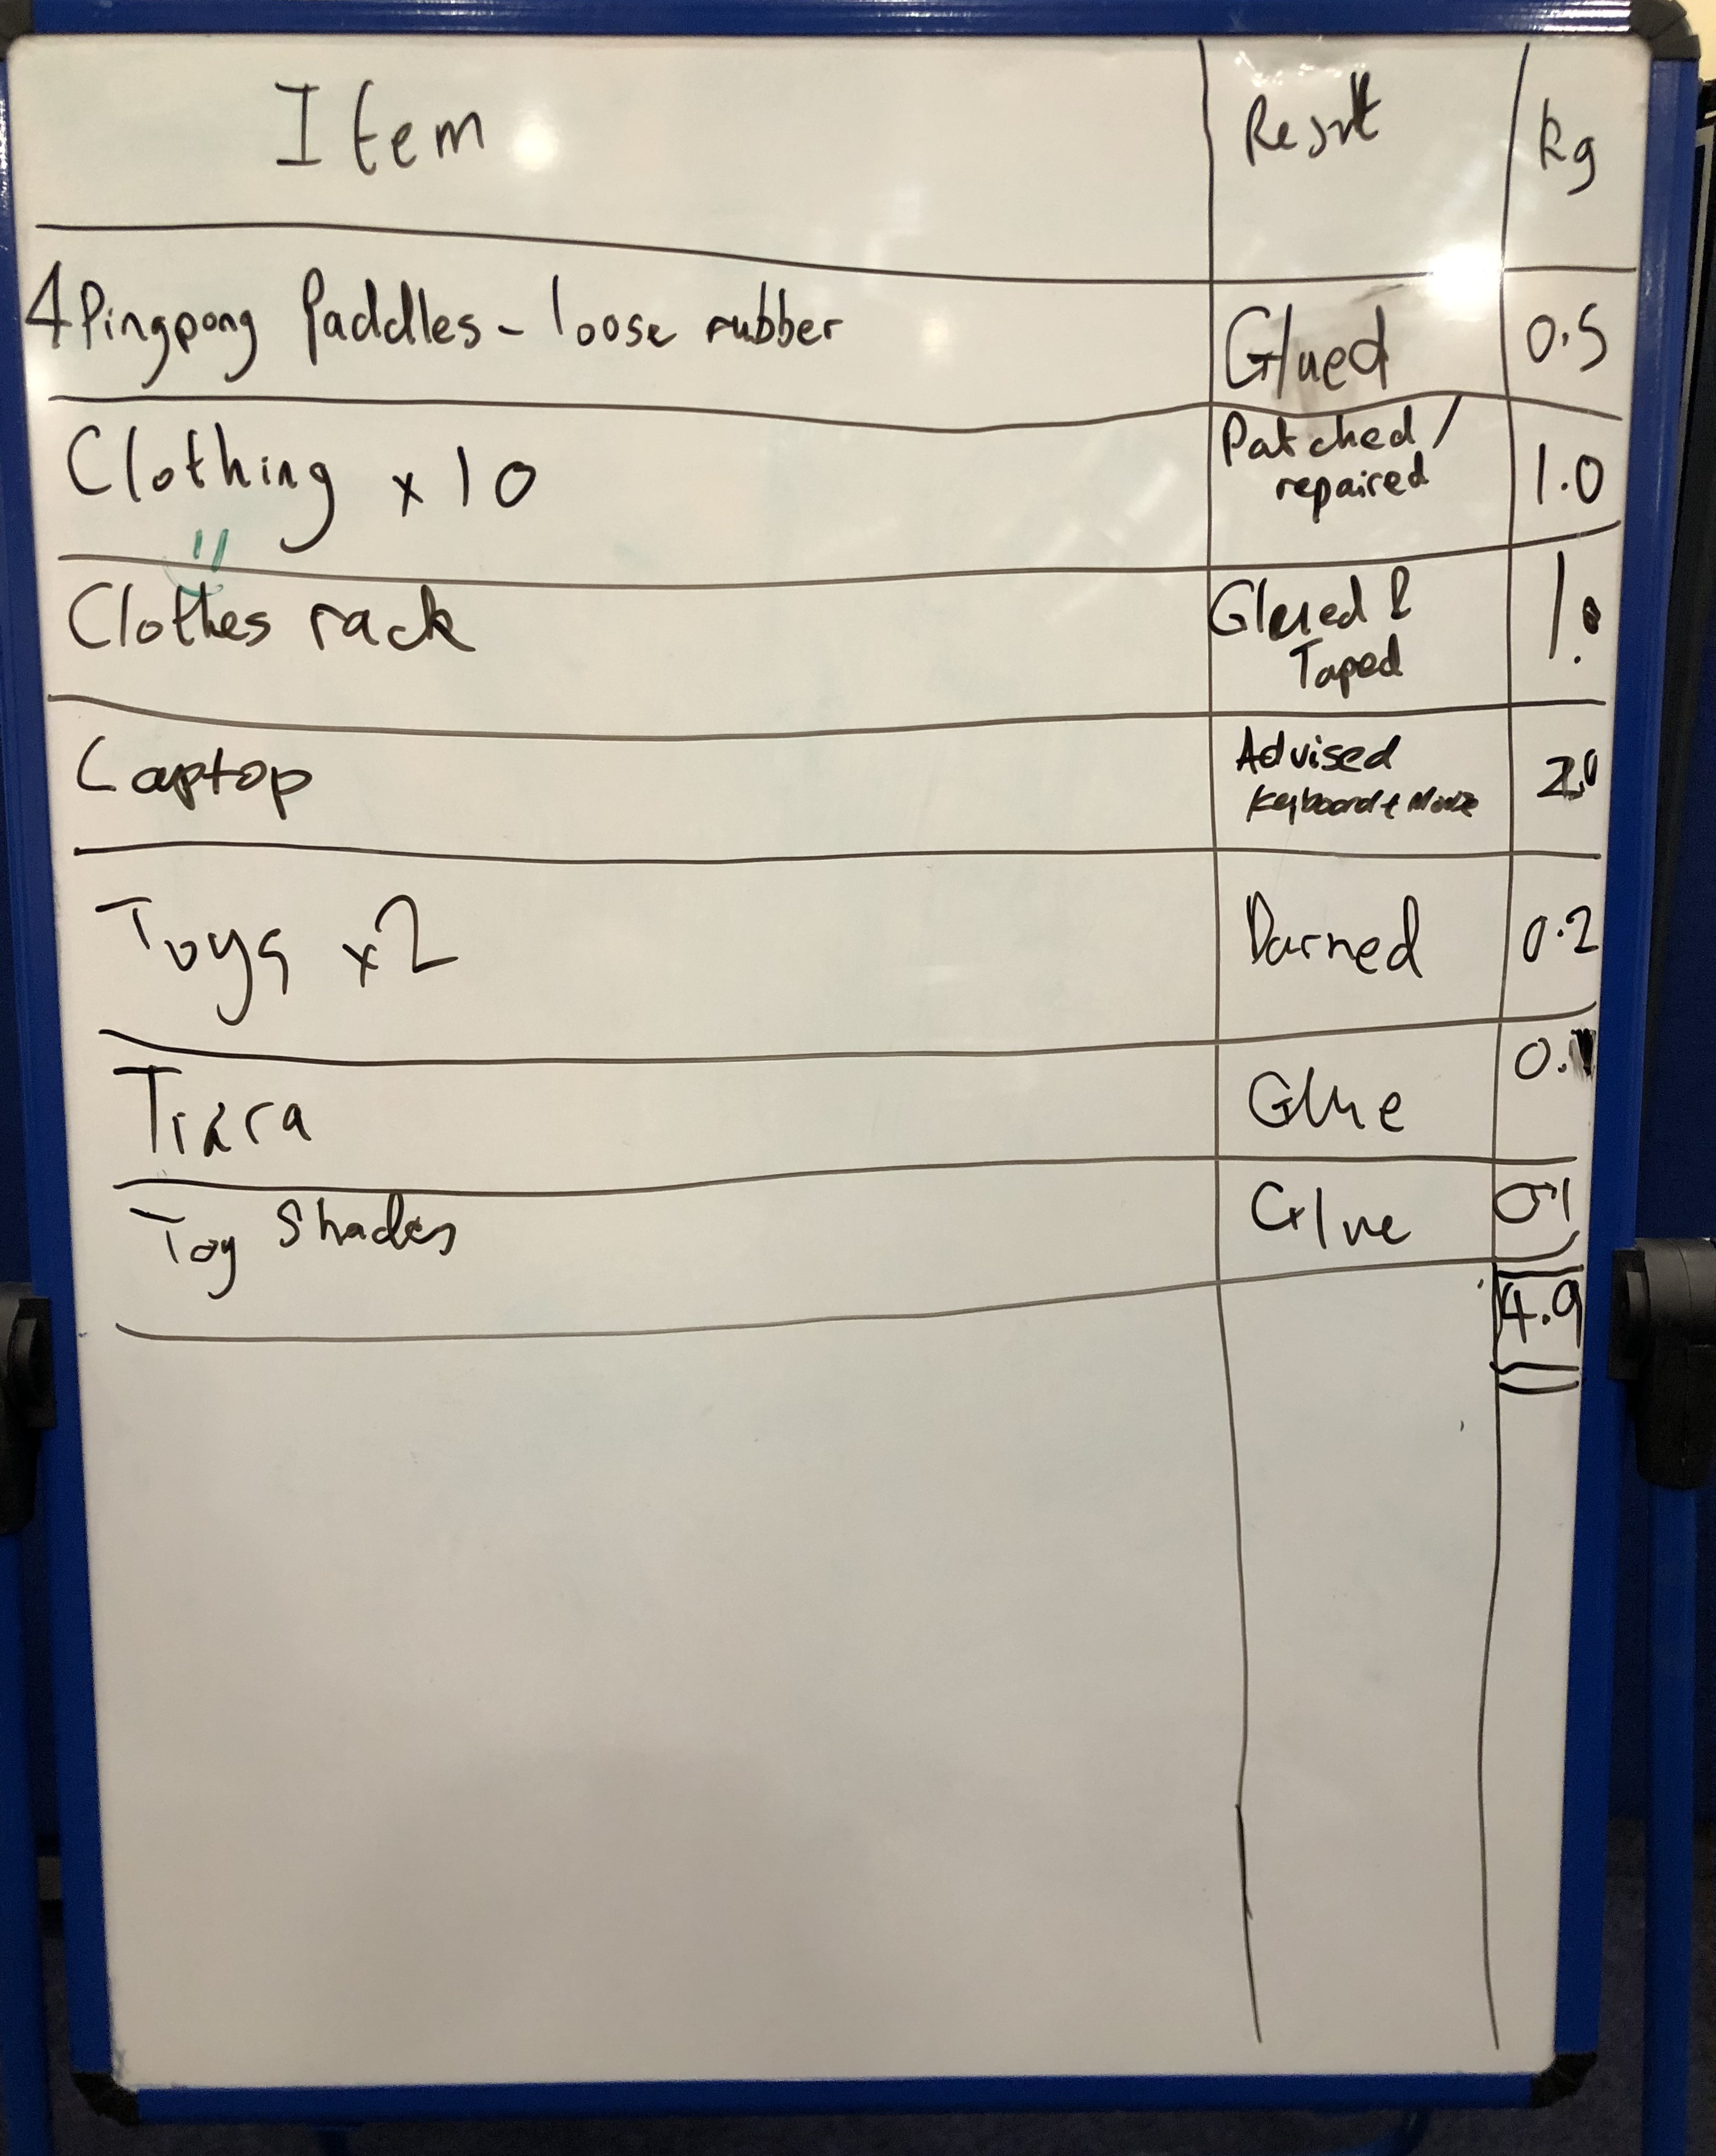
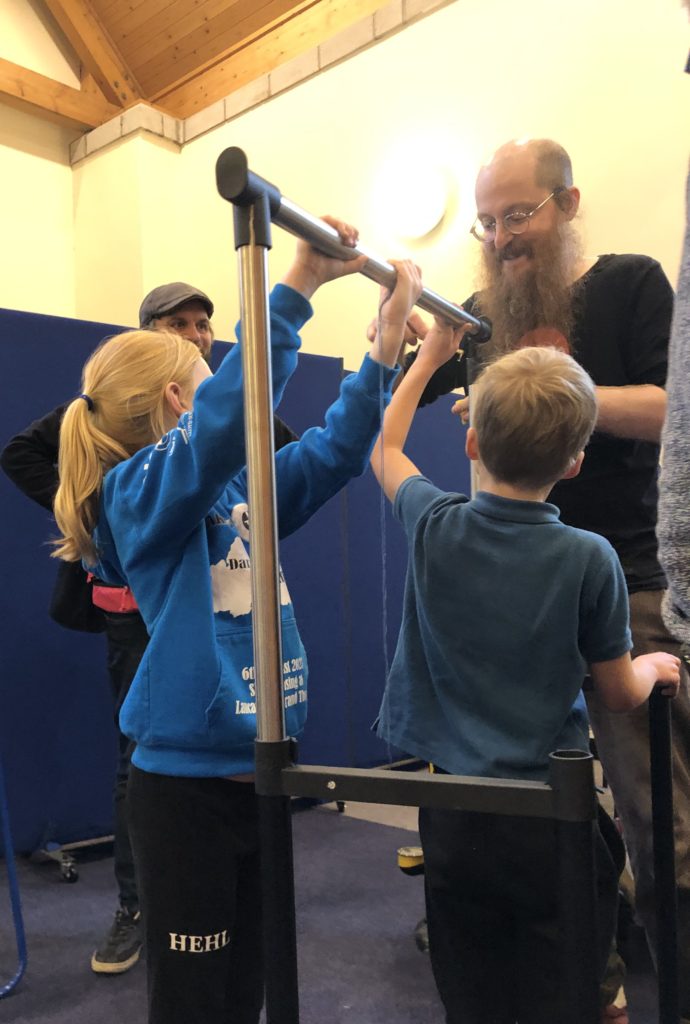
Yesterday, Saturday 4th November, 2023, we were in the nearby village of Brookhouse getting involved in a repair event. We found lots of young repairers to help us and made a record of what was achieved!
We actually had more repair experts than clients, which was disappointing, but people still need to be educated about even the possibility to repair a lot of items!
You are welcome to bring broken things in to our regular open evening at our makerspace in the centre of Lancaster!
If you haven’t seen the space recently, and are curious about how many abandoned laptops are scattered around (Surprisingly, not as many as last year) take a look at https://lancaster-makerspace-59h8dg7sed.live-website.com/about/ for updated images of the space, and the new PCs, 3D printers and equipment.
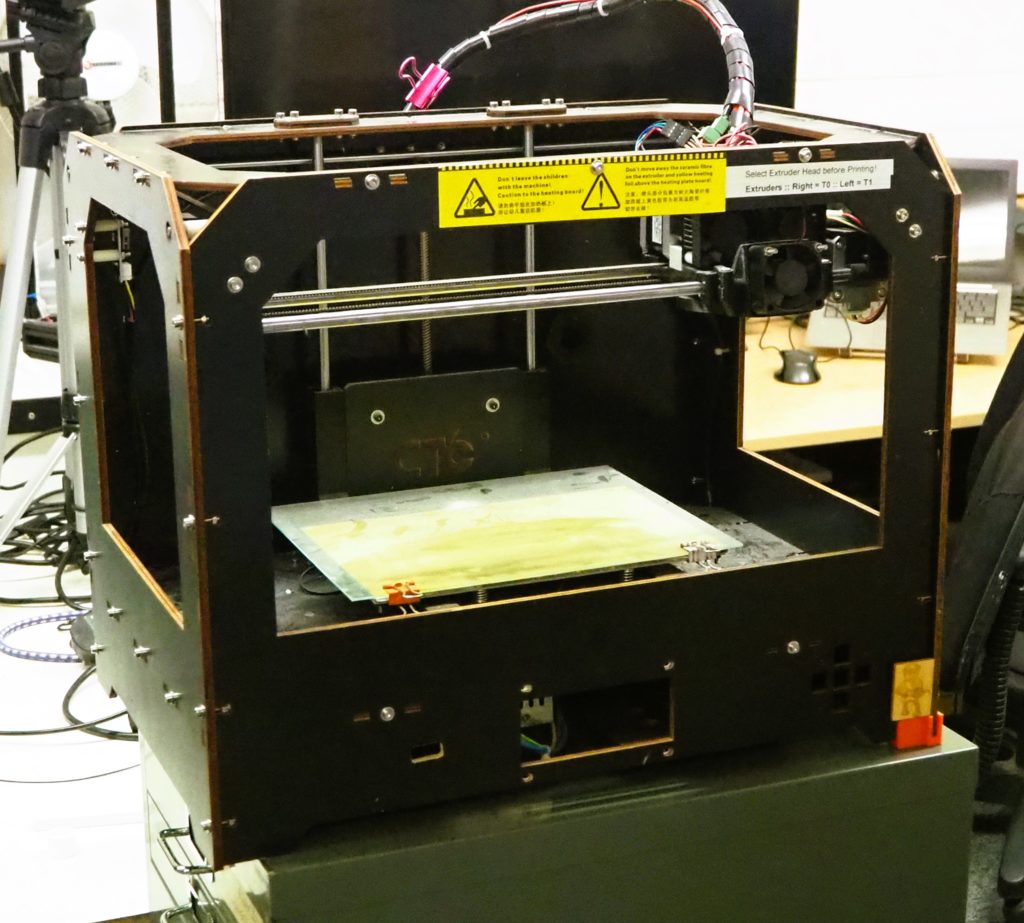
We have also been given a very kind donation of a dual extruder 3D printer. It is a bit dusty, but think of the possibilities!