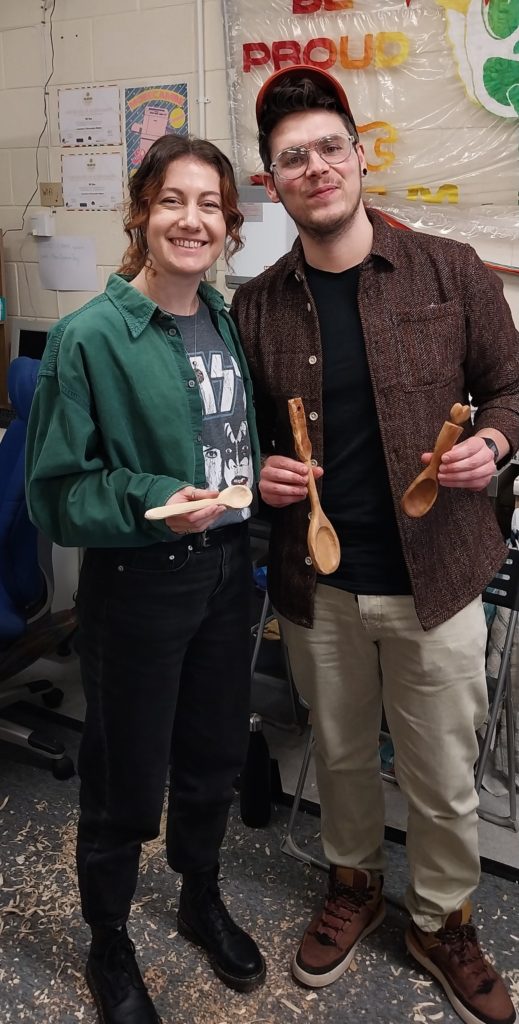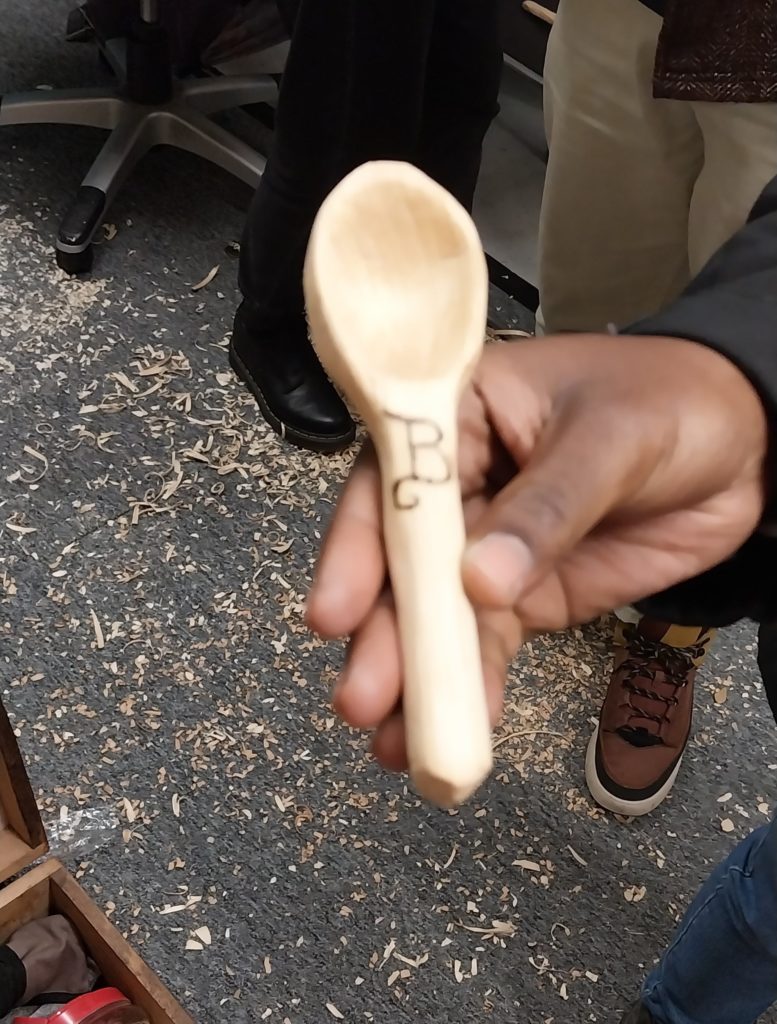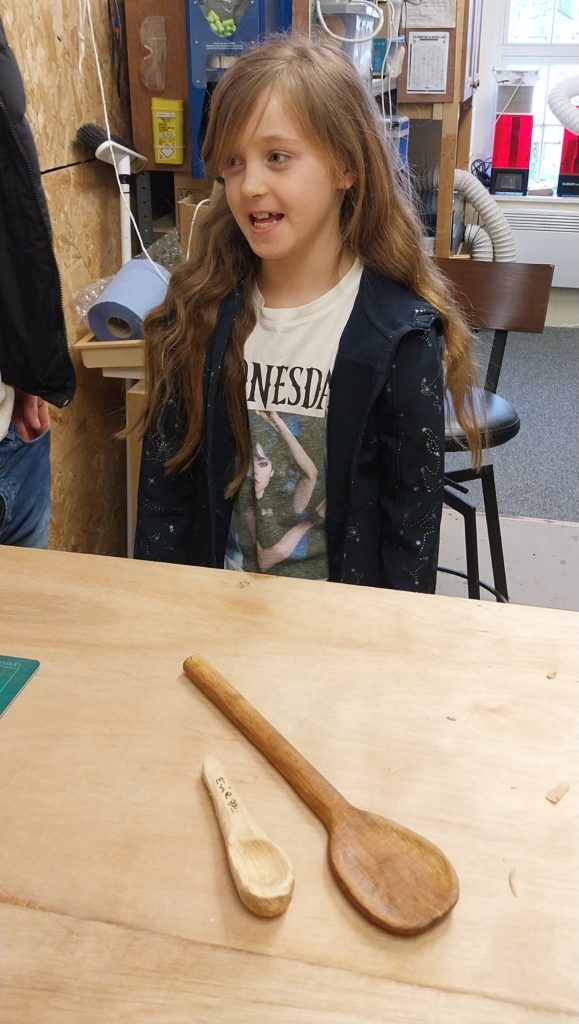
After our first whittling class was such a success, in spite of it being on April fools’ day, we’ve added another two events to our summer schedule. One of those is a bumper session on August bank holiday!
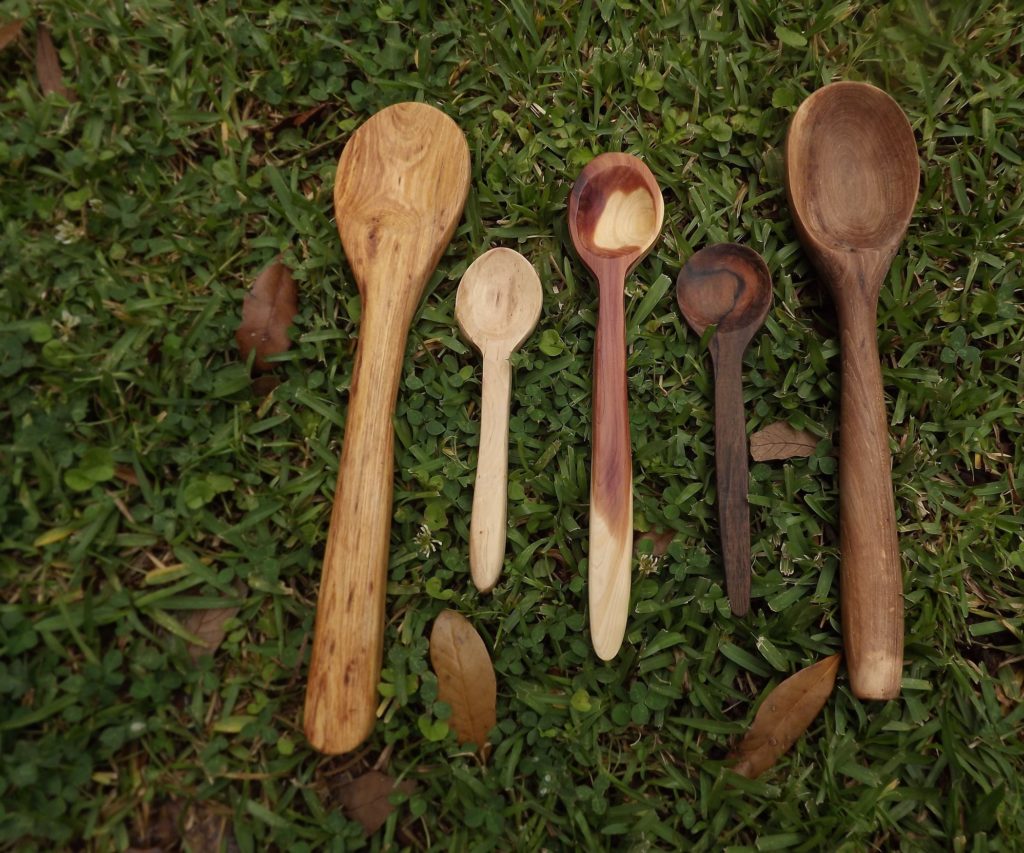
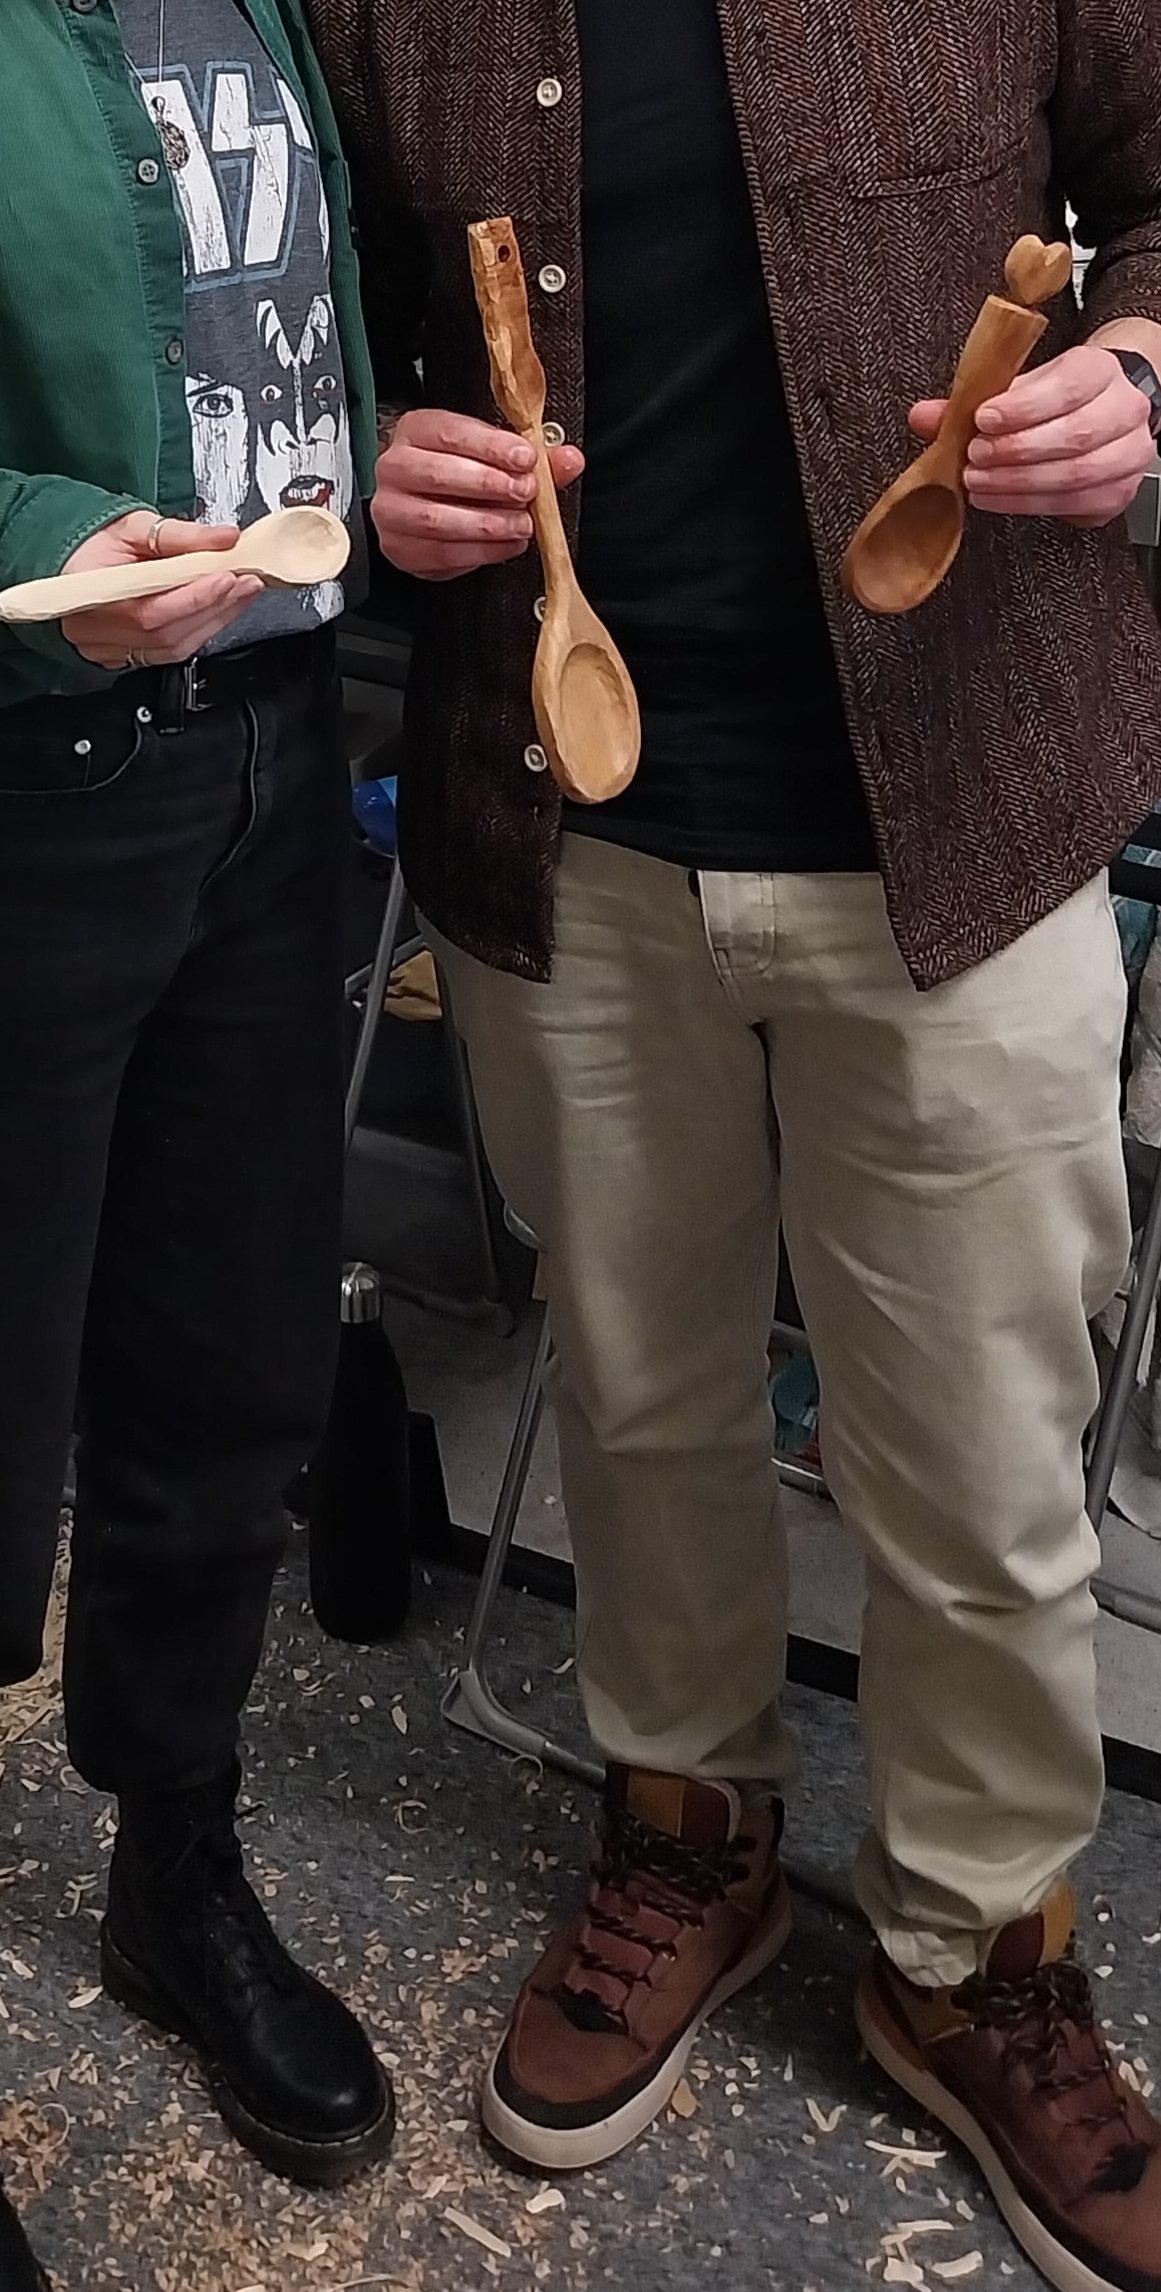
- Tuesday 7/5/24 18:00-20:30 – Spoon carving (still a couple of tickets left) https://lancaster-makerspace-59h8dg7sed.live-website.com/spoon-7-5-24
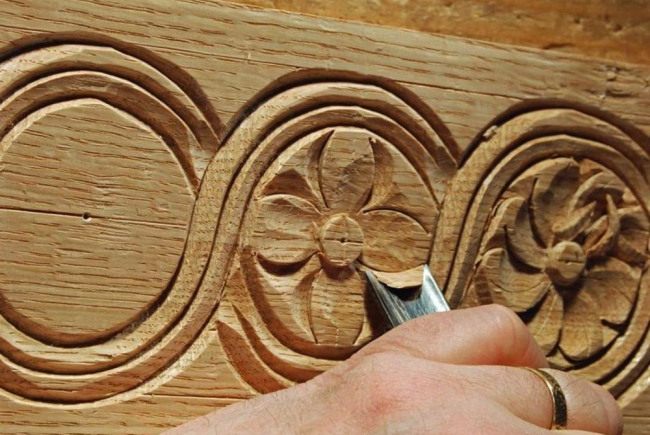
- Thursday 6/6/24 18:00-21:00 – Relief carving. Like whittling, but flat! https://lancaster-makerspace-59h8dg7sed.live-website.com/relief-carving-6-6-24
- Monday 8/7/24 18:00-20:30 – Spoon carving https://lancaster-makerspace-59h8dg7sed.live-website.com/spoon-8-7-24
- Monday 26/8/24 10:00-15:00 -Bank Holiday Whittling Day https://lancaster-makerspace-59h8dg7sed.live-website.com/whittling-day-26-8-24