3D Printing Cabinet

I haven’t managed to get to the Space much in the last couple of months (again! – though at least I did my duties as a director, such as making some posters (see another blog to come soon) and attending meetings doing admin etc.) mostly due to summer holidays and the pressures of family life. However home projects haven’t stopped and I have a couple of blogs to talk about what I have been up to on the home front.

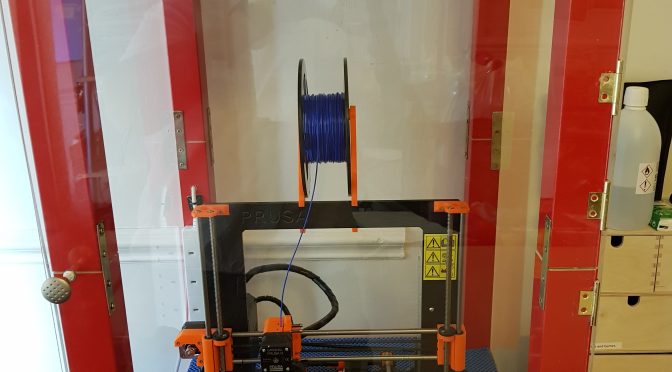
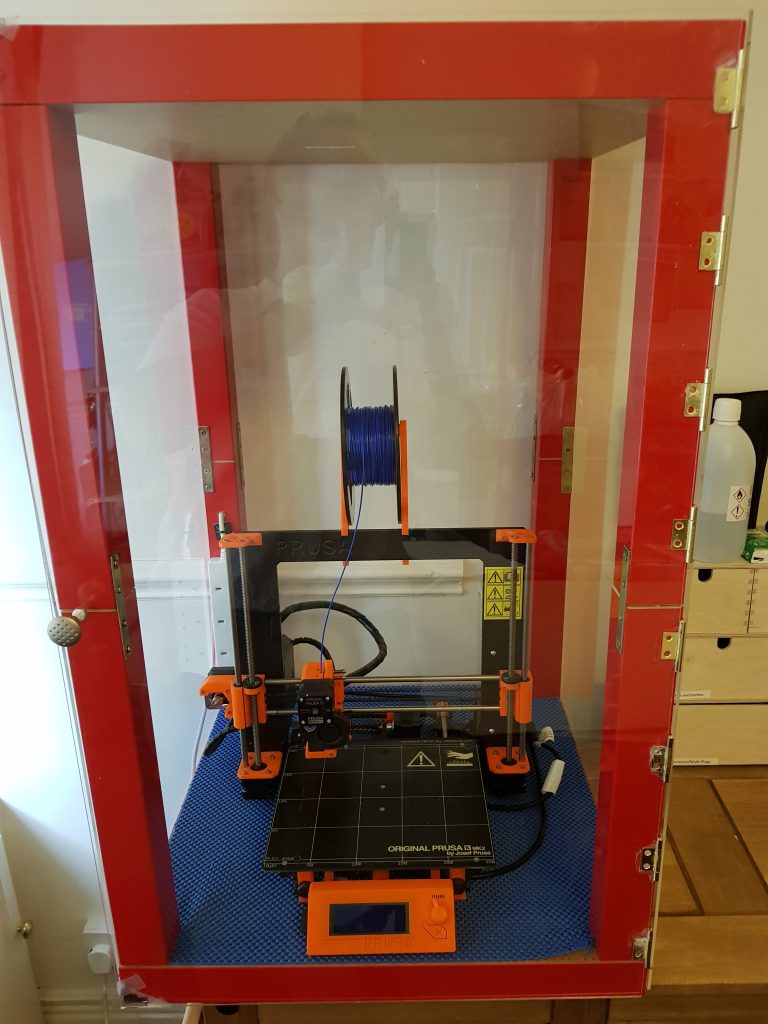
The first of these is all about my 3D printing cabinet. I was gifted a 3D printer (Prusa i3 Mk2 that I constructed with the affable TBSliver) detailed in a video to come soon. It has been working well but I often have prints that lift on one side.

After some discussion, with the amiable (and affable and affordable) TBSliver we decided it could be the drafts in the room. So again from a suggestion by the amazing TBSliver I decided to build a cabinet to hold my printer. To do this I used:

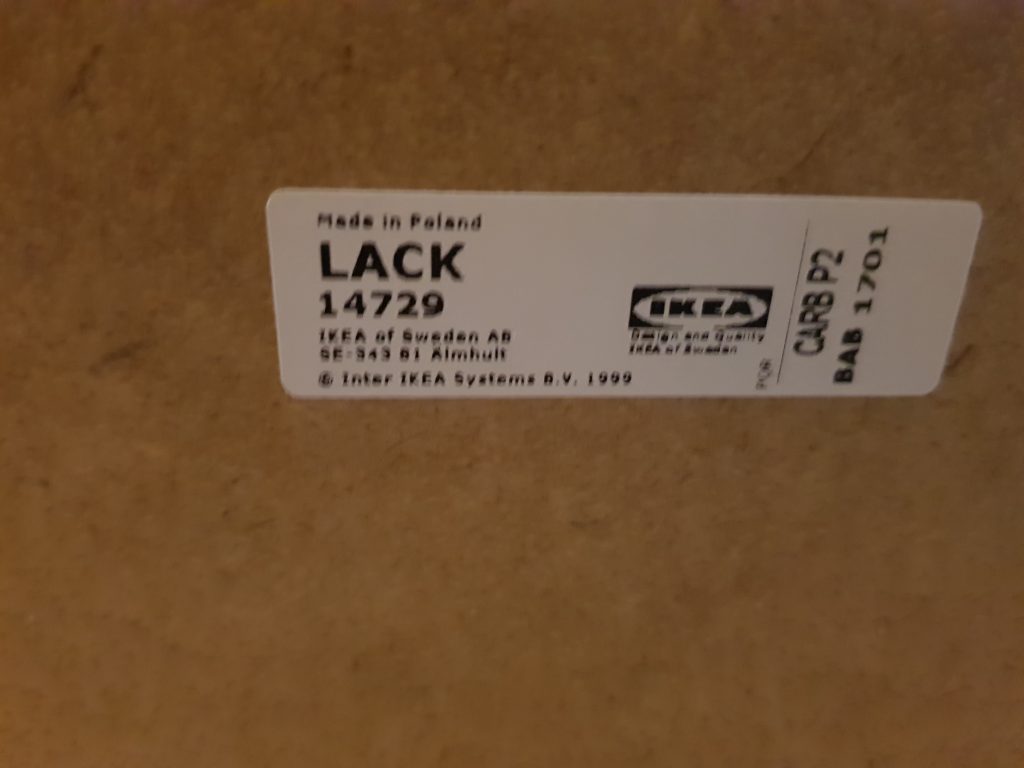
  • Two tables from IKEA – the well known LACK tables at £5 each (£10)
  • Two packs of cabinet hinges from B&Q at £4 each (£8)
  • One pack of straight braces from B&Q at £4 (£4)
  • One small knob from Wilkinsons (£2)
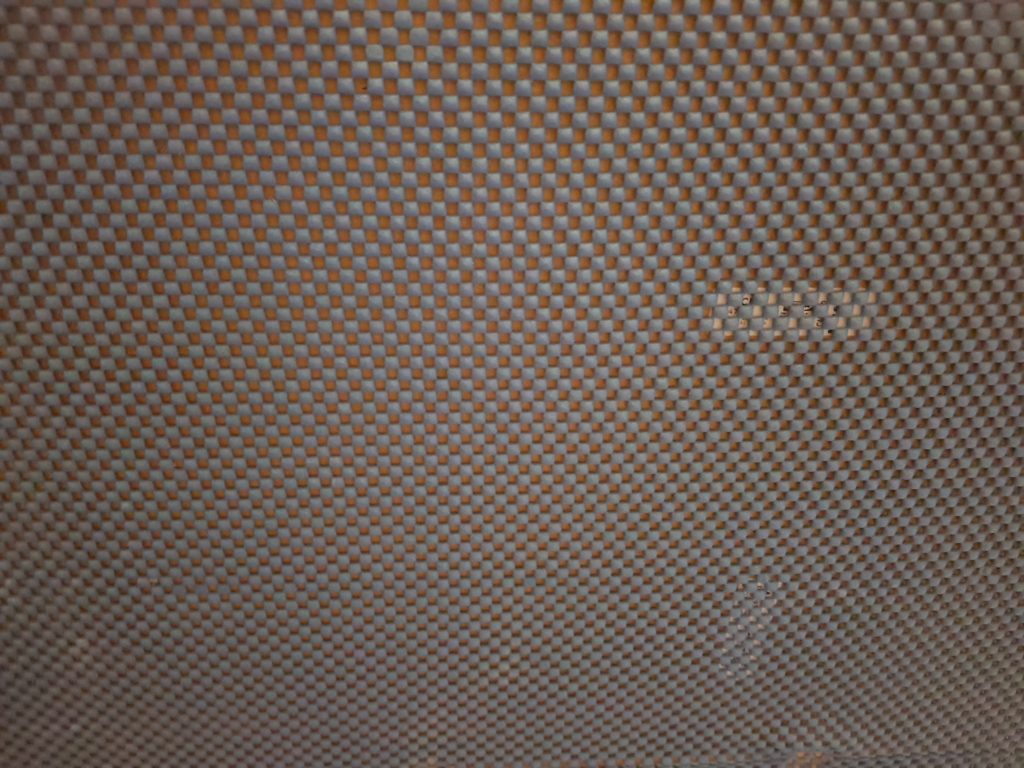
  • Some grip surface – spare piece that I had in my workshop
  • Screws, Superglue – all from other projects
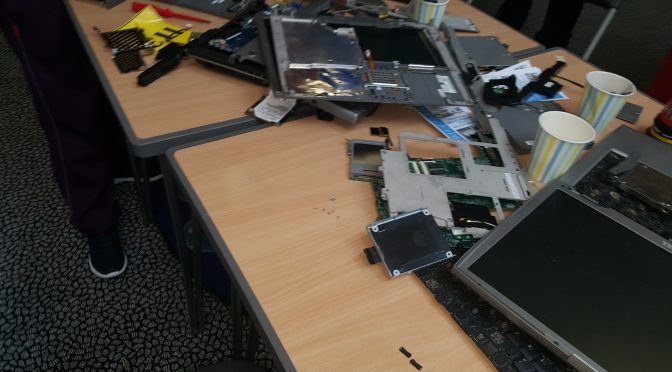
  • Two magnets recovered from a hard drive that was dismantled
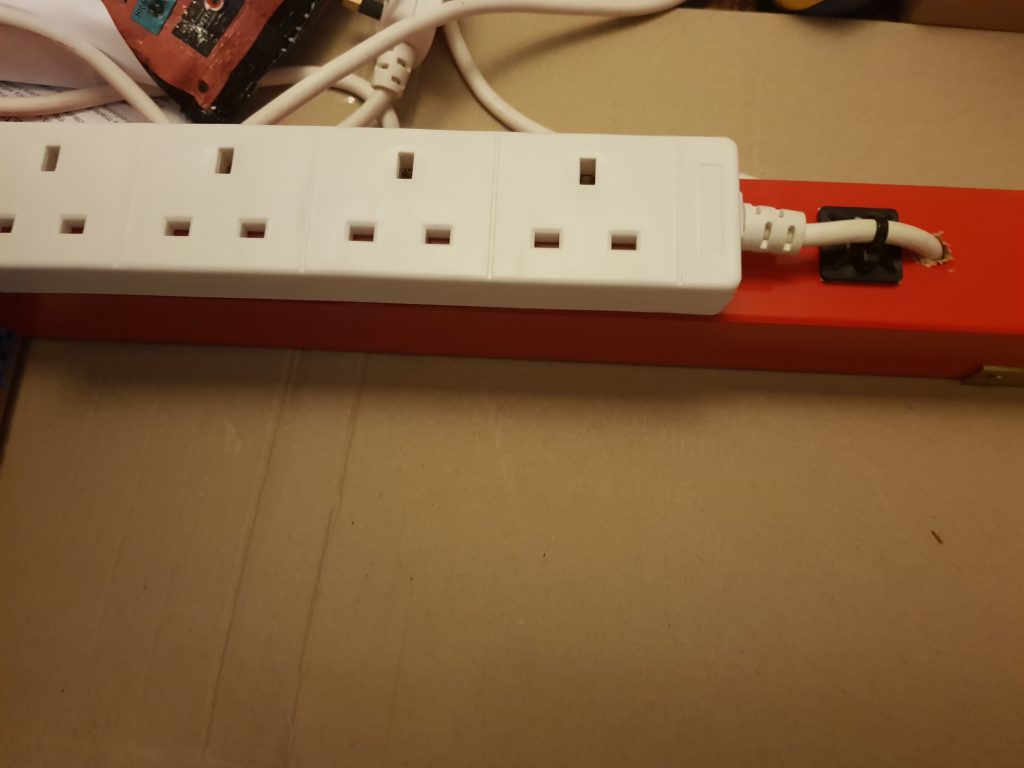
  • One 4 bar extension from Wilkinsons (£3)
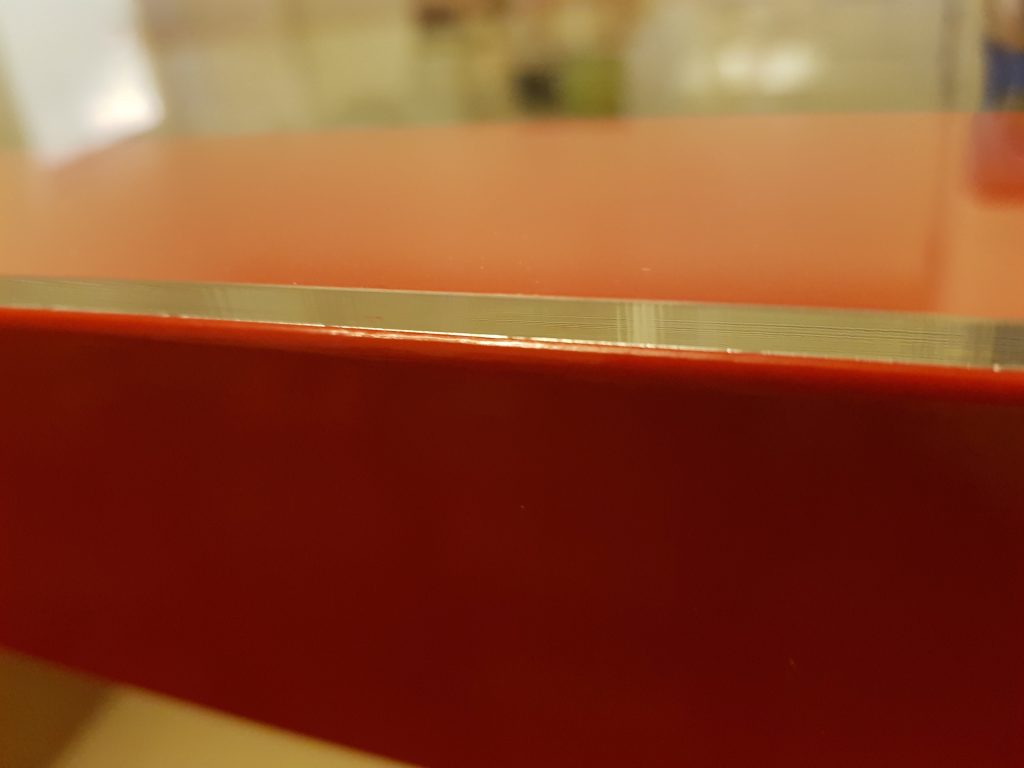
  • Cut sheets of 3mm clear perspex with holes in three pieces for fixing (£60 including all cutting and delivery from the Plastic Man).
  • Total cost: £87

This might seem like a high sum, especially the perspex, but they are large sheets at 890mm by 550mm x 4 – and close to £12 for delivery. The actual sheets were £12 or so each and were delivered on time and well cut and transported so a bargain if compared to similar online retailers. I heartily recommend the service.

Construction was simple:

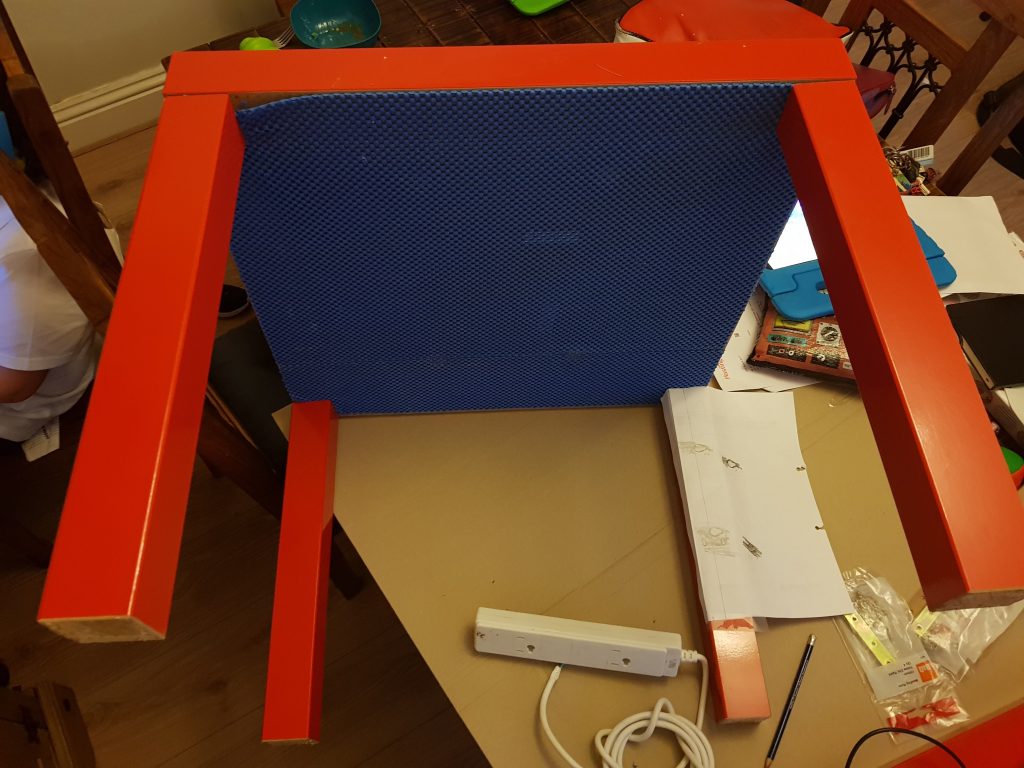
  1. Glue down some non-slip matting
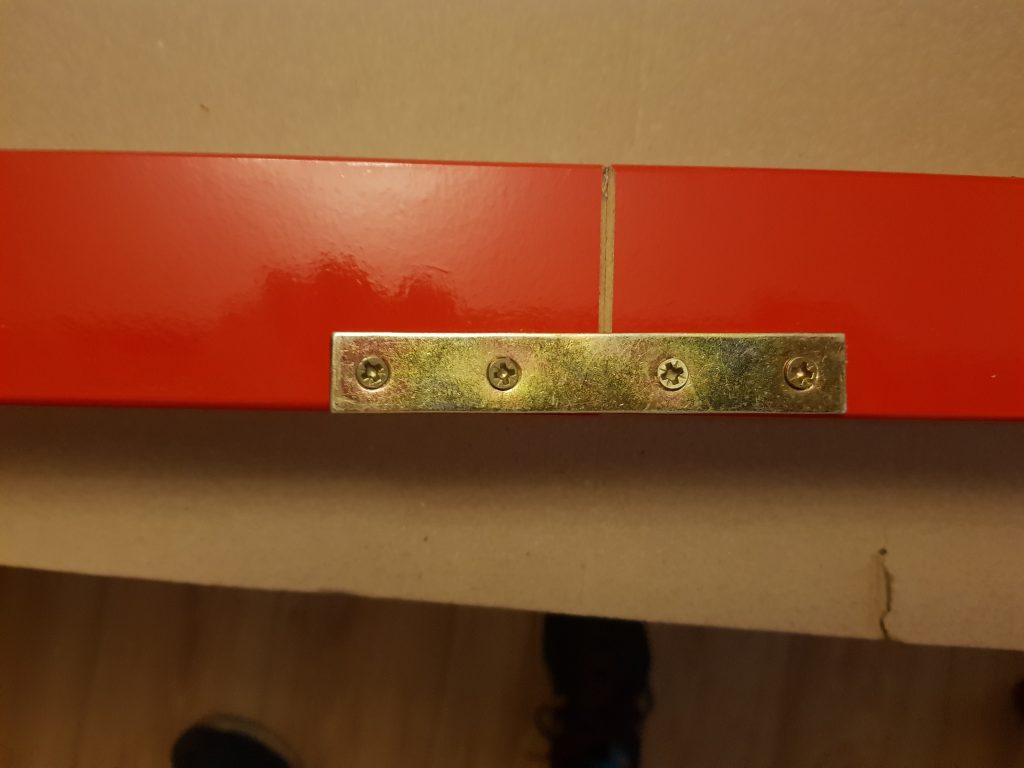
  2. Align the two tables and fix together with straight braces (2 on each leg)
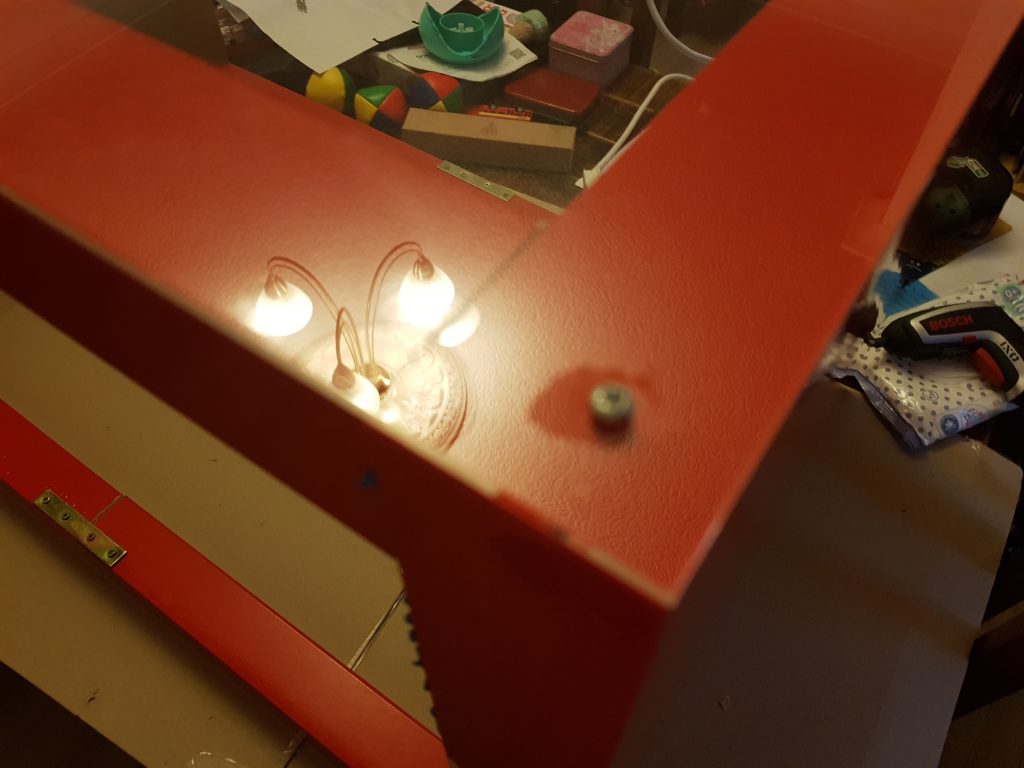
  3. Align the pre-drilled screw holes of the perspex and carefully screw down (do not over-tighten as perspex will crack
  4. Glue hinges to the perspex door and leave to cure for 24 hours
  5. Screw door to frame.
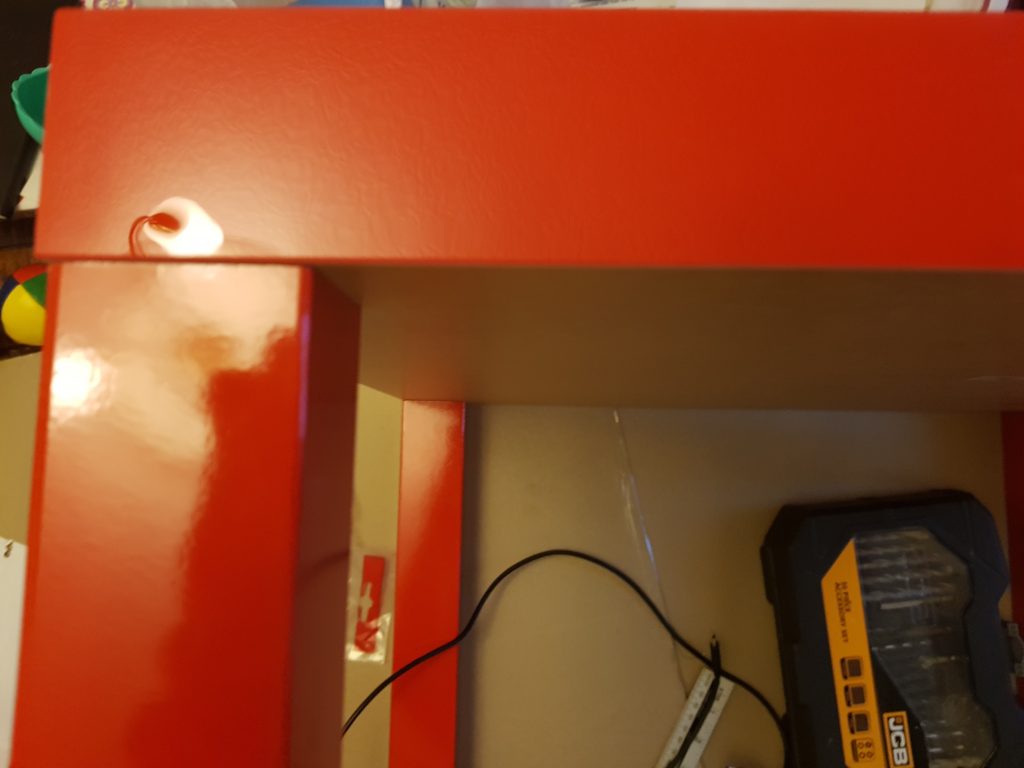
  6. Forget that you need a hole for the knob!**

My only issue is that the tables were a little flimsy and not very accurately made (a <1mm difference in legs from the cut and glazing process) which coupled with some slight inacuracies of the angle of screw holes can give ever so slight deviance in the build. However for £5 it is a small price and easily correctable once we bolted the whole frame together.

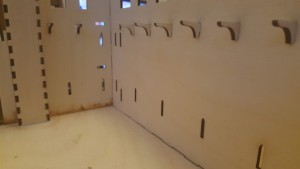
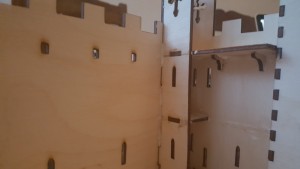
The finished box is quite pretty (IMO) and site nicely on the side dresser where I have my specialist tools and electronic knick knacks. in the utility room of the house.

Once again a big thanks to the wonderful chap who is TBSliver for all of his help, advice, support and praise, greatly appreciated. LAMM members are wonderful creatures.
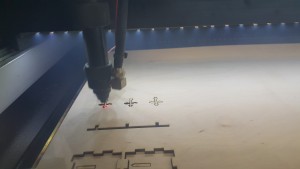
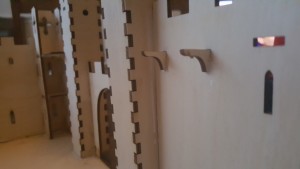
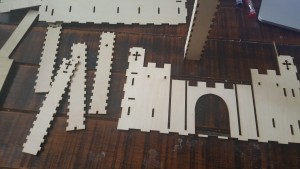
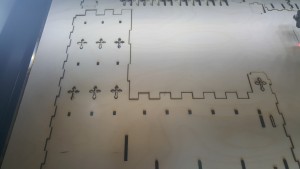
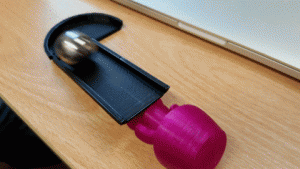
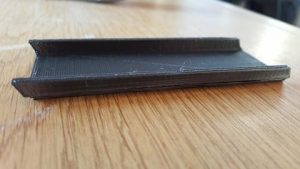
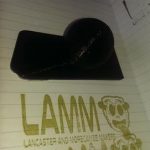
Pictures below.

(** I solved this issue with the careful use of a soldering iron)


Lining up with a steel ruler and drilling holes with my drill
Non slip matting in place and using a quick template for the mounting of the internal power strip
Close up of non-slip matting
Here’s that template again, who needs expensive tools when a pencil and paper trick is shown to you
EU made card tables that are firmer than the price warrants
The bracing of the legs
Fitting the power internally so the cabinet has internal source.
Carefully tighten down the corners – so brightly reflective
Close up of the fit – nice and snug
The finished cabinet – I should be able to fit some tool and equipment bays at the top next

The Dolls House

I have been absent from the Space for a few months, only popping in for the occasional meeting and to grab a tool for a mini-project. Most of the reason for this is to do with a large home project.

This year my sister reached a half-century in years. All of her life she has stated she wanted a dolls house, and this desire did not decrease with age. So I decided that I would build her one.

Being a Maker I knew I wasn’t going to indulge in buying any old kit with instructions, so I bought a plan from online for twenty dollars with its 5 page A4 picture guide (which was less helpful than the three online pictures of a constructed house, and set to it.

Needless to say it was more work, some struggle and a lot of compromise more than what I wanted but I did get it done, it was in time and I duly delivered it on the birthday to a very surprised and elated sister.

Below is a video of the build, and I would like to formally thank all my fellow makers and family for their help, encouragement and support. I really would not have attempted this a few years ago, being a part of LAMM has really broadened the number of things I am willing to have a stab at.

Build Process

  • Bought plans and converted them for use on our laser system
  • Cut out the whole of the design
  • Try to work out which piece fits where (this took many hours)
  • Glue together each floor and all pieces
  • Use fillers and a lot of sanding for gaps
  • Apply base coat – Sprayed
  • Apply top coat(s) – Sprayed
  • Apply large area paint (brush)
  • Apply fine area brush (panic as there is only a few days left)
  • Buy model making extras, grass, vines and pavement
  • Apply grass, pavement and vines a day before
  • Carefully transport house to recipient

Thanks in specific

  • Tom Bloor: Help with Laser cutting and general tool advice and build suggestions;
  • Claire Jackson: Showing me the website with plans and lots of advice and moral support;
  • Ian Norton and Kay Kempers: Lots of Moral support and cheerleadering;
  • Leigh Keating: Painting, sticking and advice.

-mdk exeunt chased by a staircase

Build A Bug and Save Your Mobile

The Event

October sees the annual, full-weekend, Lancaster fun Palace return to Lancaster Library and just as we did in June LAMM will be playing a great part.

LAMM will be holding two great mini-builds as part of their series of Fun Palace events. Last time we were at the Library LAMM successfully entertained you with the very popular Gadget Destruction event which saw us, and you, tear up a host of gadgets and computer equipment to demystify modern electronics and find reusable parts (watch the video here). This time our theme is construction.

For our two day events we will be holding two different workshops, continuously throughout both days. The first if Build A Bug and the second Save Your Mobile.

Build A Bug

Kids and adults will love this workshop as we teach you how to build your own small wooden bug from a range of coloured wooden parts. There are a host of shapes to choose from in a variety of colours which will mean that bugs can be individualised by you and your child. The fun doesn’t stop there. Our bugs have light up eyes, or legs, or wings, but probably eyes, as we add a battery and some LEDs to the build.

This workshop will allow young minds to blossom in a creative and fun project and teach them elements of construction, design and simple electronics. Best of all they get to take the bug home at the end.

Save Your Mobile

How many of us have an electronic device, a mobile or small media device, that has an easy to scratch screen, or a shiny case that picks up every scratch or dent of the pocket or bag we toss it into. Sure you could buy a case or a pouch for it, but anyone can do that…

LAMM will show you how to build your own pouch out of simple materials using a traditional method that is hundreds of years old. Learn a traditional craft with a mini-loom and make a pouch for your device that is as individual to you as you want it to be. Once again you can take away your creation after the end of the workshop.

A Thank You

Materials for the construction of both bugs and covers have been kindly donated by LAMM (members) and by Lune Crafts. Build A Bug is based on an original design developed by Hacman (the Manchester Hackspace).

…a bit more info

You can see more details about this event on the Lancaster Fun Palace Website:

Lancaster Fun Palace

Fun at the Fun Palace

Last Saturday (18th June) the Lancaster and Morecambe Makers were hosting a ‘Gadget Destruction’ workshop as a part of the Lancaster Mini Fun Palace.

What is Gadget Destruction?

Well it is as simple as it says on the tin, it is a chance to take apart gadgets and items and see how they tick.

The theory works like this:

We all pass through the stage of wanting to pull apart things to see how they work (some of us never leave that stage). Often though we do not get the chance. If they are functional then our parents/guardians and siblings might be a little miffed if we take a screwdriver to the items. If they are broke we may not be praised for the mess or potential danger.

The destruction of gadgets creates a lot of e-waste

Gadget Destruction with the local Makers gets around that issue. We have a bunch of adults who have happily taken things apart for years and sometimes put them back together, fixed, or as essential components in something new.

We also have a lot of experience in guessing a function by what the item is connected to, and we learned those from friends, books, the internet, TV and by pulling stuff apart. We like to share in taking things apart and we want to make sure that people learn the skill in doing that. It isn’t just by force (though occasionally force is used) mostly it is by working out the many ways that things are fixed, learning how to take it apart helps in learning how to put it back together.

We are also experienced in knowing what can be a danger before you take a screwdriver to it (so we took away batteries and other hazardous items that were easy to remove or taken out during the destruction process).

How Went the Day?

We had a great time. Thanks to a whole load of gadgets donated to take apart, laptops, monitors, desktops and other assorted paraphernalia. Some people even brought their own.

We had a spectacular group of people who came to visit us. I didn’t have time to count how many came through but at one point there were twenty children between ages three to twelve, with their parents, all taking something apart.

Taking things apart
Children of all ages studiously taking things apart

The Library staff and Fun Palace organisers were very helpful and very supportive and seemed to love allowing us to cause a small area of mayhem in the centre of the library (we did however clean up after ourselves).

Cleaning up after the event

The kids loved it. I had parents telling me that their normally fidgety children had spent three hours quietly destroying things. But it wasn’t really destruction, it was just messy education 😉

The thrill of being able to pull apart a laptop, or a TV or a toaster was exhilarating and liberating. The look of delight on faces when asked ‘what can I take apart’ and you answer ‘want to pull the rare magnets out of a laptop?’.

As for me, I brought along a five year old who loved being able to take apart a laptop and spent a good twenty minutes playing with diffusers from a television. It was ace.

Ben and the diffuser

So even though I was a part of this and loved being on the ground on the day, I want to say thanks to all my fellow LAMMers. This includes those who couldn’t make it on the day but helped in the preparation and take down of the event. You’re all stars.

Castles

Those of you that know me will already know I have two young boys (and a third imminent), for those that don’t well, you do now. As a small, fun, afternoon project with some cardboard I recently built a castle with the eldest to replace the one that got wet that he built at school.

Which got me to thinking…

I have Inkscape. I have access to a Makerspace. It has a laser… to the drawing board.

After about a week of real time passing (and about 8hrs playing in Inkscape) I had design version 2.0 of my castle (if we assume that the cardboard was version 1.0).

It’s not bad, it needs a few tweaks and stuff but it came out quite well. A few hours with a pot of glue and a Stanley Knife for minor corrections (mostly tight fighting pegs) and it was all done.

The kids love it, and you can all have a look at some of the pictures of it below.

Now, will I have time to do a version 3.0? I think it needs a redesign from the ground up to be bigger 🙂

20160415_175720
A boy and his castle
20160411_195040
I even built little supports for the battlements
20160411_141849
It’s a ‘LAZ’R’
20160411_140717
45 minutes to cut 3 sheets of A3
20160411_194607
Towers and supports – roughly Lego Minifigure sizes
20160411_194600
The Gatehouse could be modified to have a drawbridge as well as a portcullis
20160411_185157
A whole bag of bits to assemble
20160411_140741
Hmmmm very church-esque

More ballz

As part of the continuing Manchester MakeFest preparations, and in particular the Amazeballs challenge from Manchester HACMan tonight I completed the next step of my marble (well pinball) run drop.

This is a large version of the version 2 Lammballz. So essentially a Version 3 Lammballs and is 555mm by 300mm made from a combination of perspex and birch.

Big thanks to the ever-wonderful Tom Bloor for help with the setting on the laser cutter, design done as always in Inkscape. Images of the unfinished (needs lots of glue/fixings) version with business card for scale, below.

20150617_204911

I Made a Thing

So last night I made a thing at the hackspace and although it is relatively simple and small I am inordinately proud of the thing that I made.

You may, or may not, have heard that there is a Makers event in Manchester (Manchester MakeFest, I believe this to be a faire or carnival of makers) that is to be held at the Museum of Science and Industry (MOSI) on the 11-12th August. For that event the folks at Manchester HackSpace have created a AmazeBalls challenge and we at LAMM are trying to create something for it.

My small part in this is to create a small pair of ball drops. One of which I am cutting out of wood using the laser cutter and the other I am making from scratch (predominately) using a 3D printer. This challenge is a great way for me to start to play with both Laser and 3D printing.

Last night I designed a simple rail in Inkscape.

screen-shot-2015-06-11-at-14-25-20

I then took the simple rail and extruded it in OpenSCAD with a lot of patient and generous help from Tom Bloor (who guided this old duffer through the openSCAD way of doing things).

screen-shot-2015-06-11-at-14-26-00

screen-shot-2015-06-11-at-14-26-20

And then I sliced the resulting stl files in the 3D printer softare.

screen-shot-2015-06-11-at-14-27-25

Then I printed and played with them as they seem to work 😉

20150610_210705_012-animation

20150610_203541_1

It was a great achievement, I said it was small, for me and it was another example of how a place like the Lancaster Space can inspire you to create using a variety of tools even if you are new to them or an ‘old duffer’ like me. Thanks all for the pointers and help, a big thanks to Tom for all his gentle tutelage.

Stamp It

There was a small, determined, and succesful combined effort at the Lancaster Space this week.

Stamps

Those of you familiar with the MakerSpaces will know that there is a MakerSpace Passport. This is a copy of a traditional passport with the idea that you fill it with stamps from the various hackspaces you visit.

Hackspaces themselves are encouraged to make stamps for the visitors.

We at LAMM took this into hand and made a collective effort amongst some of the members to make a stamp for the Space and for the LAMM people.

Make It

  • Darren provided us with some laser-ready rubber from which to create the stamps.
  • Claire checked online for the details and did the organising of data and information.
  • Mark designed the logo in Inkscape.
  • Tom designed the handle and performed the Laser and 3D printer duties.
  • Ian drank coffee and cola and made jokes when we forgot to reverse the first cut.

The end result is something we are proud of and also means we have now costed the time, effort, process for creating custom stamps, which is another service we can provide or that we can teach to local people.

The Wonderful Chaps at Andrews and Arnold

andrews_and_arnold_ispStarting a Hackspace is a daunting task, there is the finding of a space itself, the tools, members, and then the inevitable bills to pay. Hackspaces tend to be run as businesses, as such they are liable to pay rates, they usually have rent, there is power and then the associated costs. There is little left over for luxuries such as Internet, which is a shame as the Internet and connectivity is an essential need in the modern world.[1]

We discovered that our budgets would likely suffer if we had to get an internet connection, however we approached some providers for their rates and explained our situation. That’s when those wonderful chaps at Andrews and Arnold came through for us.

Andrews and Arnold are renown in the community as a professional internet provider. They are not the cheapest service, and there is a reason for that, they focus on quality and not cutting corners or reducing customer service or satisfaction. For the Lancaster and Morecambe Makers they have generously agreed to provide us with a year of internet provision to help us establish ourselves.

We at LAMM and the Space in Lancaster are humbled by the generosity and it will help us settle and establish in our first year. We will raise a merry toast to our Internet Sponsors at Andrews and Arnold.

[1] This is especially true if you are trying to be a digital/creative hub and work space.

Bedside lighting

I am new to the whole hacking, making, playing, soldering and generally hands-on construction and so my time at the hackspace is always a steep learning curve.

One of the projects that I have been tinkering with was to take a couple of old, well toys really – but toys for me as an adult, and make them into something new. What i decided to do was build a bedside light with two switches, some ultra-bright LEDs and a blue LED. The toys were a Doctor (model of David Tennant’s doctor) and a TARDIS safe (that had stopped functioning).

I basically ripped the electronic guts out including the microchip board, added a bit of lego and Sugru’d LEGO in the TARDIS and to David’s feet so he would stand upright, and then made a board for the 5 lights in the doorway. A little tinkering with a drill got me the holes for two switches, a push button for the decorative lights and a two stage switch for the main ultra-brights, and we were done.

I have re-used something and made a useful light for my bedside. It is hardly on the same scale as the hacked sensors that have appeared on this blog in the last week, but I am still moderately pleased with the result.